Bunny Vase DIY: Simple Easter Craft Tutorial
Easter crafts are some of my absolute favorite to make. You can let your creativity flourish with so many festive ideas to celebrate the season. I love all the pretty pastel colors of the season and fun, seasonal accents like bunnies and chicks. Today, I’m thrilled to share a delightful DIY project that's perfect for adding a touch of Easter charm to your home: the DIY Bunny Vase. Whether you're looking to spruce up your decor or simply seeking a fun activity to enjoy with loved ones, this project is sure to deliver! So, let's dive in and explore how you can create your own adorable Bunny Vase in just a few simple steps. Now, it’s time to gather your supplies and hop right into it!
Gathering Your Materials
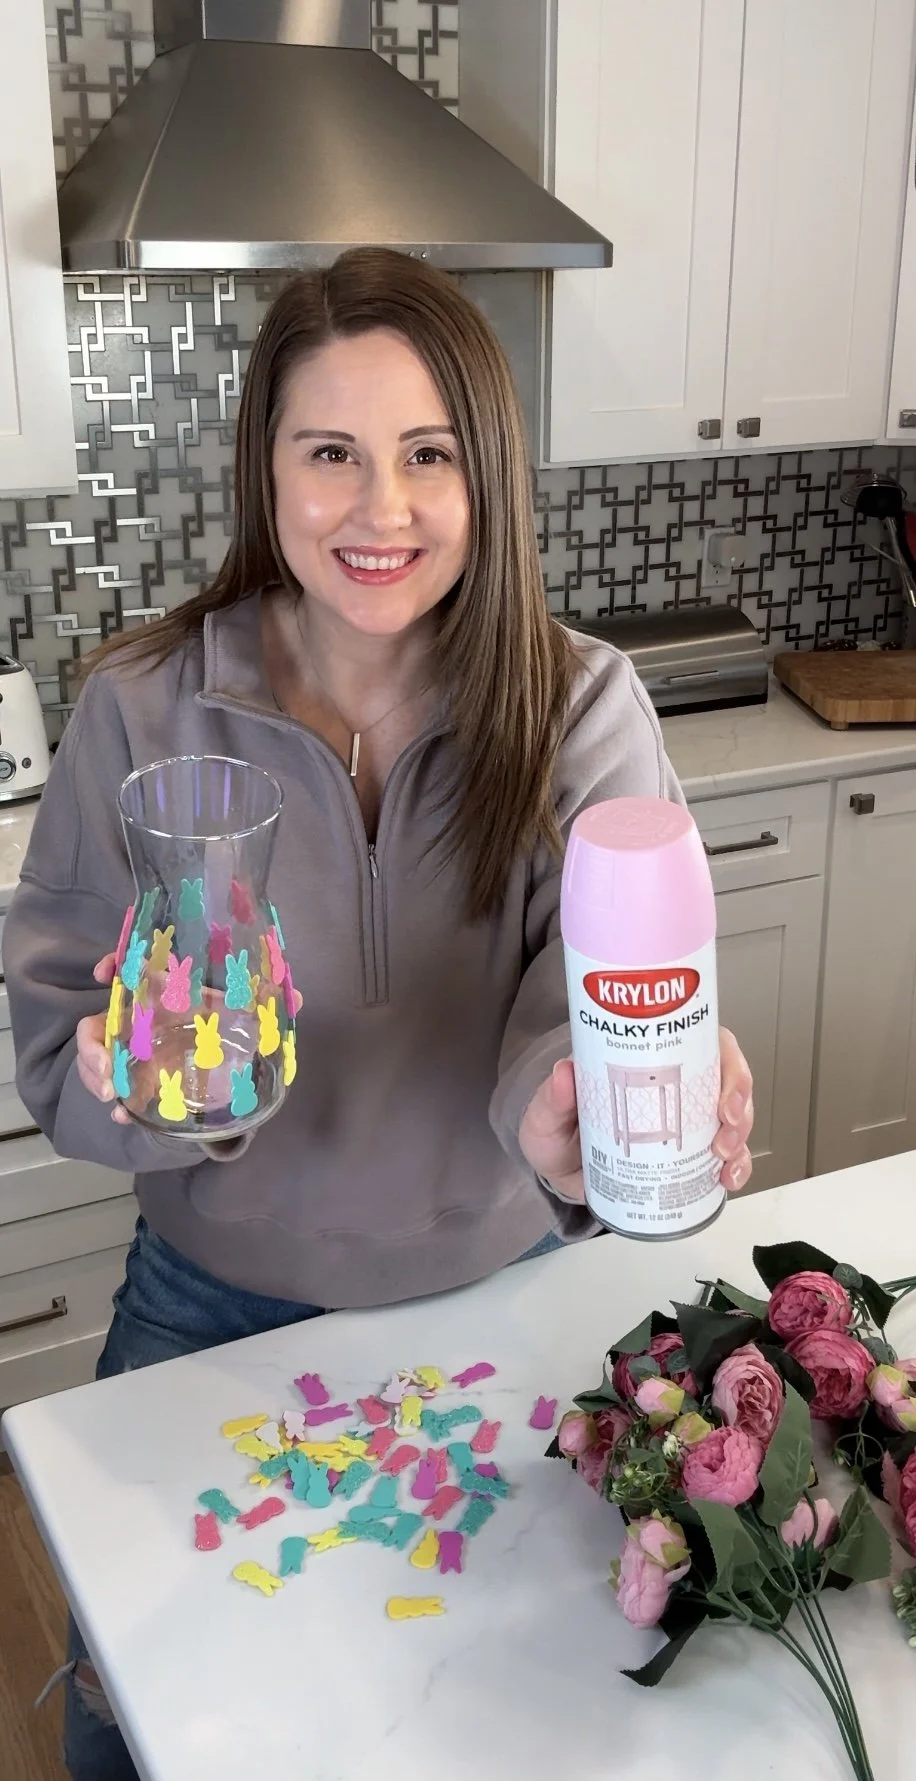
Before we begin, let's make sure we have everything we need for this project. Here's what you'll require:
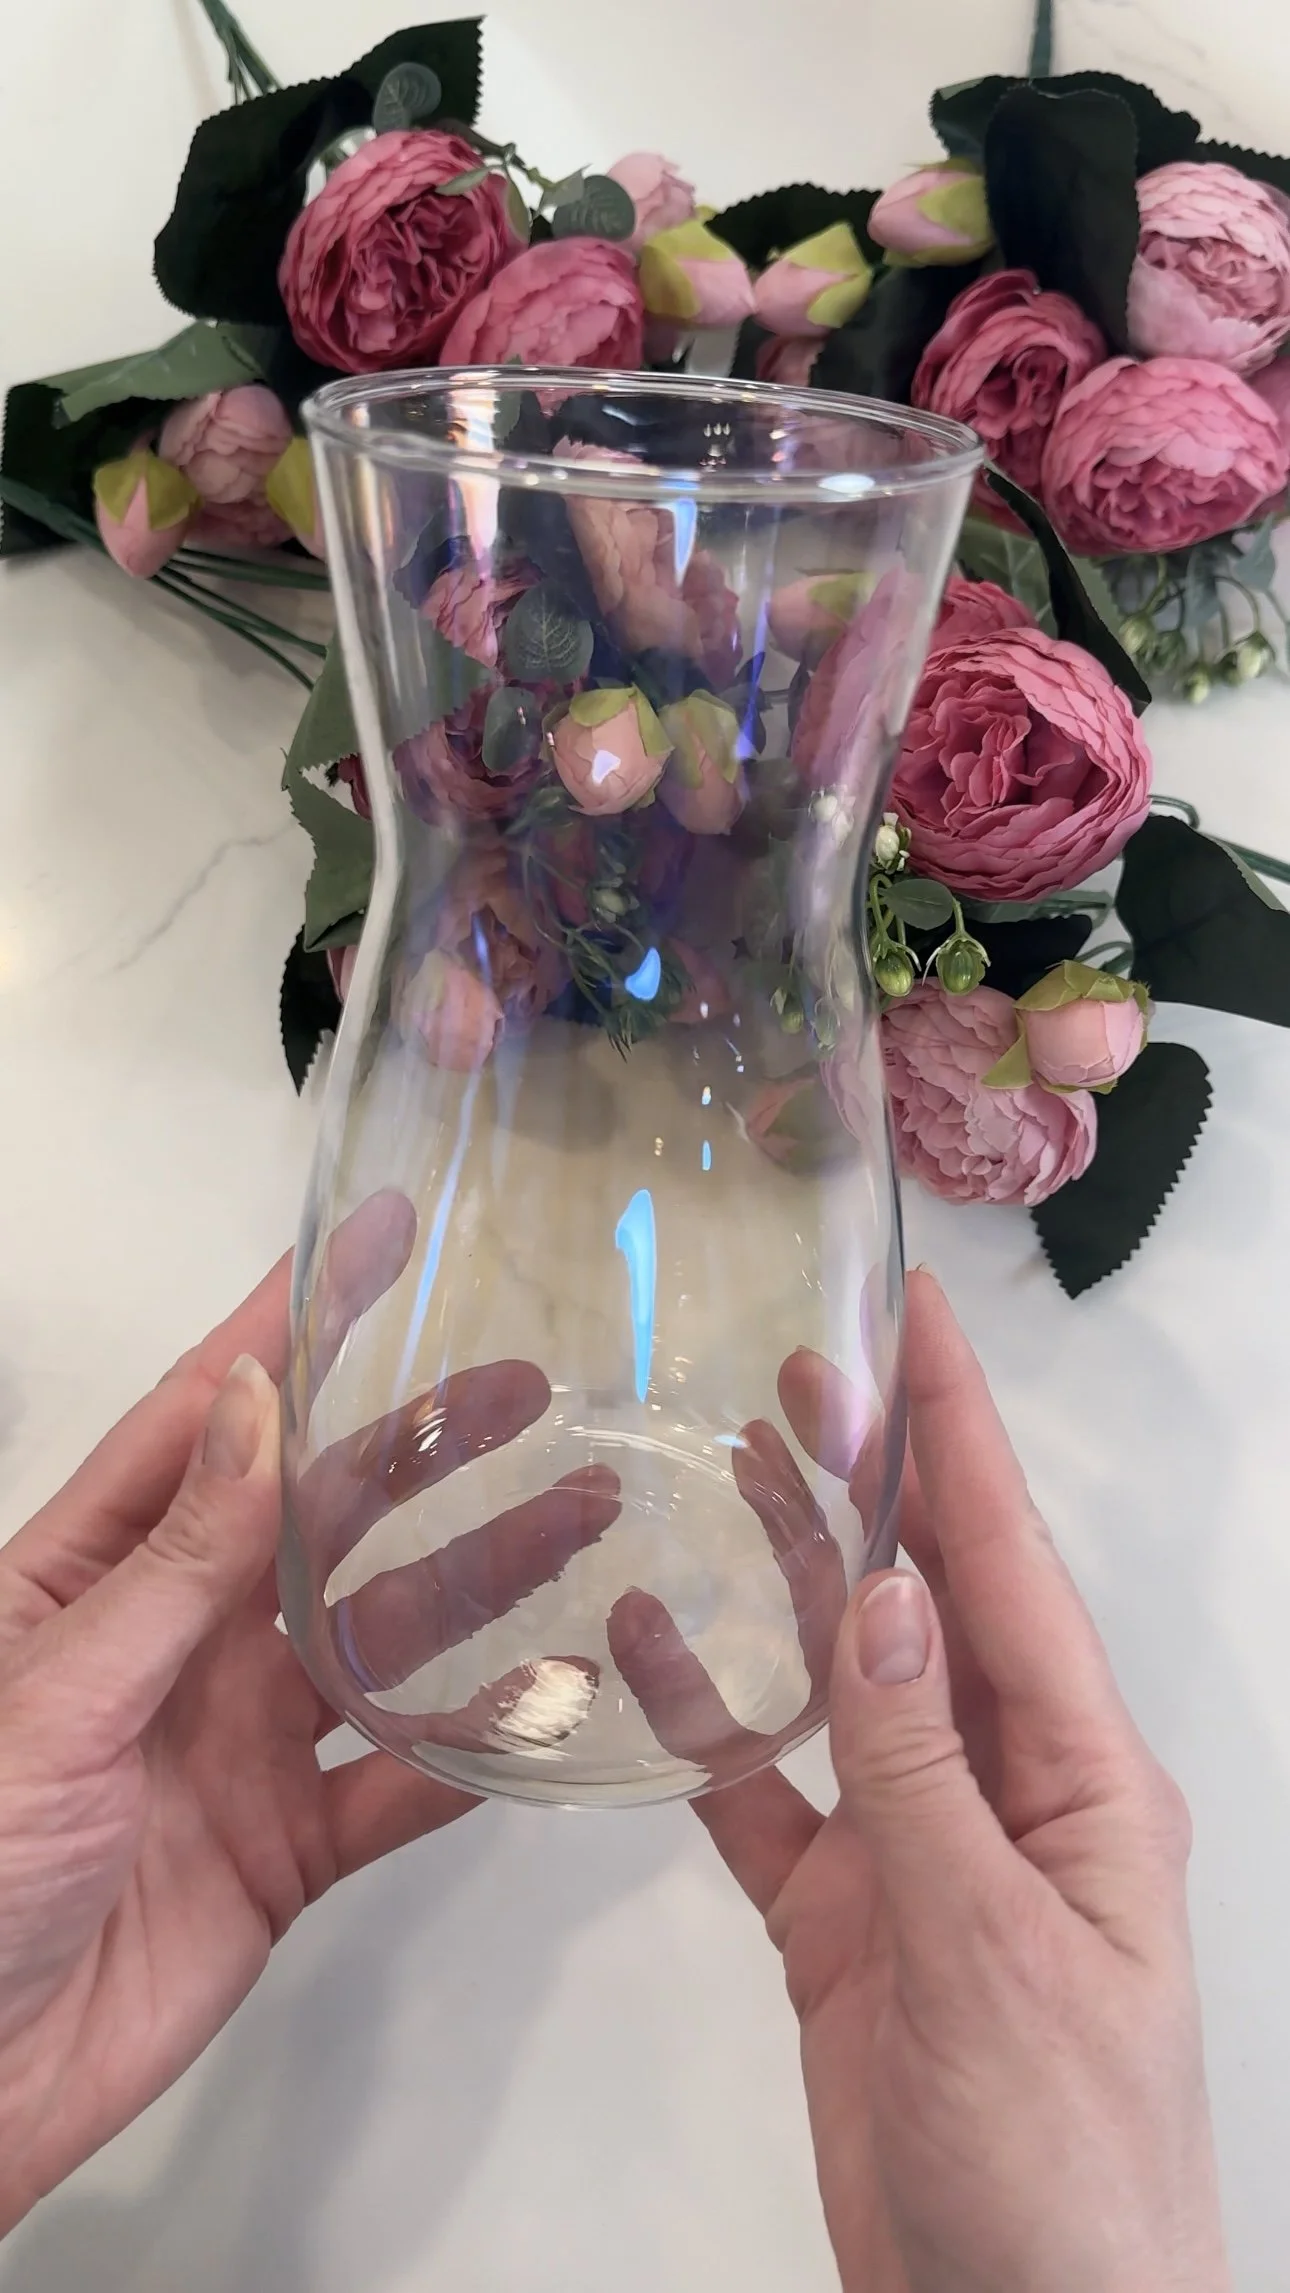
1. A plain glass or ceramic vase
2. Foam stickers in various shapes and sizes (preferably bunny-shaped stickers)
3. Spray paint in your choice of color (pastel colors work great for this project)
4. Cardboard, newspaper or a drop cloth to protect your work surface
5. Optional: Clear sealant spray for added durability + painters tape
6. Faux flowers - I found these gorgeous peonies but feel free to use whatever you like!
Preparing Your Workspace
Set up your crafting area by laying down cardboard, newspaper, or a drop cloth to protect your table or work surface from any stray spray paint. Ensure that your workspace is well-ventilated, preferably outdoors or in a well-ventilated room.
Preparing the Vase
Start by thoroughly cleaning your ceramic vase to remove any dust or residue. Once clean and dry, use painter's tape to mask off any areas of the vase that you don't want to be painted. This could include the rim, base, or any other sections you want to keep free of paint. I wanted the entire vase painted so I skipped this step. The paint may get on the inside rim of the vase but in my opinion this doesn’t detract from the design as long as it is even.
Adding Bunny Details
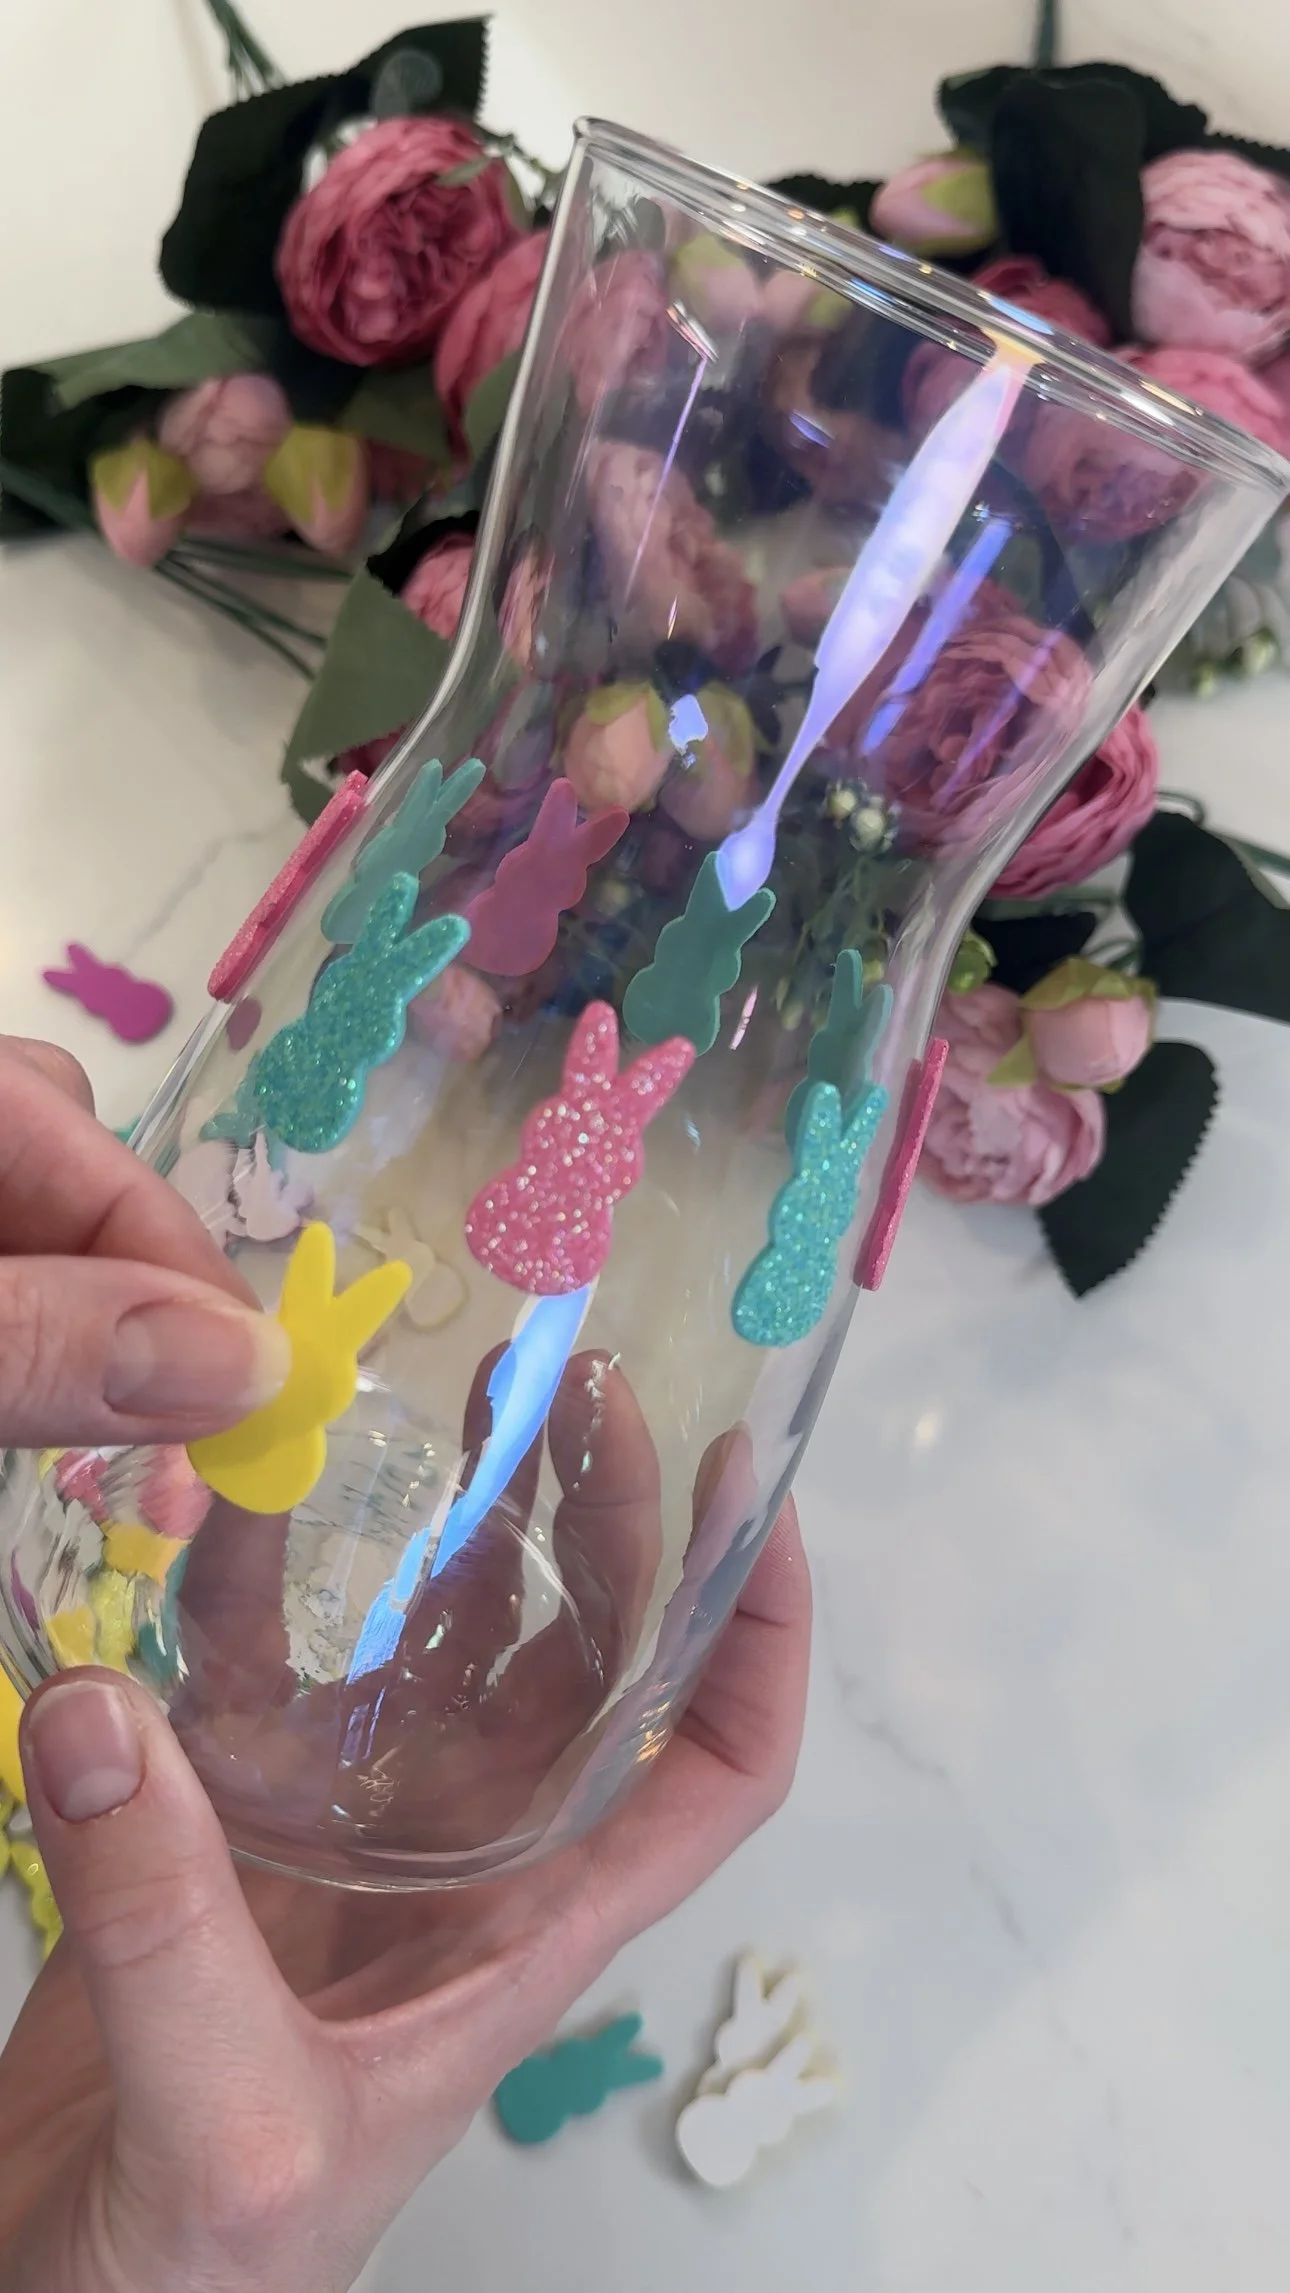
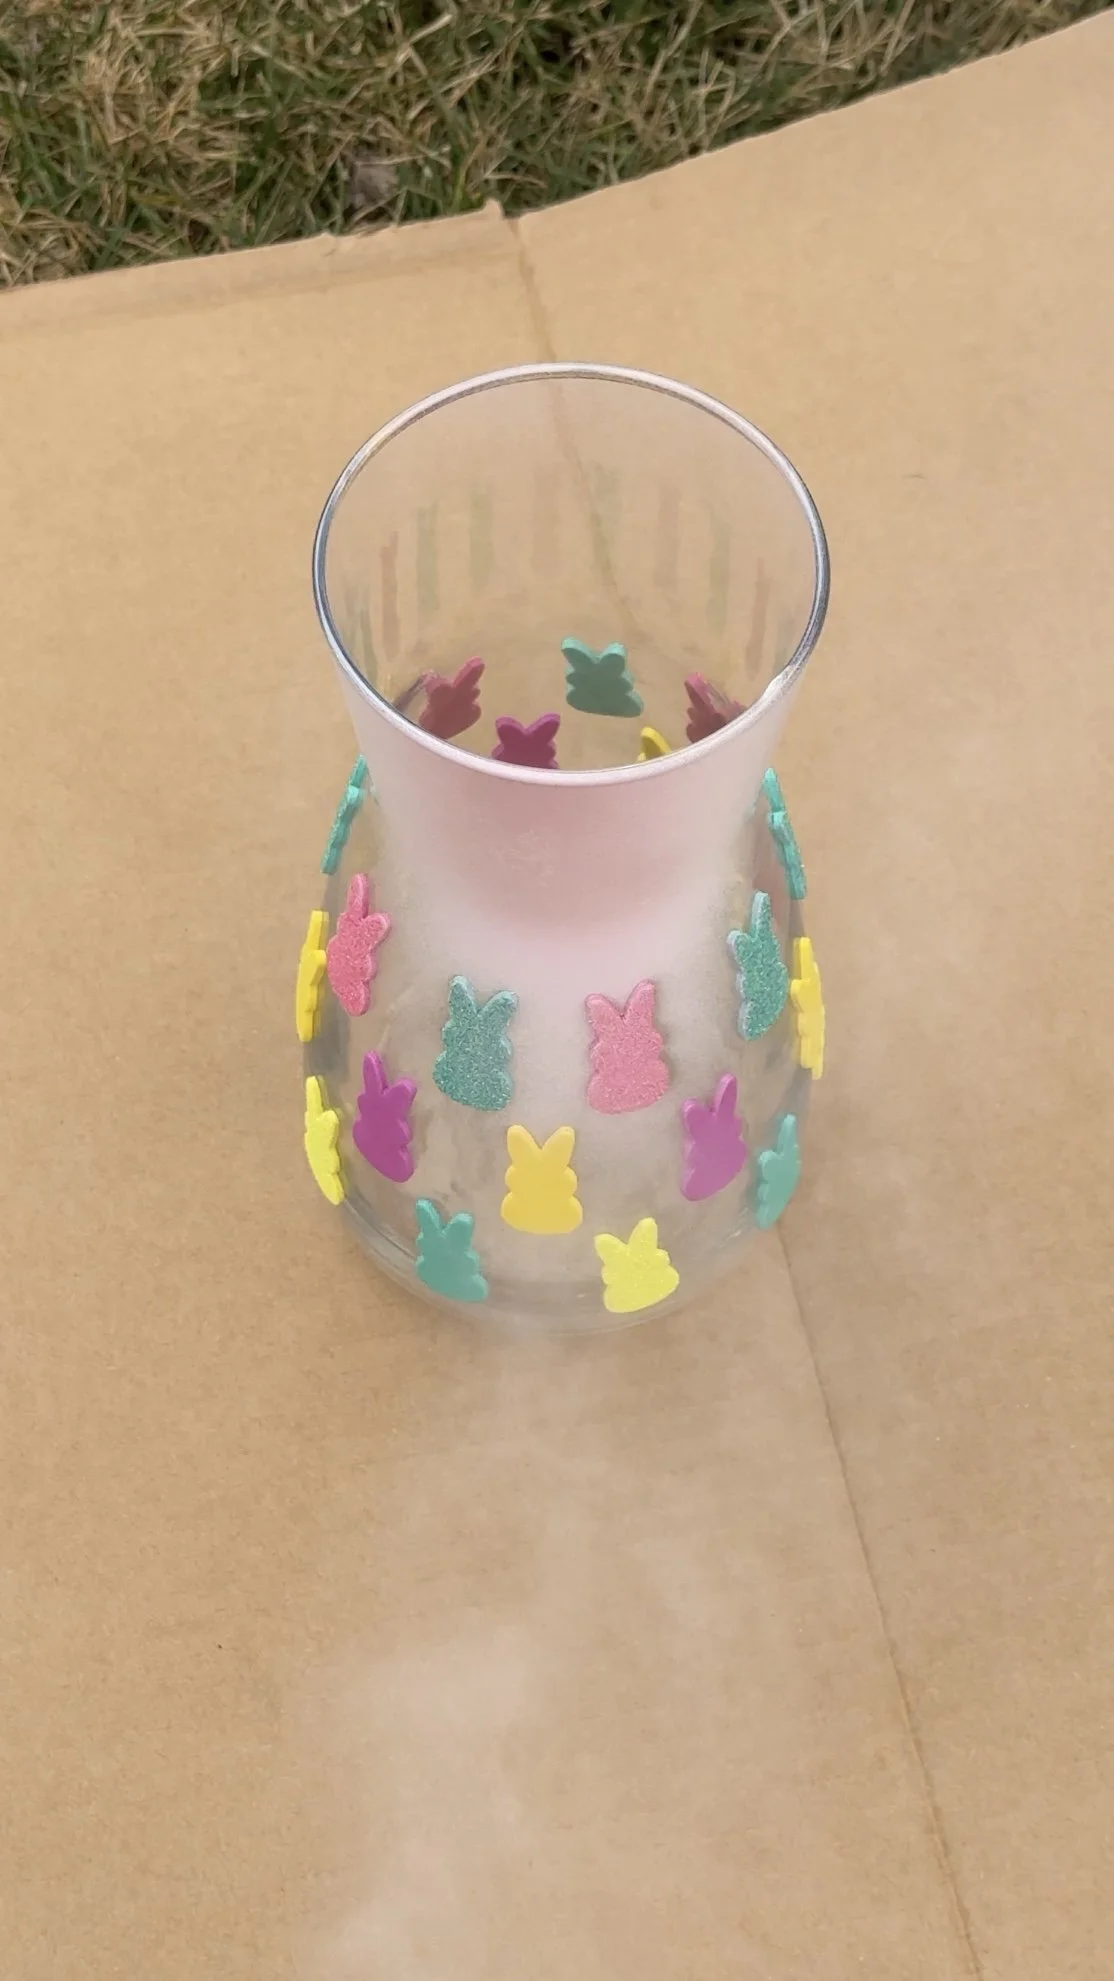
Once the base coat is dry, it's time to get creative with your foam stickers! Peel off the backing of the bunny-shaped stickers and carefully place them onto the painted surface of your vase. You can arrange them however you like, creating a pattern or scattering them randomly for a whimsical look. I ended up spacing them evenly per row and then staggering them between rows.
Applying the Paint
After you've placed all your foam stickers, it's time to apply the spray paint. Pastels work great for spring but feel free to paint as you like! Shake the spray paint can well and apply an even layer of paint over the entire surface of the vase, including the foam stickers. Allow the paint to dry completely before moving on to the next step.
Removing the Stickers
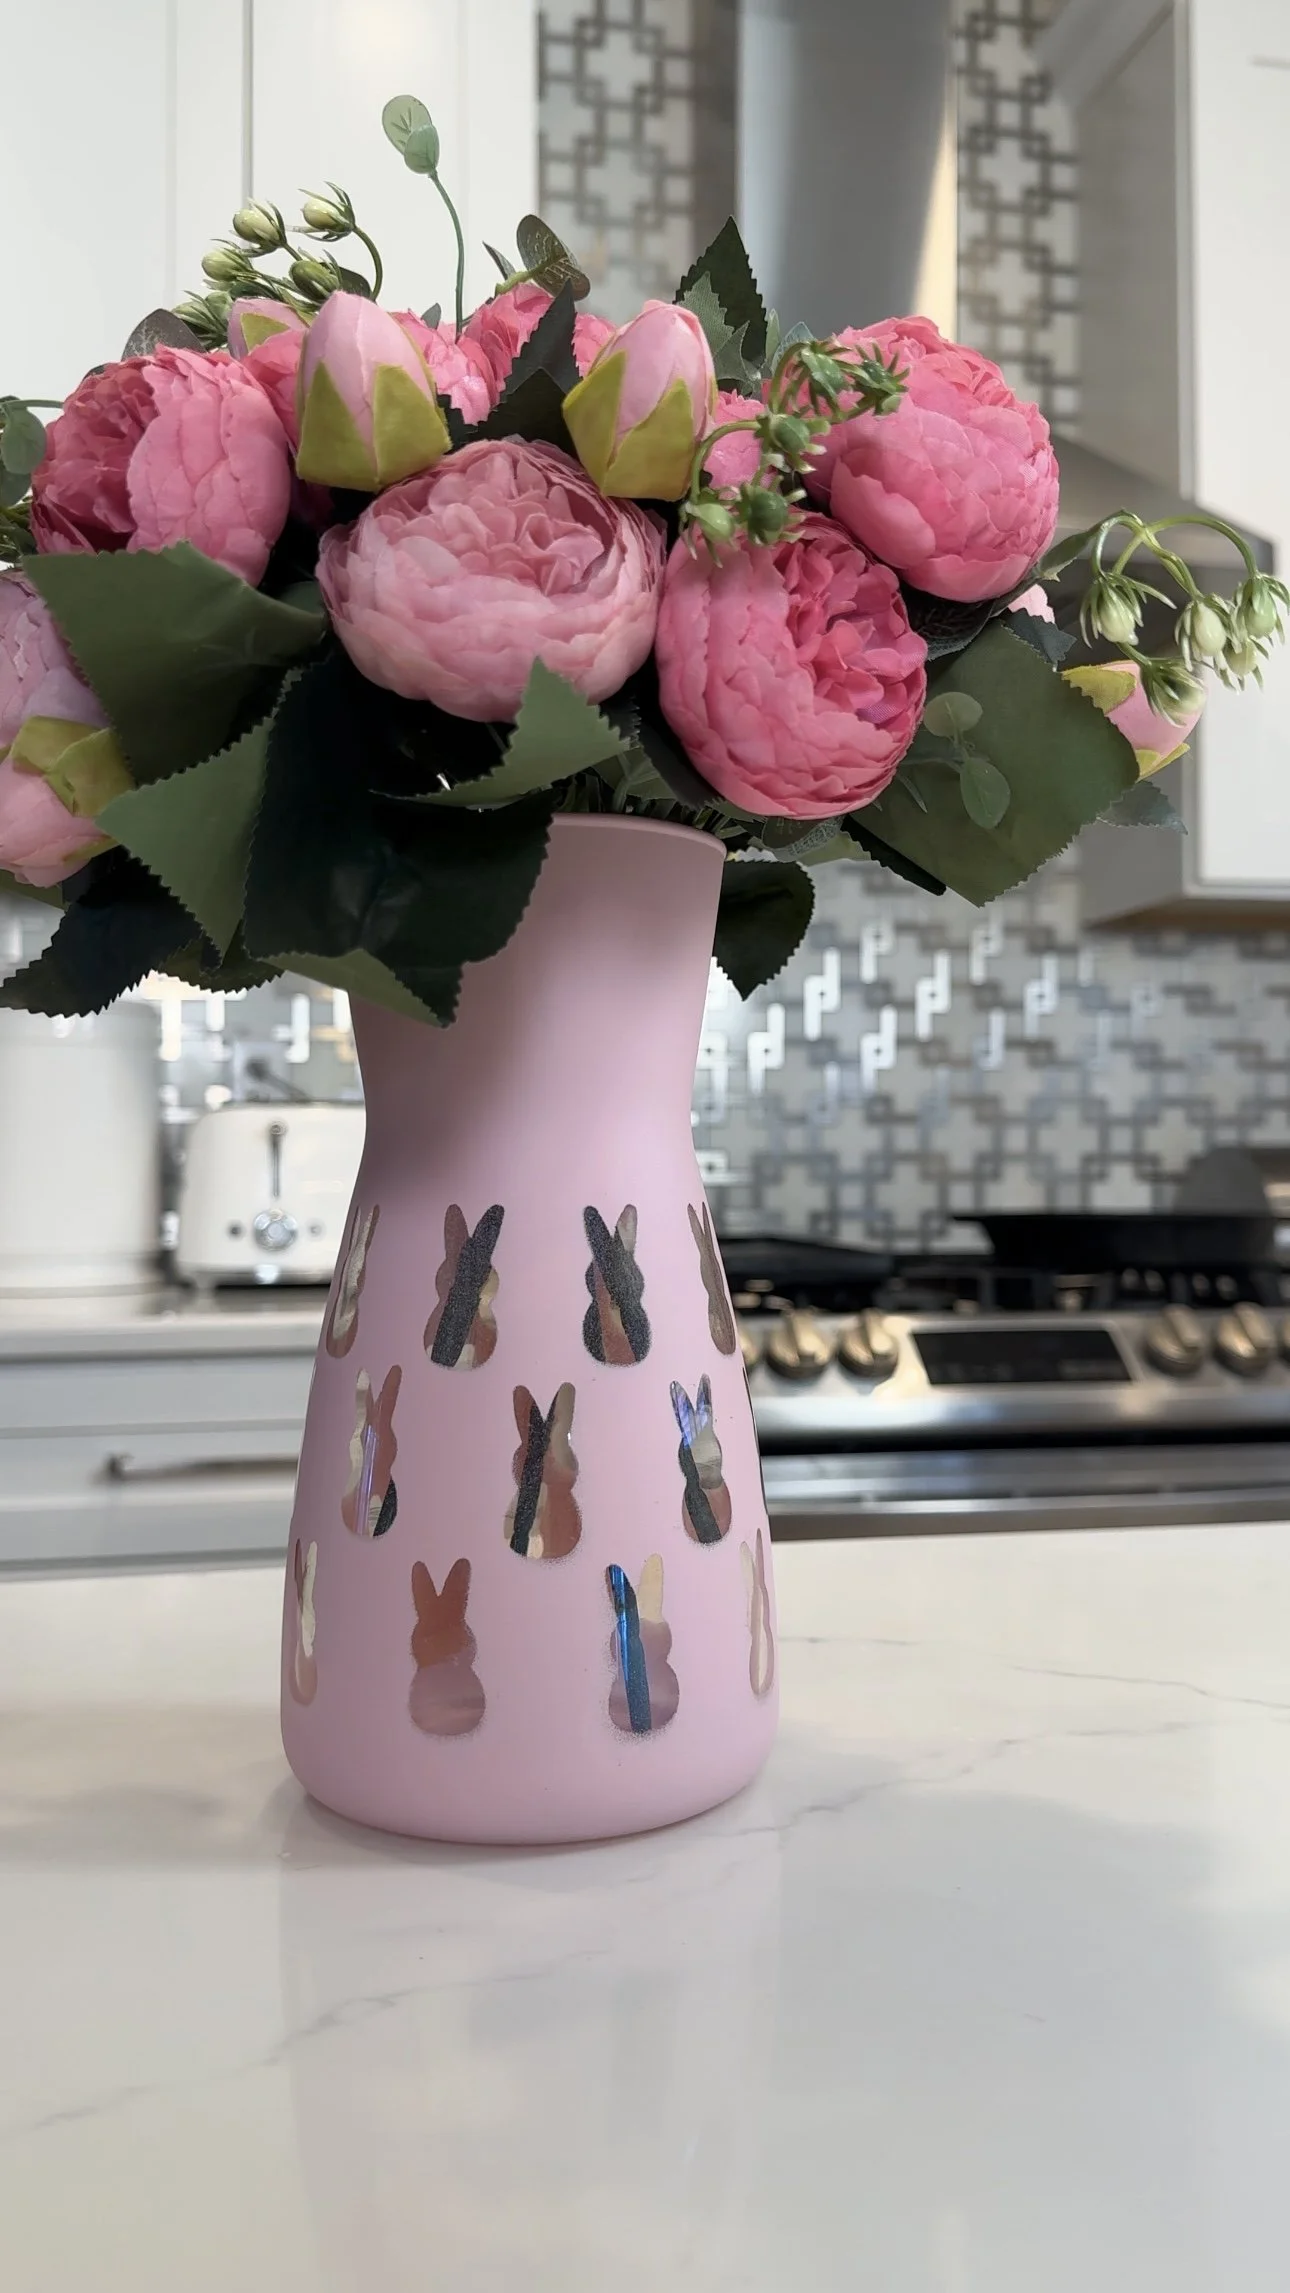
Once the top coat of paint is dry, carefully peel off the foam stickers to reveal the bunny-shaped outlines underneath. Take your time with this step to ensure clean lines and crisp edges. If any residue remains from the stickers, gently scrape it off with a fingernail or a plastic scraper. Through trial and error, I discovered that foam stickers work best. I originally tried this with regular, flat stickers and they were extremely difficult to remove. Trust me on this, go with foam stickers for a painless removal!
Finishing Touches
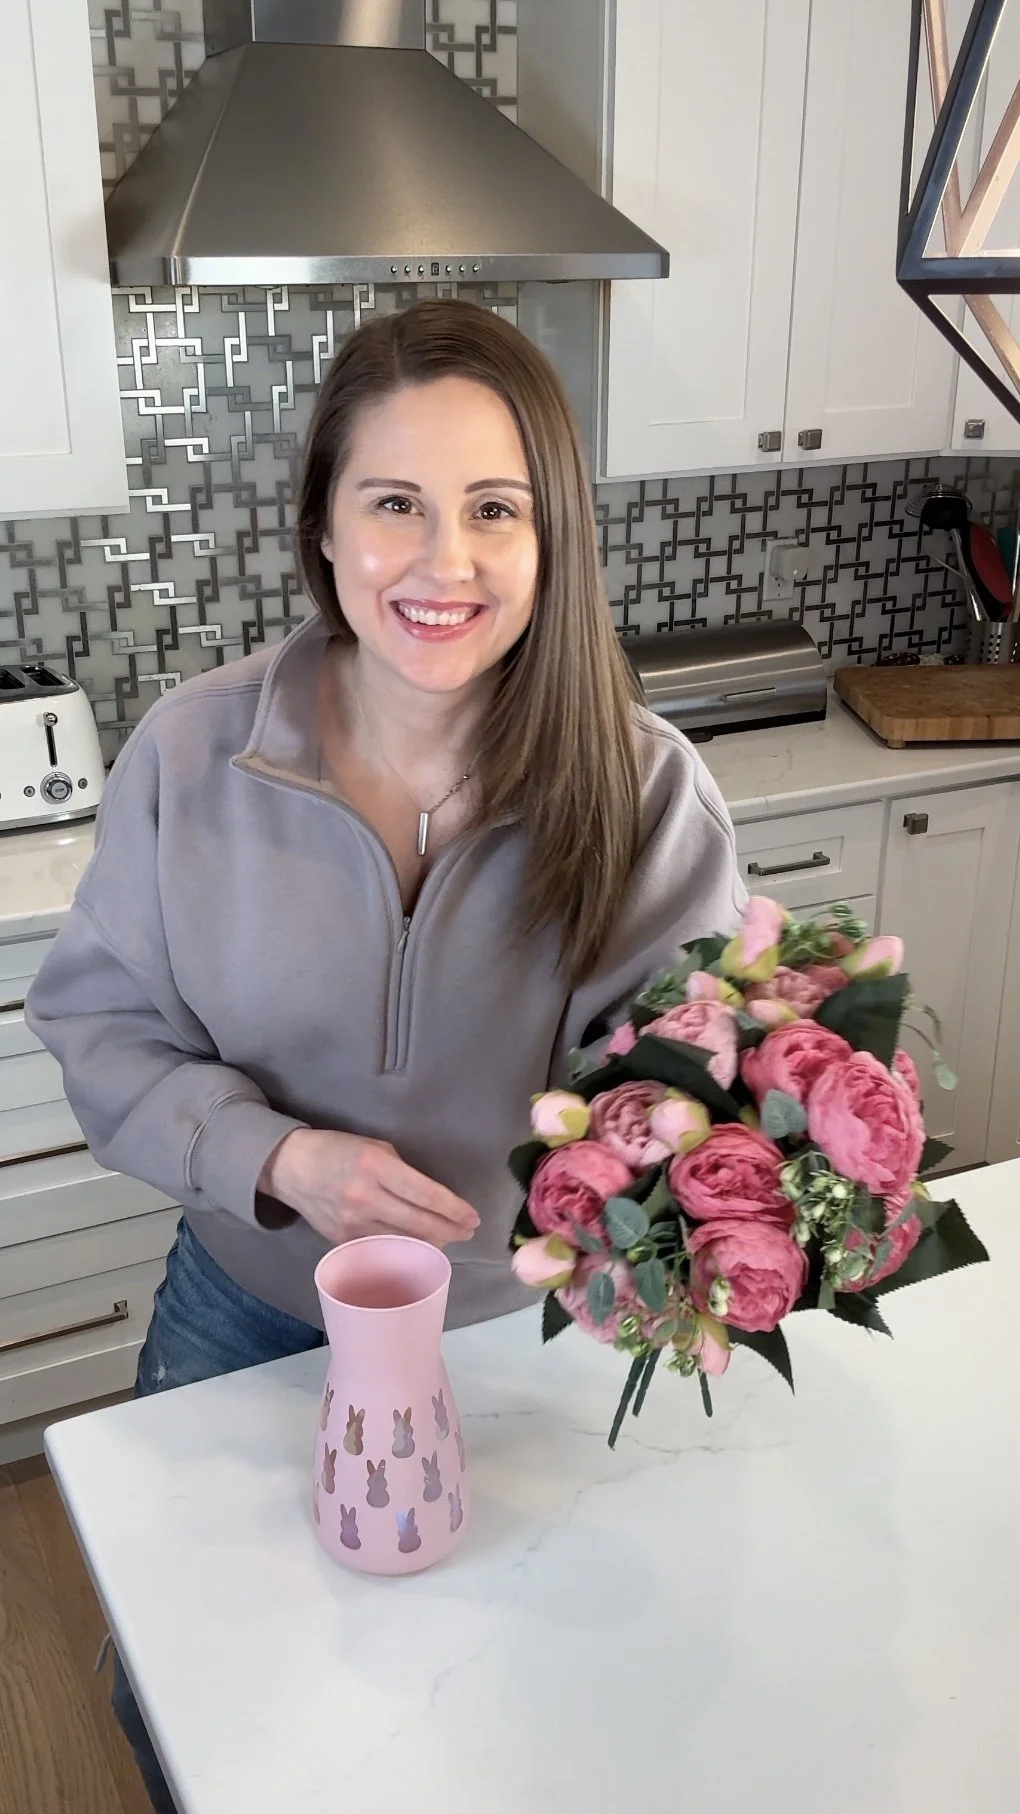
Once all the stickers are removed and any remaining residue is cleaned off, step back and admire your handiwork! If desired, you can apply a clear sealant spray to the vase to protect the paint and add a glossy finish. Allow the sealant to dry completely before using or displaying your bunny vase. Now it’s time to add flowers. I chose to go with pretty faux peonies but these can easily be interchanged for fresh flowers.
Displaying Your Creation
Now that your DIY bunny vase is complete, it's time to find the perfect spot to display it! Whether you place it on a shelf, mantel, or dining table, your adorable creation is sure to bring a smile to anyone who sees it. Whether fresh or faux, flowers give it an extra pop of color and charm.
Congratulations on crafting your very own DIY bunny vase! With just a few simple materials and a touch of creativity, you've created a whimsical and charming piece of decor that you can use for years to come! There’s always something so satisfying to me about a simple DIY project like this. You can also watch the step-by-step video instructions. I hope you enjoyed this project as much as I did, and I can't wait to see what other creative endeavors you take on this Easter season. Until next time, happy crafting! What do you think we should craft next?!
If you’re looking for some tasty Easter recipes check out our Peeps Duck Pond + Homemade Easter Egg Fudge posts!
