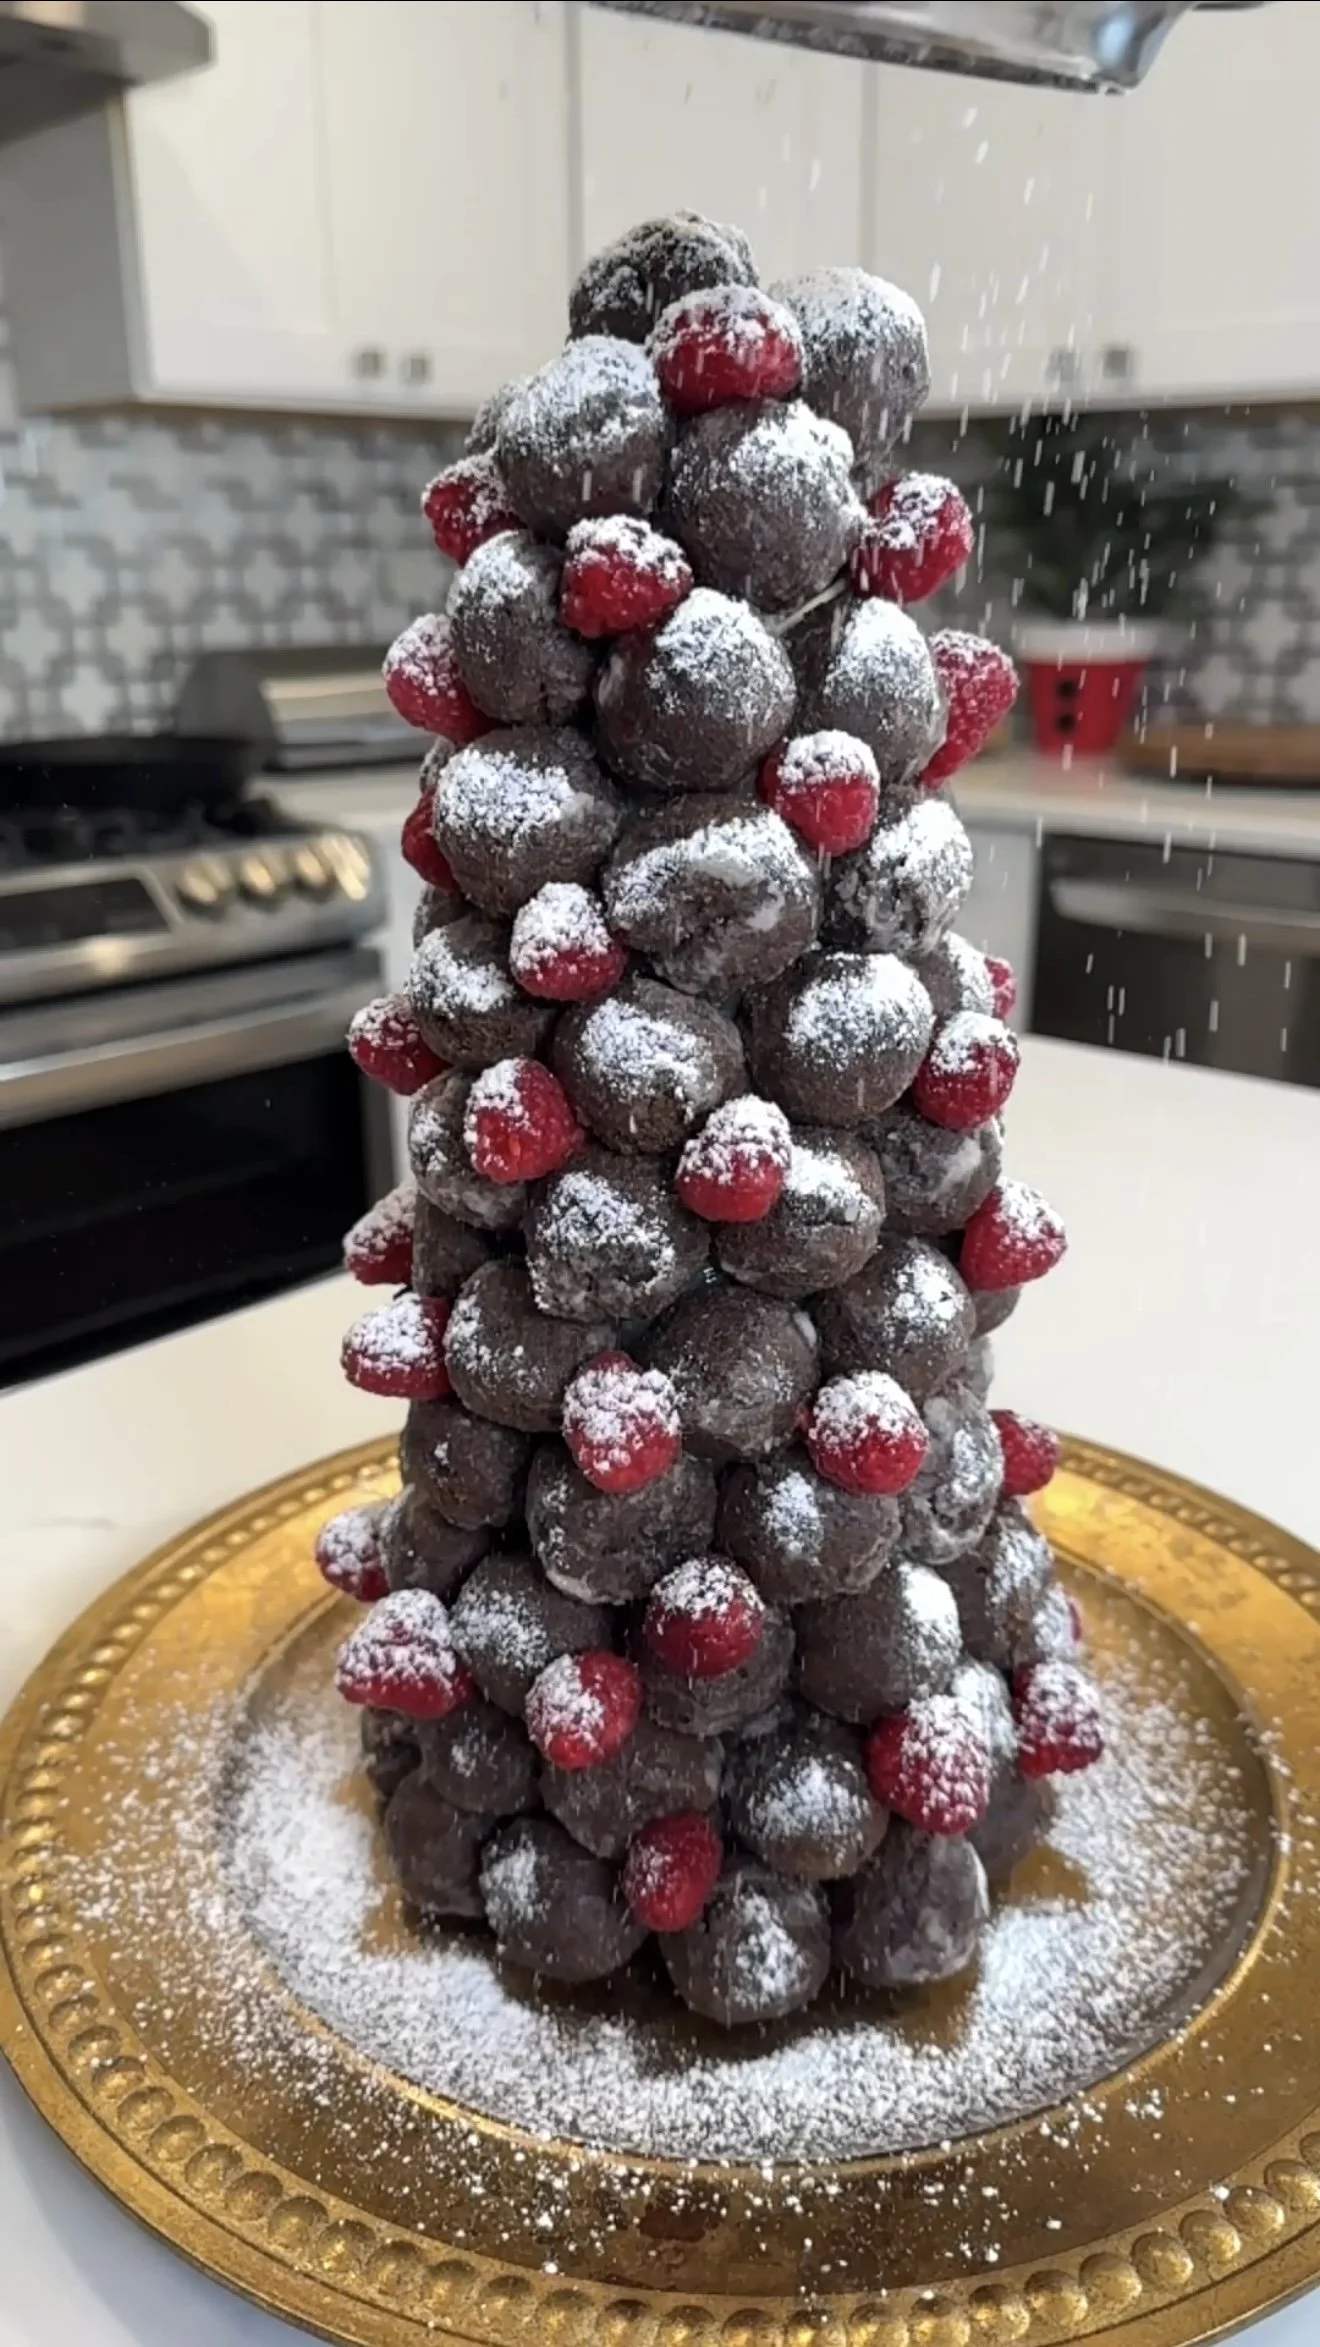
DIY Donut Hole Tree: A Festive and Delicious Holiday Treat
Holiday treats don’t just have to taste amazing—they can look spectacular too! If you’re looking for a show-stopping centerpiece that doubles as a sweet treat, this DIY Donut Hole Tree is the perfect choice. Whether you’re hosting a holiday party, creating a dessert table, or just want to wow your family, this festive donut tree combines creativity, simplicity, and deliciousness.
Using chocolate donut holes and fresh raspberries to resemble ornaments, this easy-to-make project is customizable for any style or flavor preference. Let’s dive into how to create your very own DIY Donut Hole Tree that’s as fun to make as it is to eat!
Why You’ll Love This DIY Donut Hole Tree
Quick and Easy: No baking required—just assemble and enjoy.
Customizable: Swap out donut flavors, add different fruits, or incorporate other decorations to match your theme.
Kid-Friendly: This is a fun and simple project that kids will love helping with.
Show-Stopping Centerpiece: It’s a dessert and a decoration all in one!
Perfect for Parties: This treat is ideal for holiday gatherings, brunches, and dessert tables.
Here’s what you’ll need to make your DIY Donut Hole Tree:
Supplies
Foam Cone: This forms the base of your tree. A 12-inch cone works well, but feel free to size up or down.
Plastic Wrap: To cover the foam cone, keeping it food-safe.
Toothpicks: Used to attach the donut holes to the cone.
Ingredients
Chocolate Donut Holes: These form the bulk of the tree. Feel free to choose another flavor if you prefer.
Fresh Raspberries: Used to fill in the gaps and add a festive red “ornament” look.
Powdered Sugar: For a snowy finish.
Optional Decorations: Mini marshmallows, white chocolate drizzle, colorful sprinkles, or edible glitter for extra flair.
Step-by-Step Instructions
Step 1: Prep Your Foam Cone
Wrap the Cone: Start by wrapping the foam cone in plastic wrap to make it food-safe. Ensure the plastic wrap covers the entire cone and secure it tightly.
Set Up Your Station: Place the wrapped cone on a sturdy surface or platter for easy assembly.
Step 2: Attach the Donut Holes
Insert Toothpicks: Begin at the bottom of the cone and insert a toothpick at a slight angle so it sticks out slightly.
Add Donut Holes: Push a chocolate donut hole onto the toothpick, ensuring it’s secure. Continue this process, working in rows and covering the cone.
Leave Small Gaps: Don’t worry about small gaps between the donut holes; you’ll fill these in with raspberries or other decorations later.
Step 3: Add the Ornaments (Raspberries)
Place Raspberries: Once the donut holes are in place, fill the gaps with fresh raspberries. The red color adds a festive, ornament-like touch.
Alternate Colors: For variety, consider adding other small fruits like blueberries or candy pieces for a multicolored look.
Step 4: Add Finishing Touches
1. Dust with Powdered Sugar: Lightly dust the entire tree with powdered sugar for a snowy effect.
2. Optional Drizzle: If desired, drizzle white chocolate over the tree for a frosty look.
Step 5: Serve and Enjoy!
Place on Display: Transfer your completed donut tree to wherever you’ll be serving. These look great as a centerpiece or out on the counter or island as part of a larger dessert display..
Serve: Guests can pull off donut holes and raspberries directly from the tree, making it a fun and interactive dessert.
Customization Ideas
Want to take your donut tree to the next level? Here are some ideas to personalize your creation:
1. Flavor Variations
Use powdered sugar or glazed donut holes for a different look.
Add chocolate-filled or cream-filled donut holes for a surprise treat.
2. Alternative Ornaments
Use different fruits like grapes or blueberries. Gumdrop candy would be a fun alternative to raspberries as well.
Add edible gold or silver sugar pearls for a glamorous touch.
3. Holiday Themes
Make a winter wonderland tree by using white powdered donut holes and blue sprinkles.
For a rustic look, incorporate cranberries and small sprigs of rosemary.
4. Top It Off
Add a star-shaped cookie or candy to the top of the tree for a classic holiday look.
Use a mini gingerbread man or snowflake cookie for a fun twist.
Tips for Success
Plan Ahead: Prep all your materials and ingredients before starting assembly.
Use Fresh Ingredients: Choose fresh donut holes and raspberries to ensure the best taste and appearance.
Be Gentle: Handle the donut holes and raspberries carefully to avoid breaking or crushing them.
Chill Before Serving: If possible, refrigerate the donut tree for 30 minutes before serving to help it set.
Why the DIY Donut Hole Tree is a Holiday Hit
Interactive Fun: Guests love pulling their treats directly from the tree.
Minimal Effort, Maximum Impact: It looks impressive but is surprisingly easy to make.
Customizable for Any Occasion: Change the colors, flavors, or decorations to suit any theme.
FAQ
Can I make this ahead of time?
Yes! Assemble the tree a few hours before your event and store it in the fridge. Add the raspberries and powdered sugar just before serving for the freshest look.
How do I transport the tree?
Place the assembled tree on a flat cake board or tray, then carefully cover it with plastic wrap or a tall cake dome.
Final Thoughts
This DIY Donut Hole Tree is the perfect combination of festive, delicious, and fun. Whether you’re hosting a holiday party, creating a unique dessert table centerpiece, or just looking for a fun family activity, this treat is sure to be a hit. With endless customization options and minimal effort, it’s a must-try for the holiday season.
Gather your supplies, let your creativity flow, and enjoy making (and eating) this delightful holiday creation. Happy holidays! 🎄🍩
Who’s ready to make your own DIY Donut Hole Tree?
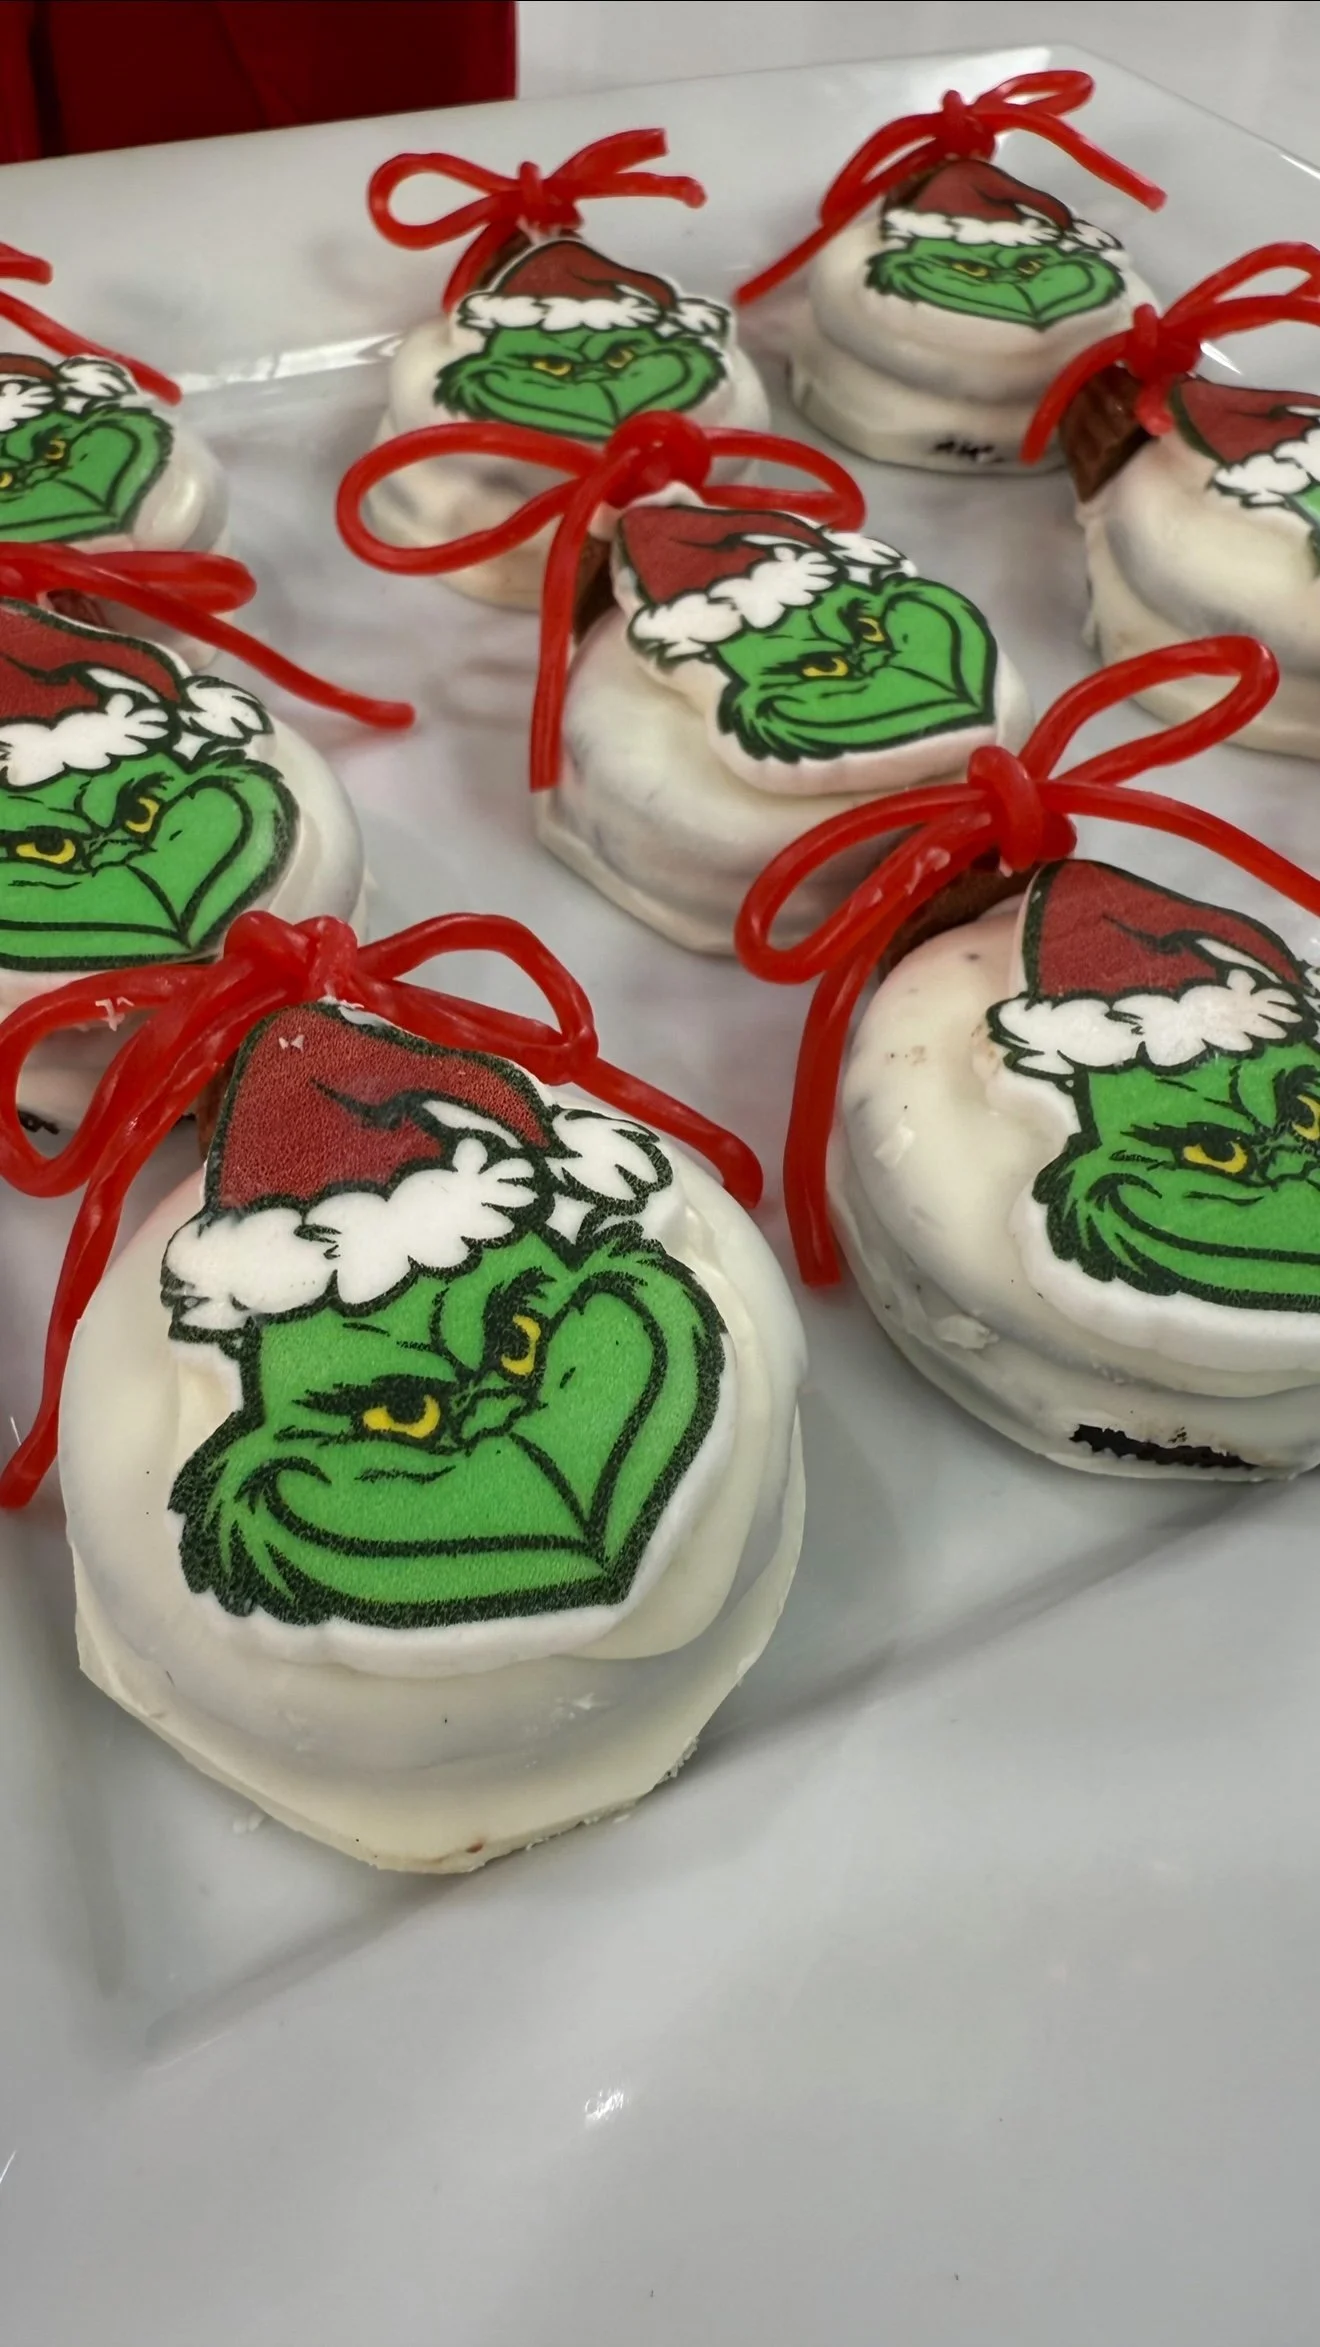
Looking for more fun holiday recipes? Have you seen our Grinch Ornament Cookies?! These are fun and perfect for a holiday movie night.


