
Stay Safe During the 2024 Total Solar Eclipse: How to Make DIY Paper Plate Shields
As the 2024 total solar eclipse approaches on April 8th, it's essential to prioritize eye safety during this awe-inspiring celestial event. While traditional eclipse glasses provide protection, why not take it a step further with DIY paper plate shields? These especially come in handy when you have little ones that want to partake in the viewing and may be prone to mishaps with the glasses. Later in this post, I’ll also share a link where you can find out when the best viewing time in your area is. This comprehensive guide, will walk you through the simple steps to create these extra protective shields using basic materials you likely already have at home. With these DIY paper plate shields, you can enjoy the total eclipse with peace of mind, knowing your eyes are fully protected from harmful solar rays.
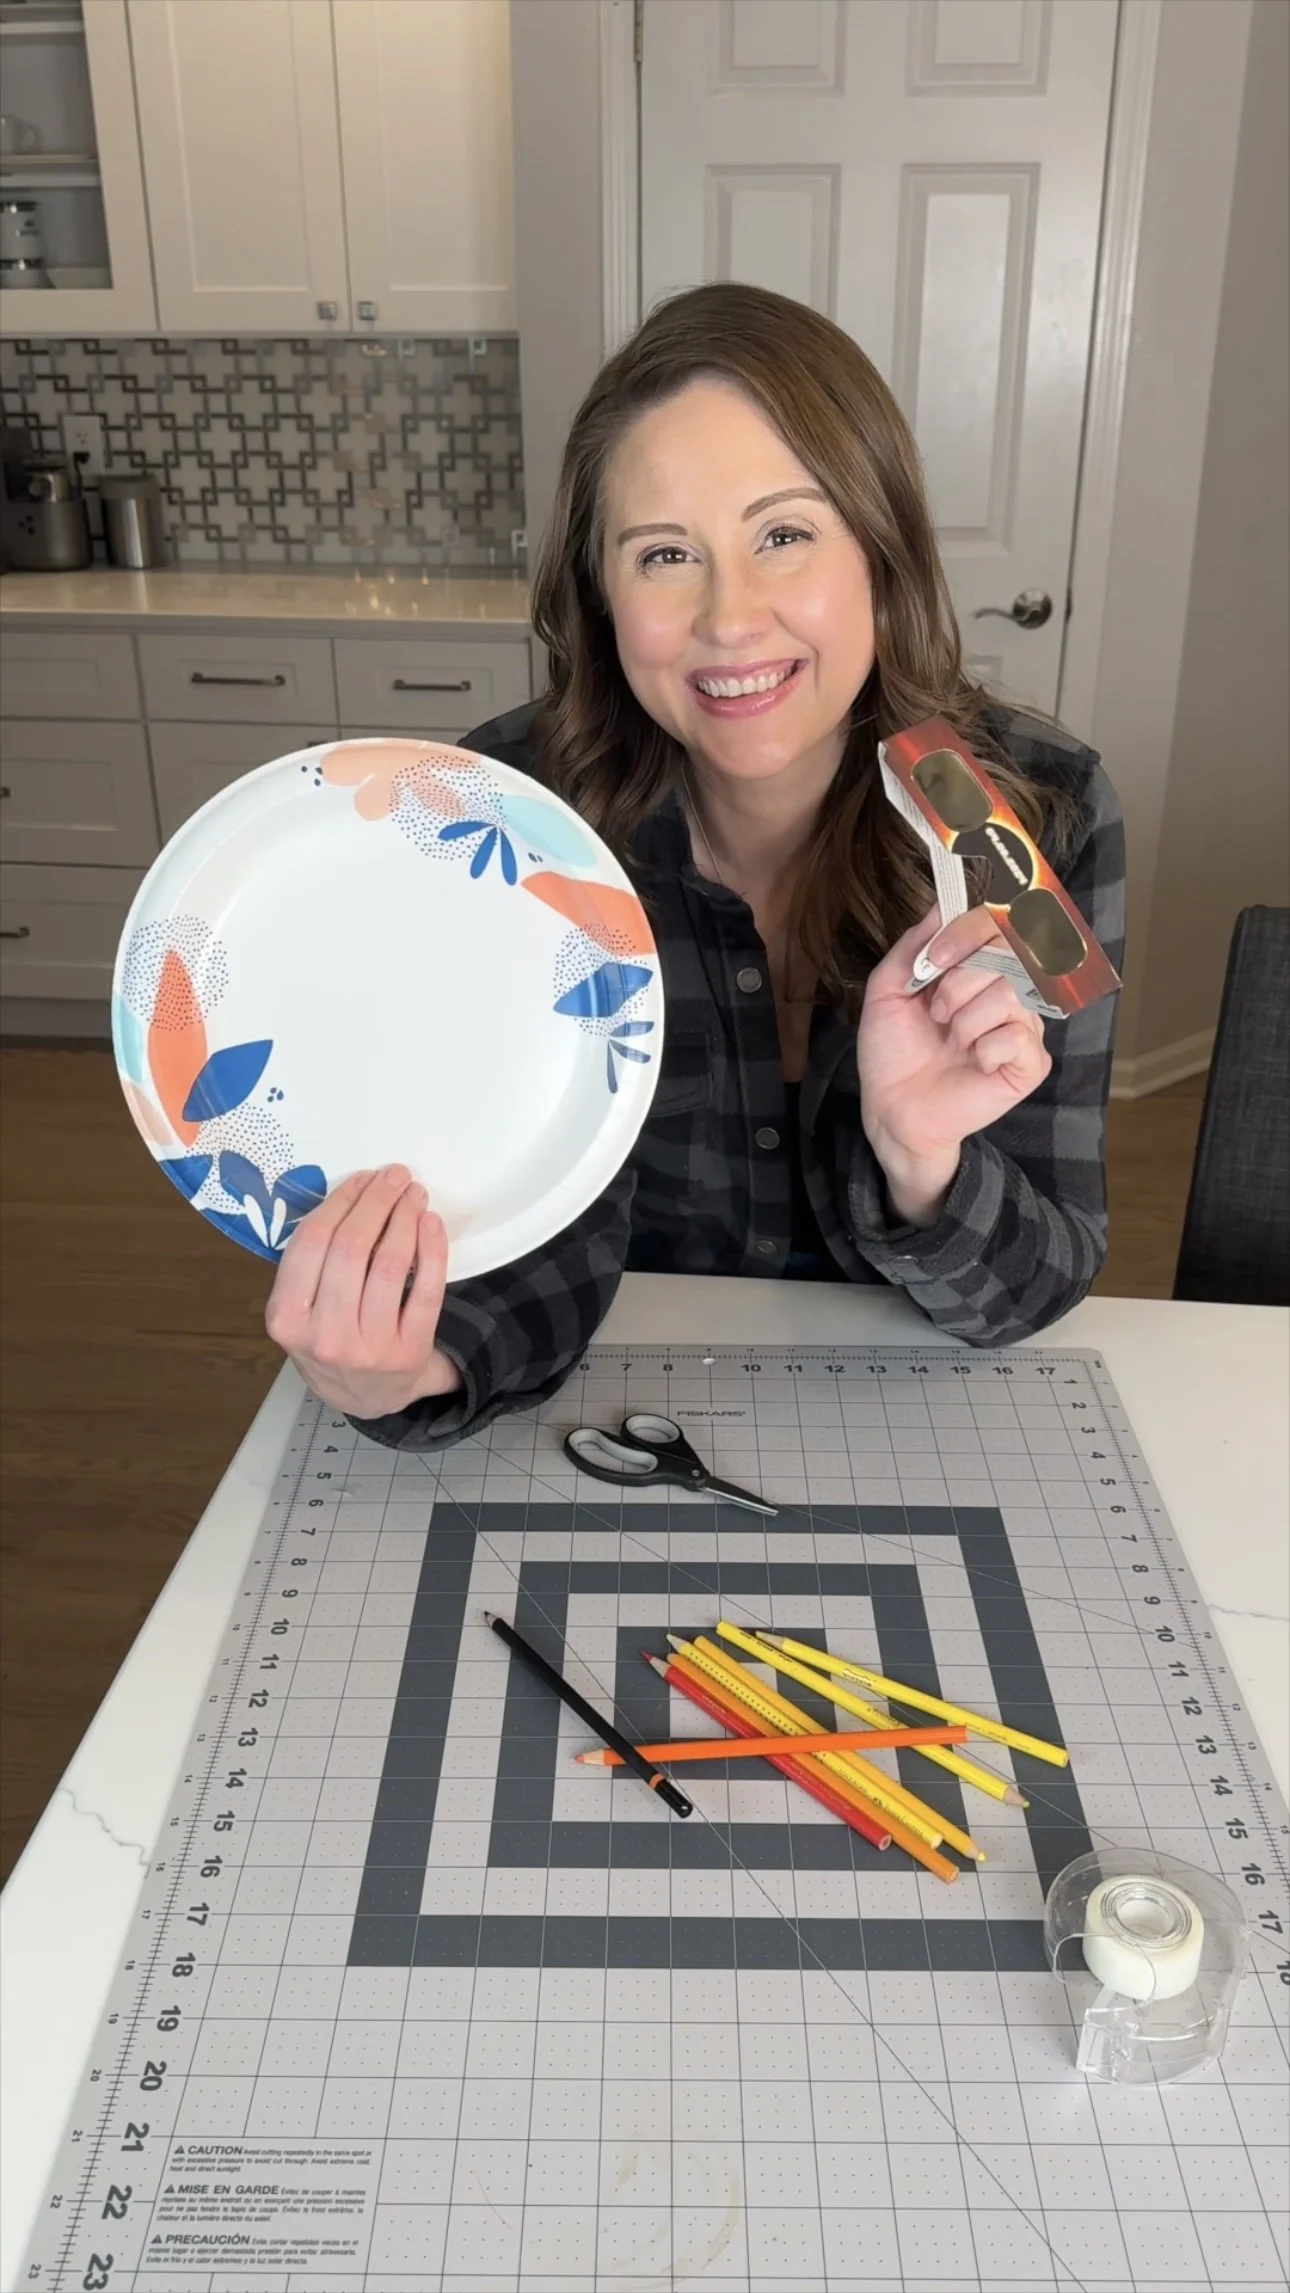
Gathering Your Materials
To create your DIY paper plate shields, you'll need the following materials:
Approved solar eclipse glasses
Pencil
Razor blade or craft knife
Scissors
Clear tape
Decorating materials (optional)
Tracing and Cutting the Shields
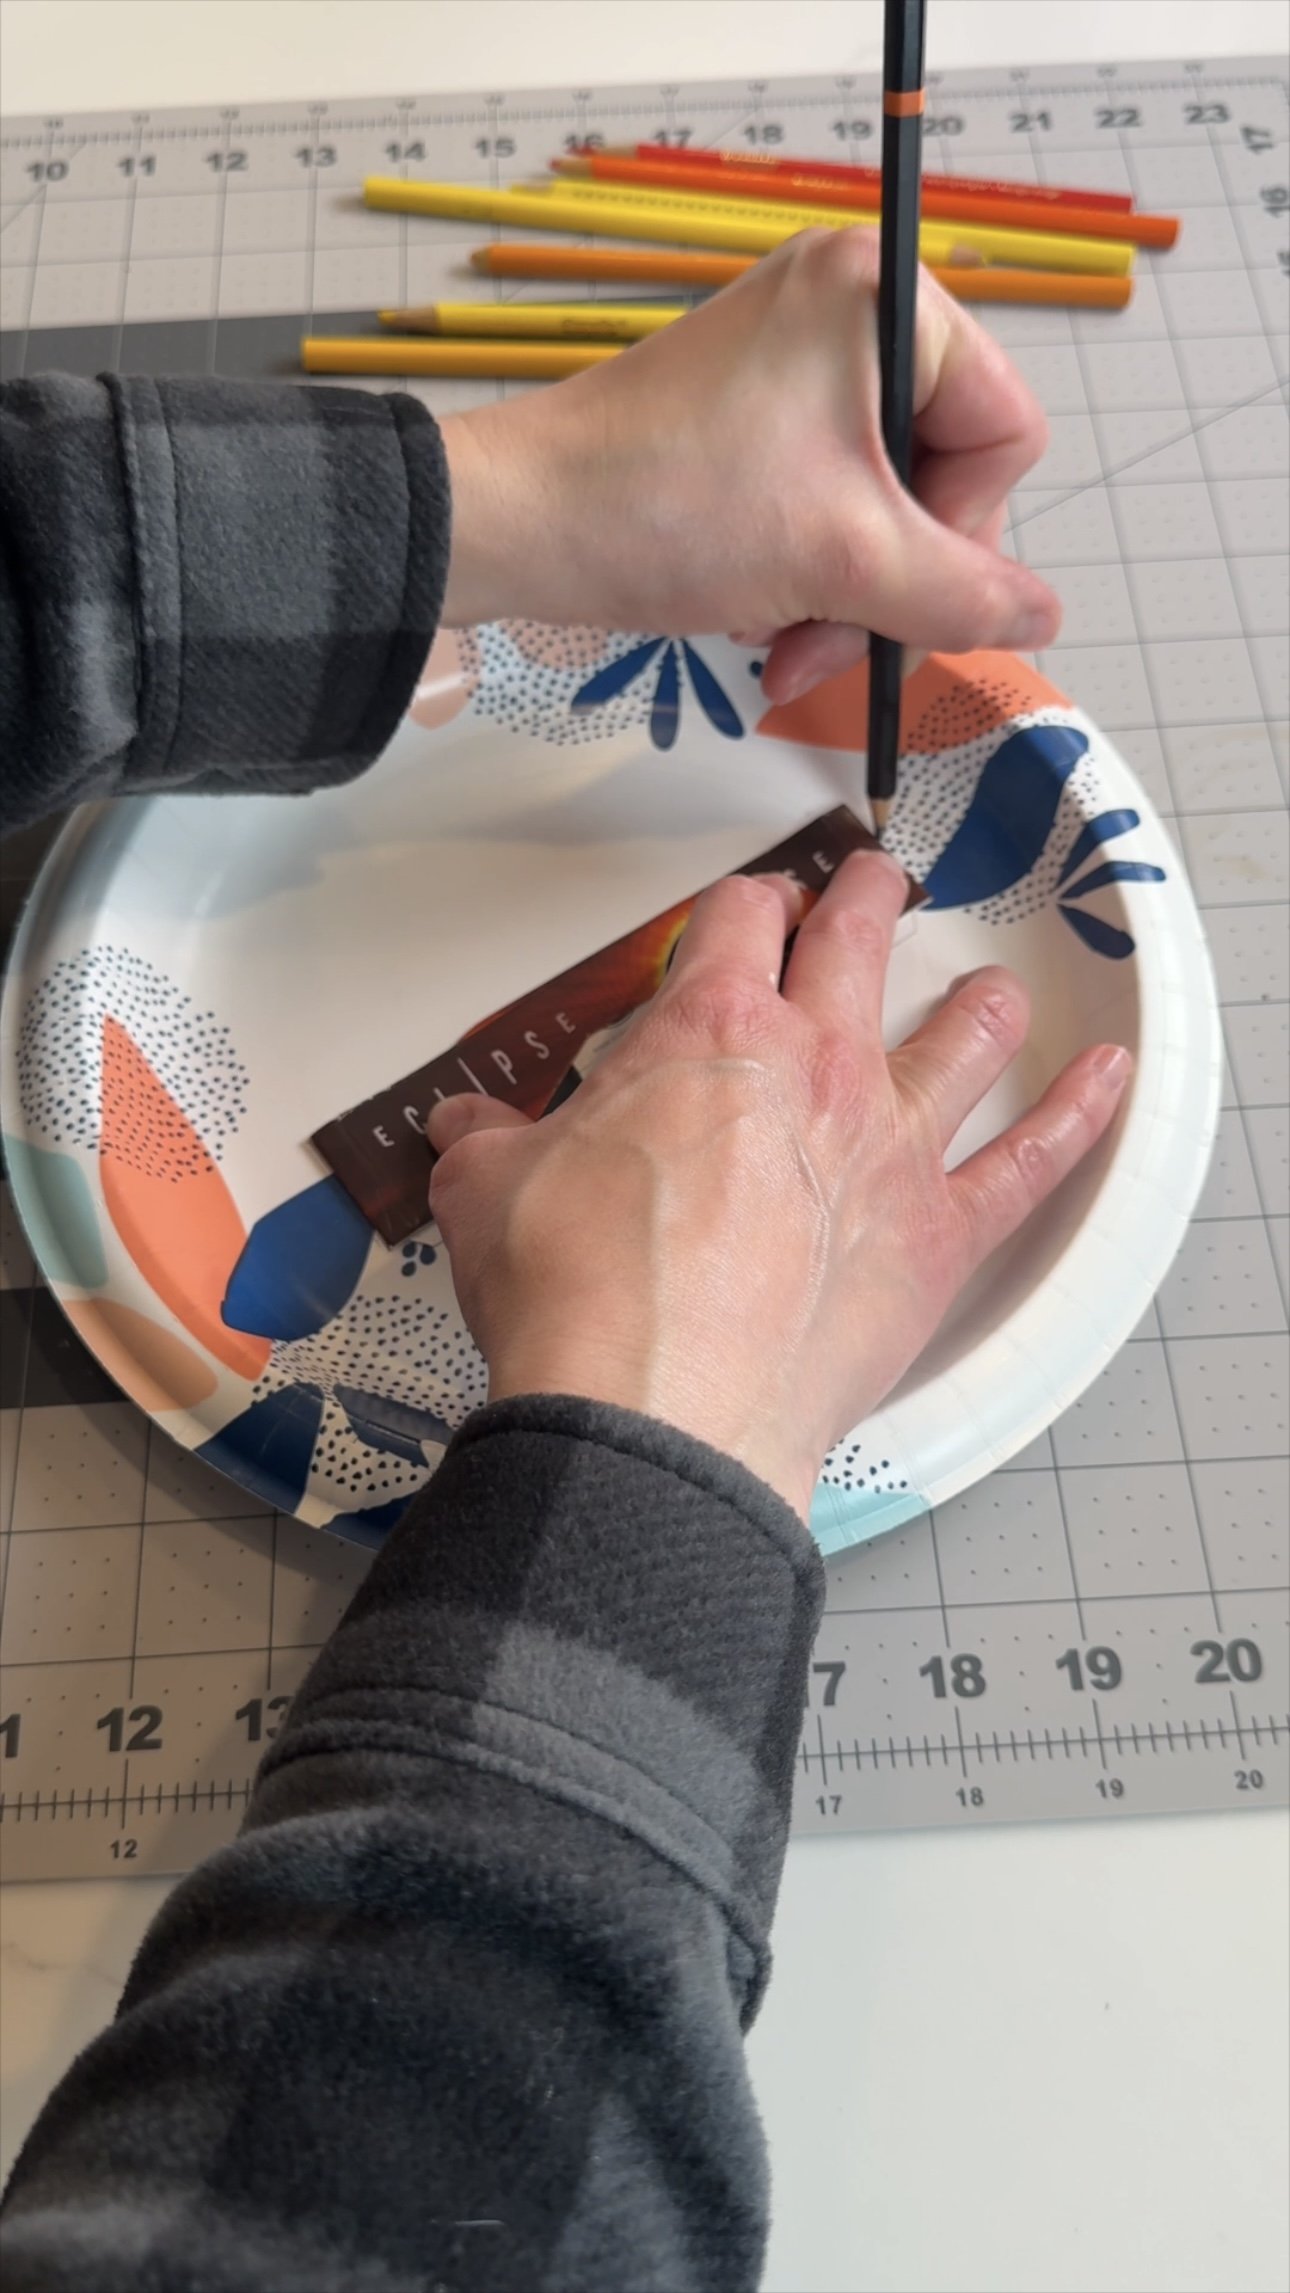
Start with a paper plate and use the printed side facing up.
Place your approved solar eclipse glasses face down in the middle of the plate.
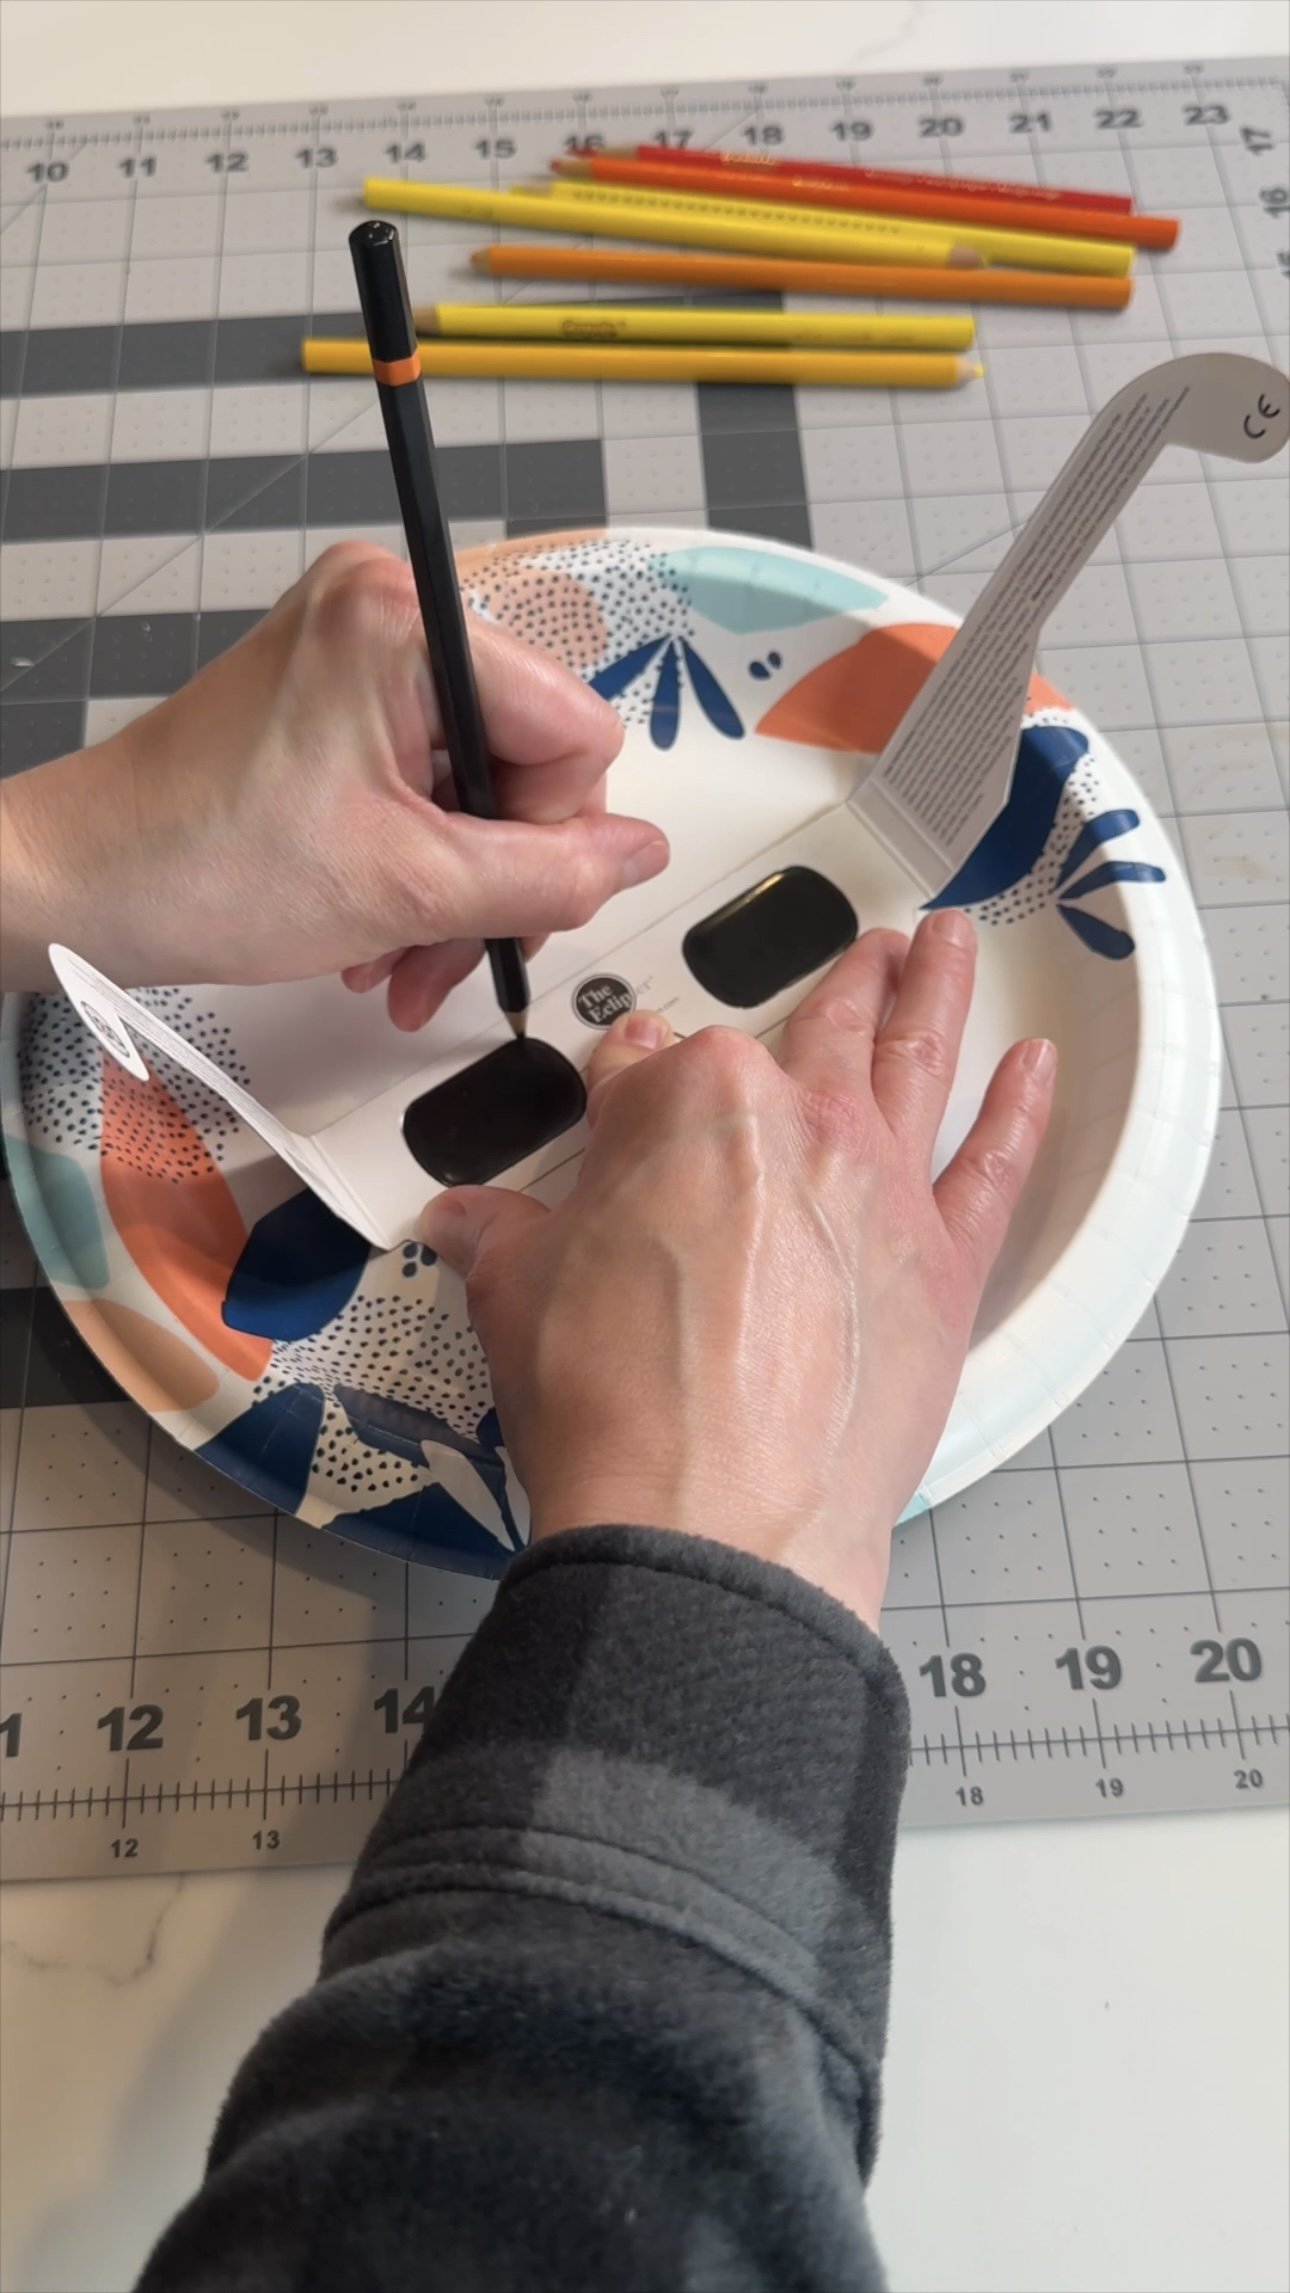
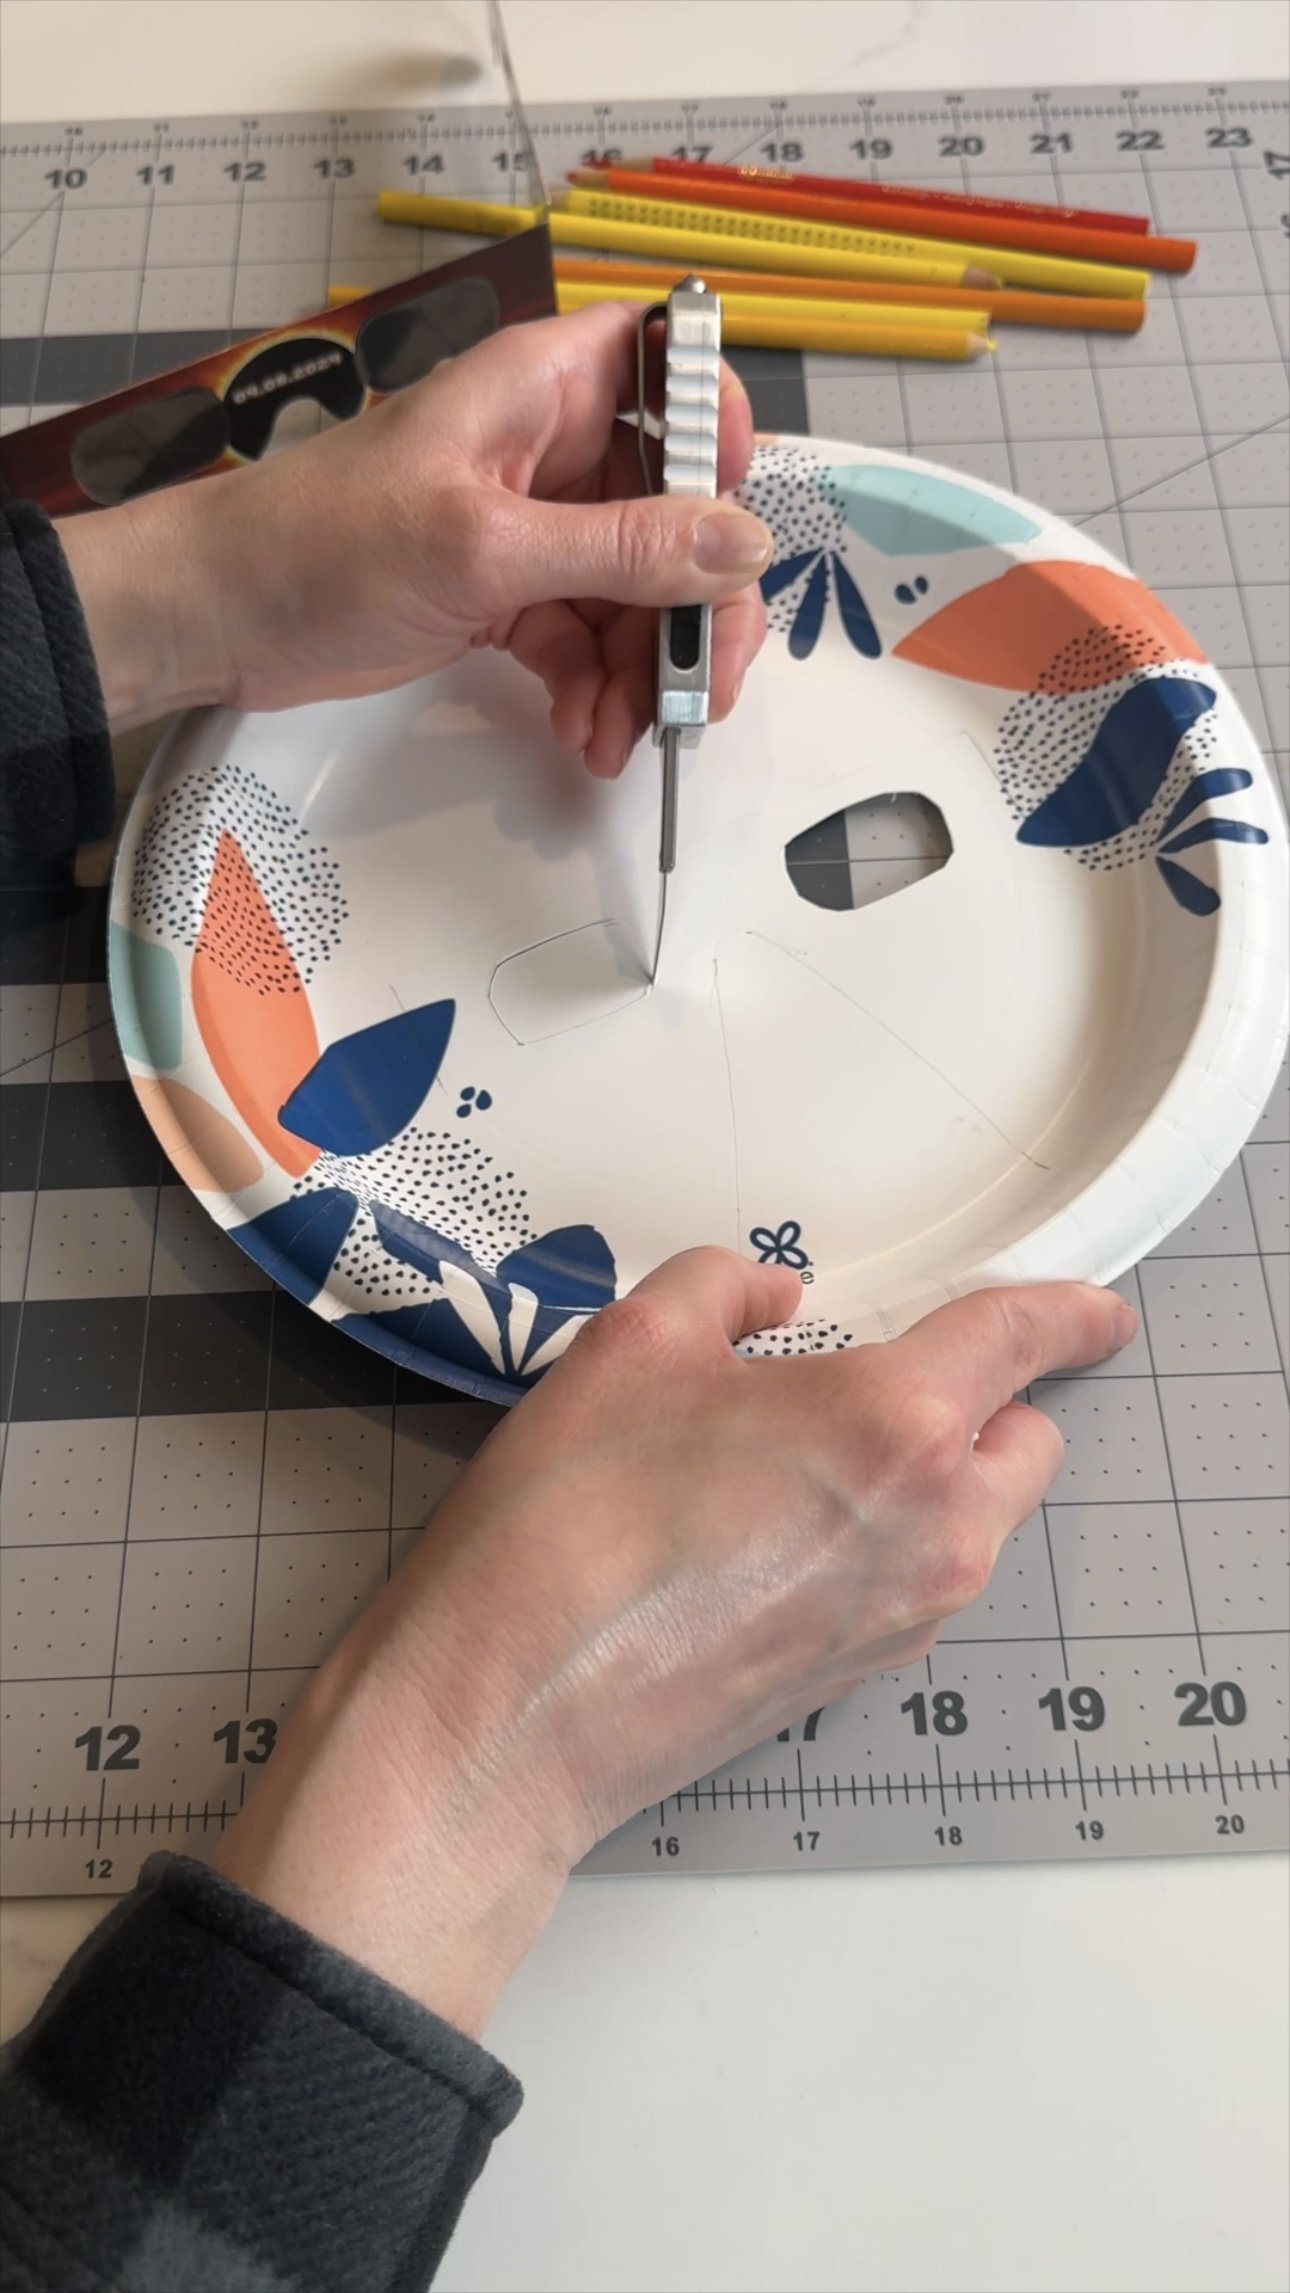
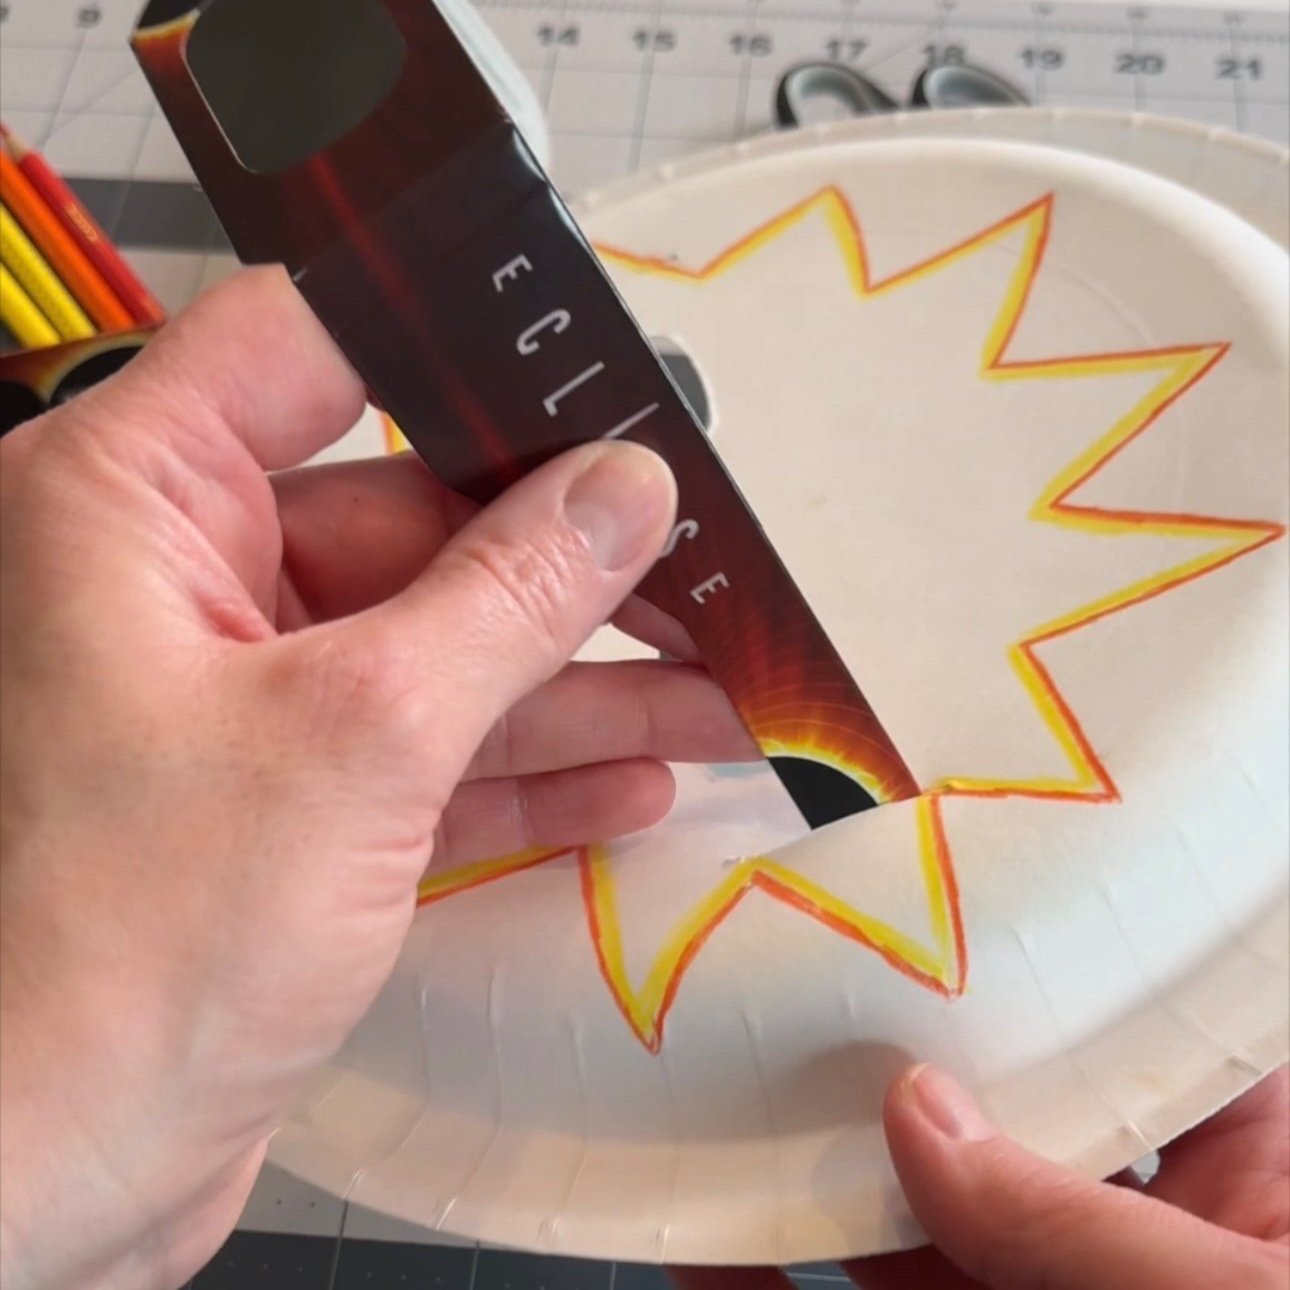
Use a pencil to trace around the top and edges of the glasses, as well as the nose area. Be sure to trace around the eyes to create an indentation for visibility. (Tip: purchase an extra pair of glasses for marking purposes only and use the same pair for all your templates so the integrity of the glasses are not compromised in any way) If you don’t have an extra pair of glasses for this purpose you can just mark where the lenses are without touching them.
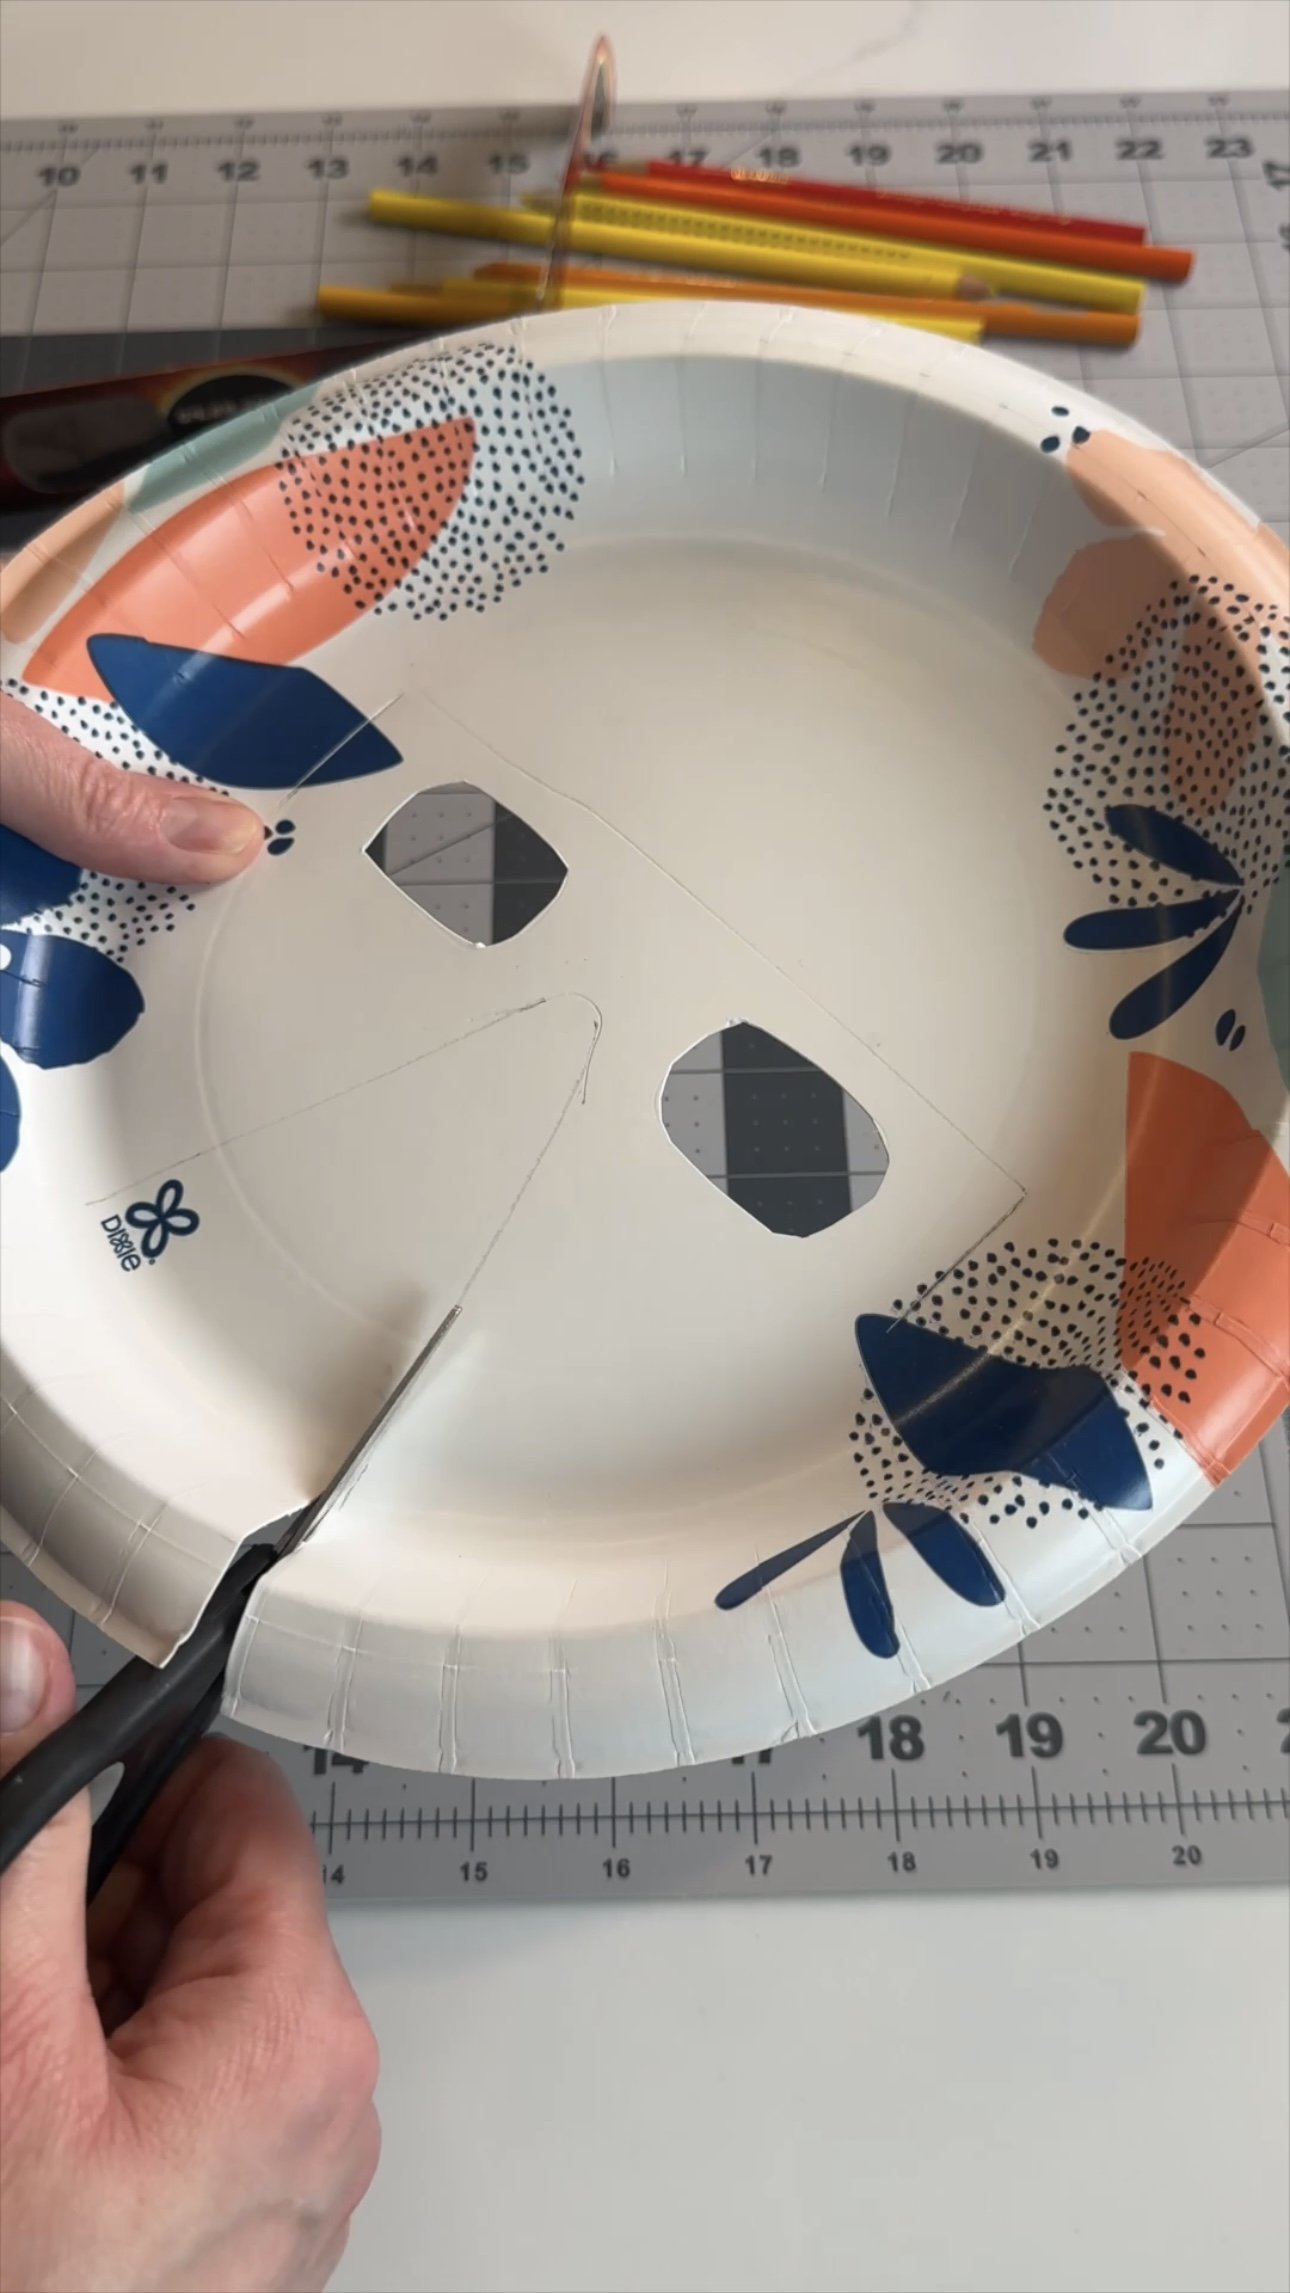
Using a razor blade or craft knife, carefully follow the traced lines around the eyes to create openings. Pop out each eye carefully.
Use the blade to cut along the traced lines on the sides of the plate, creating a space to insert your glasses through. Use scissors to cut out an area for the nose and mouth. Depending on if the shield will be used for a child or an adult. you may need to adjust the opening size.
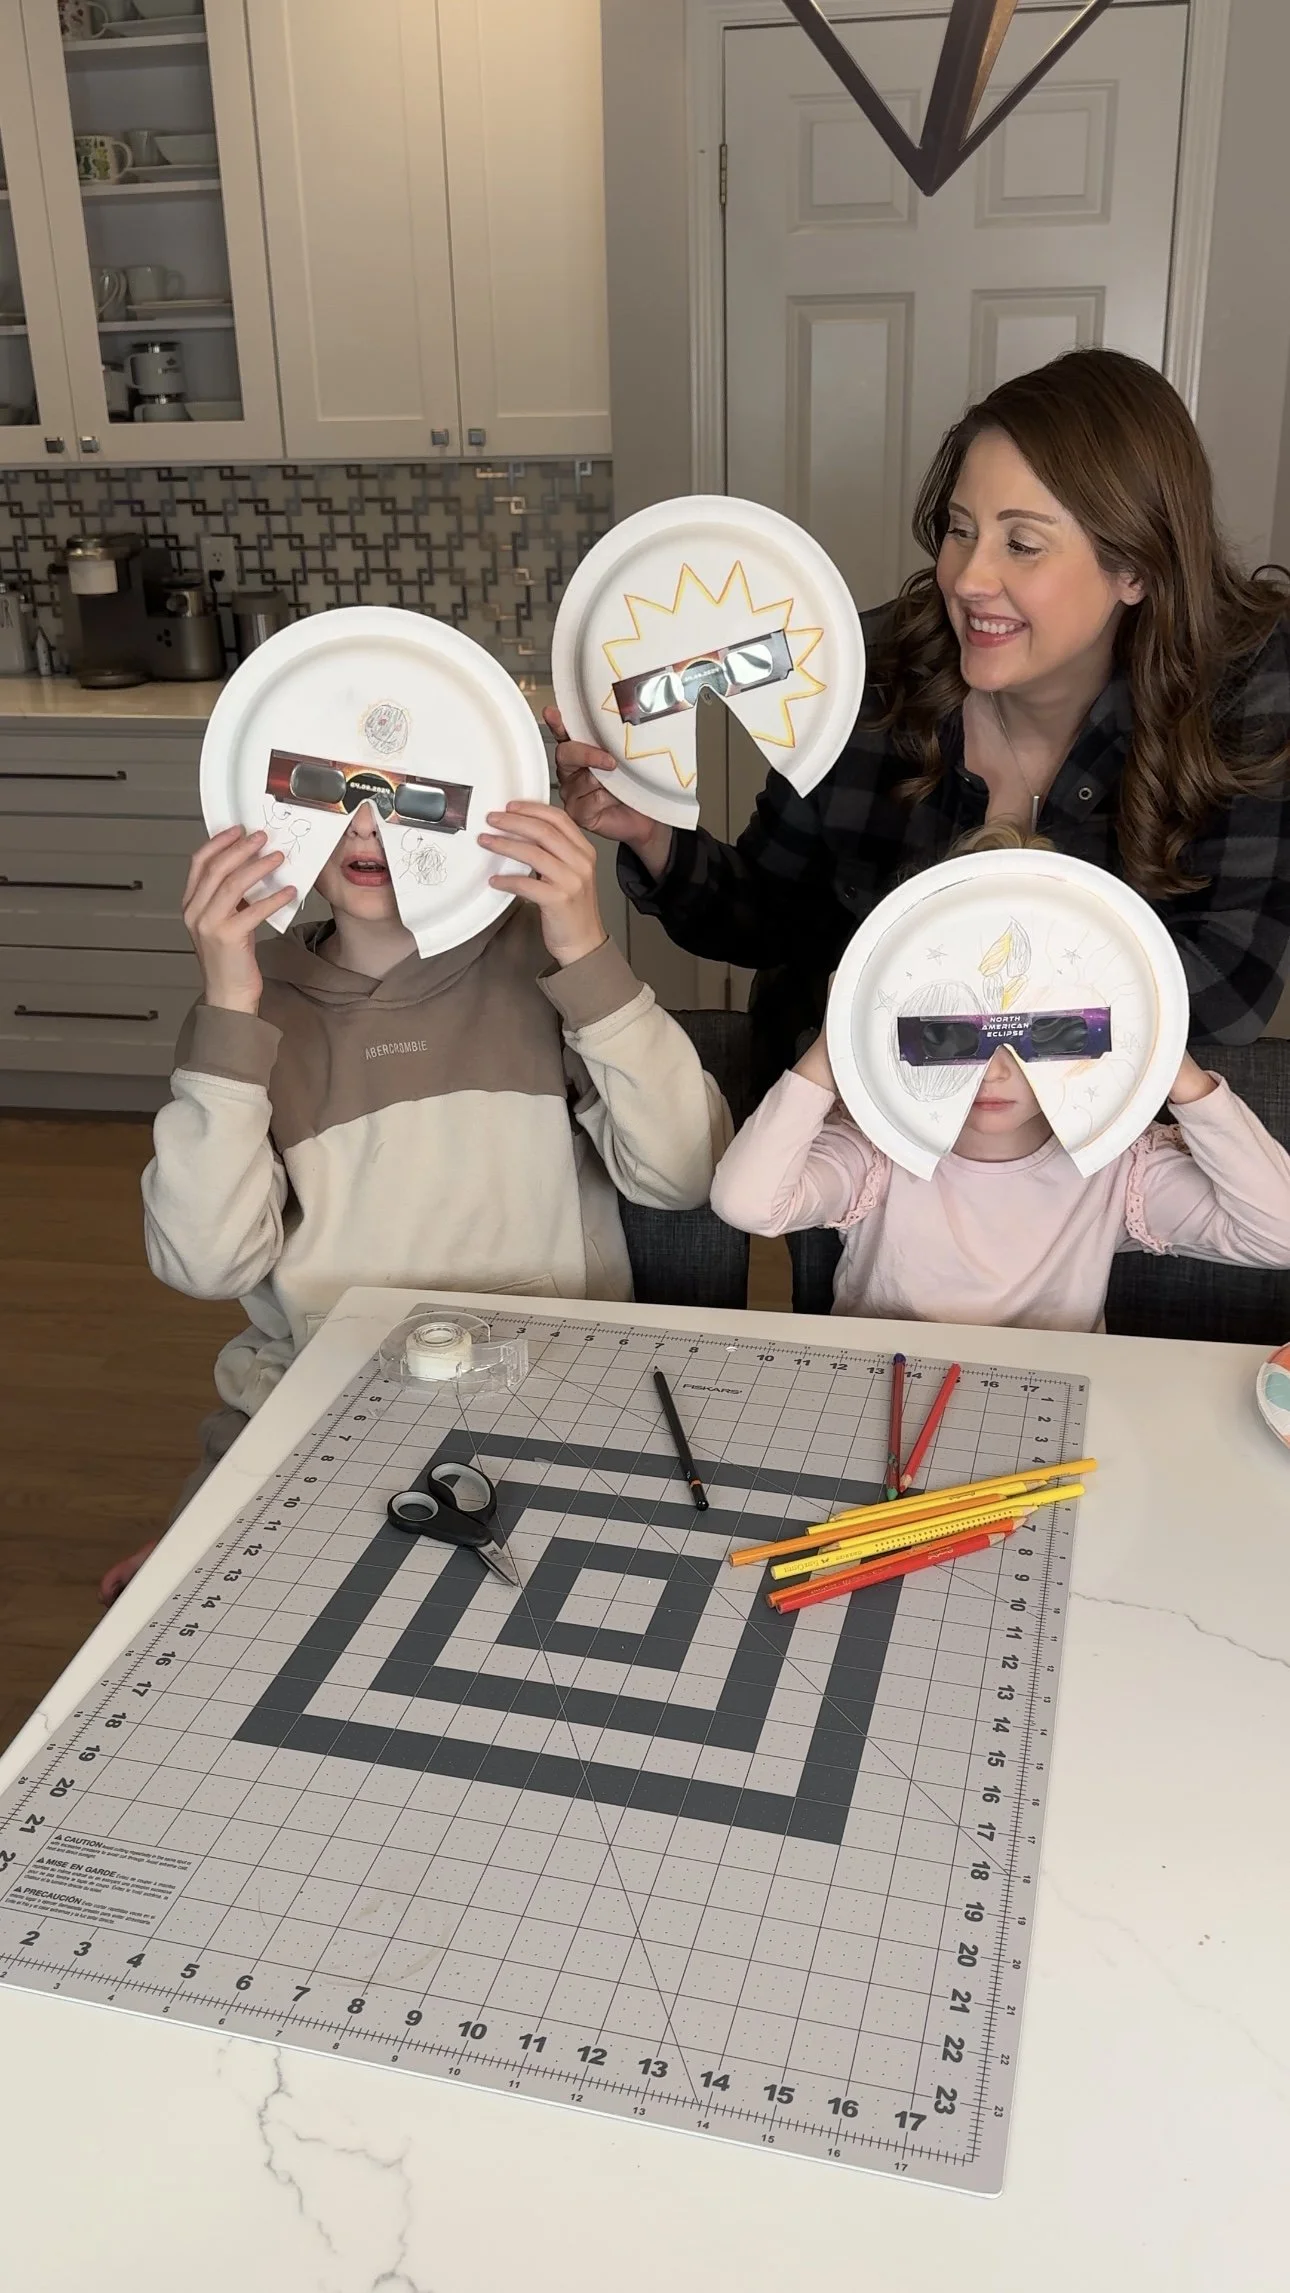
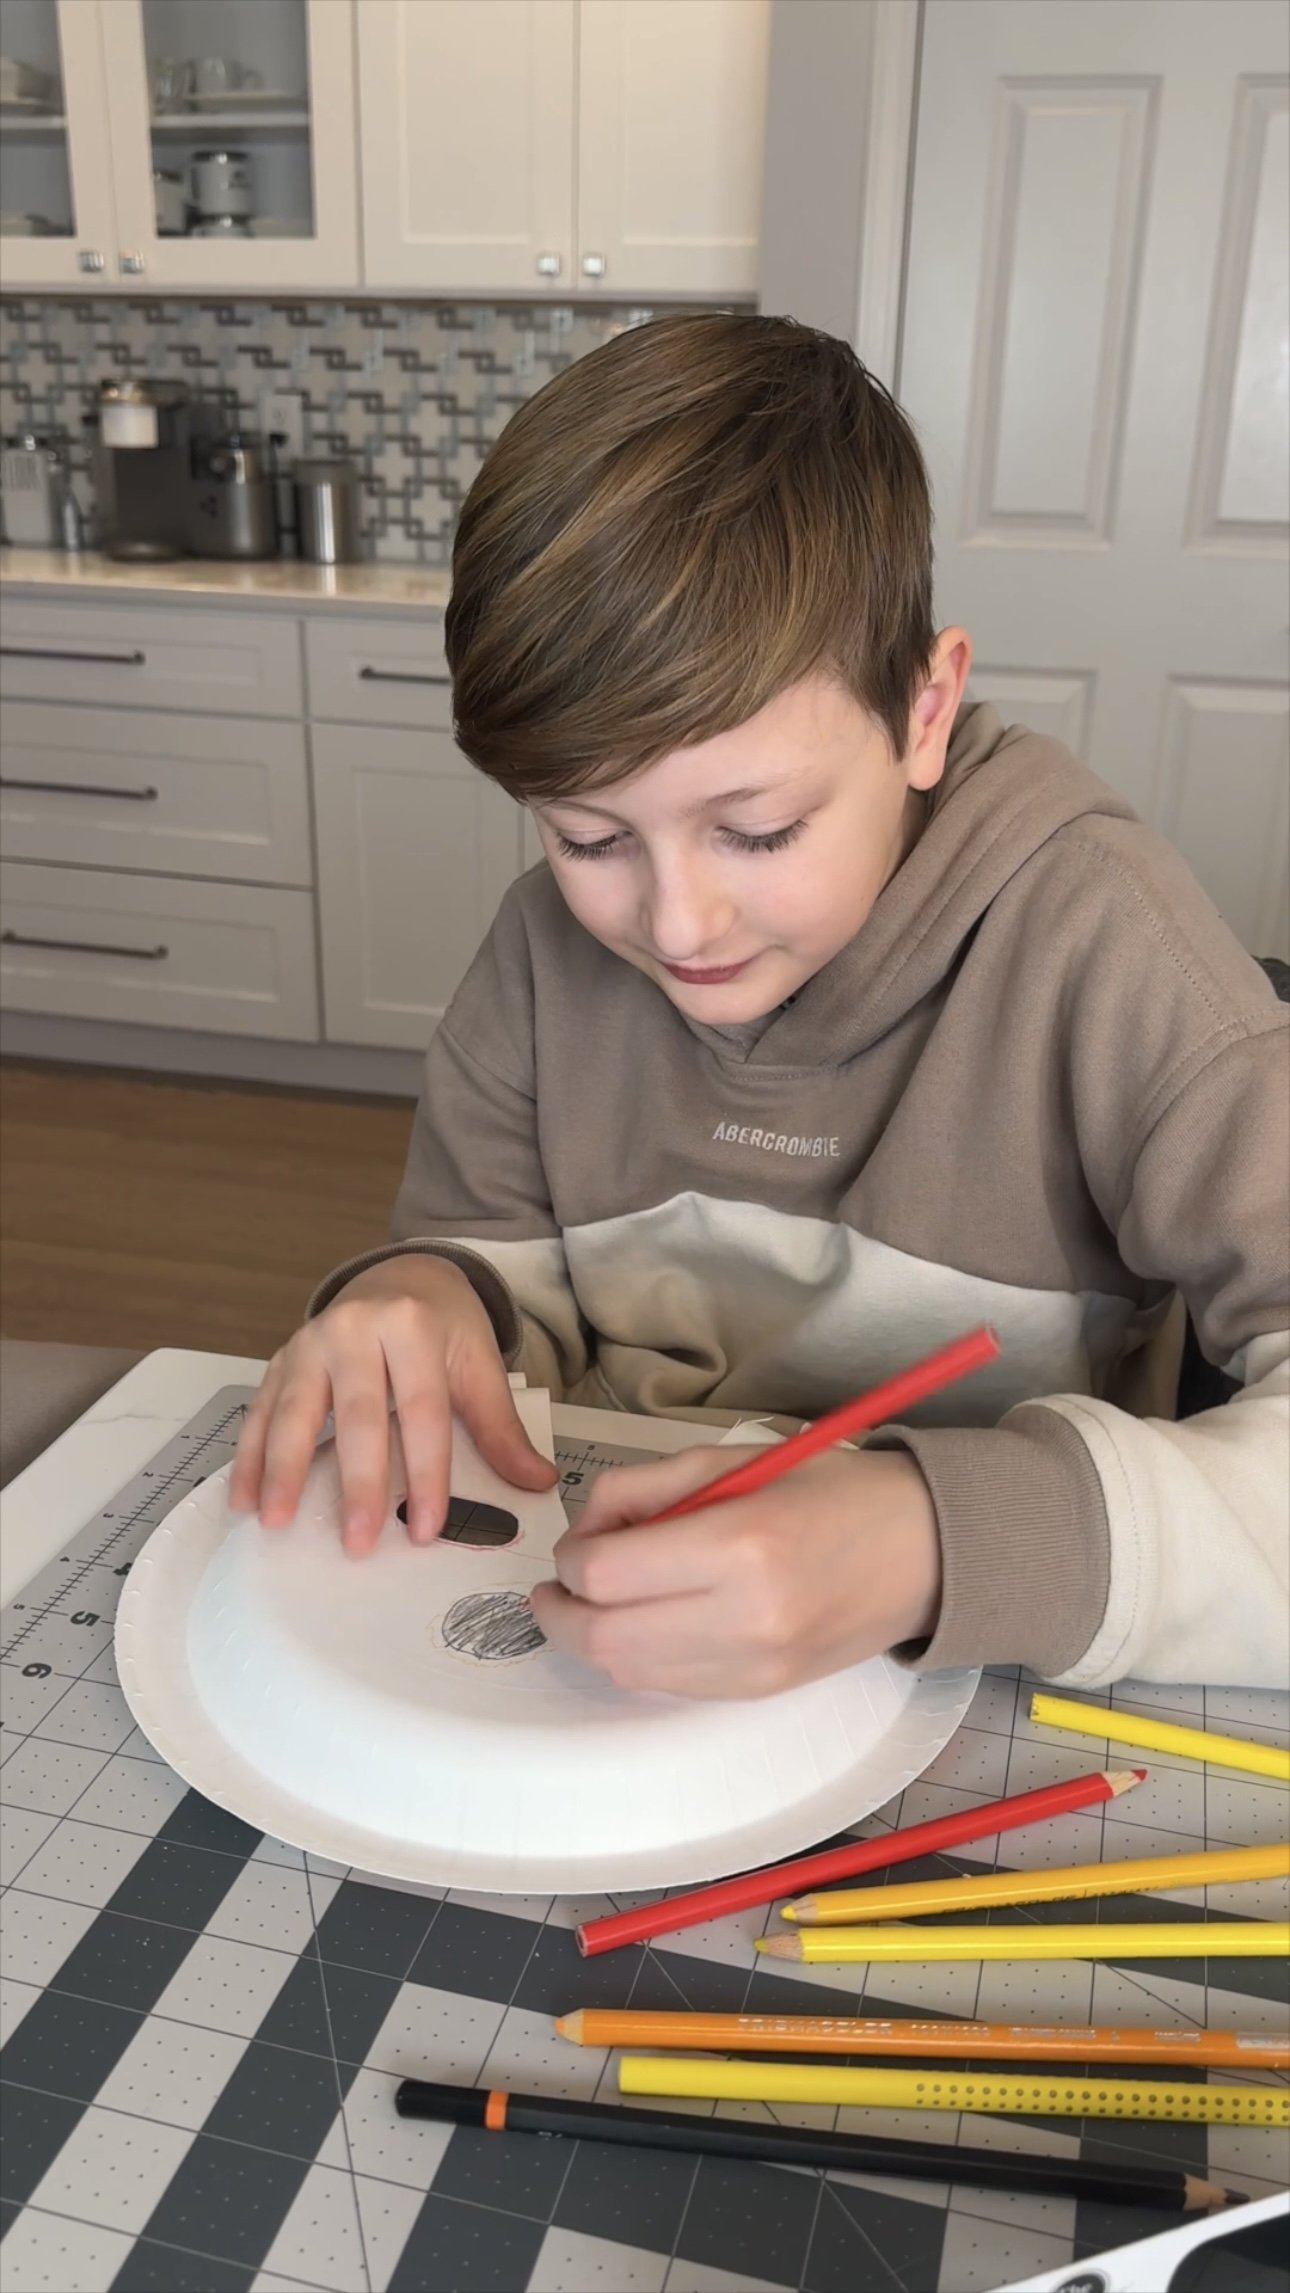
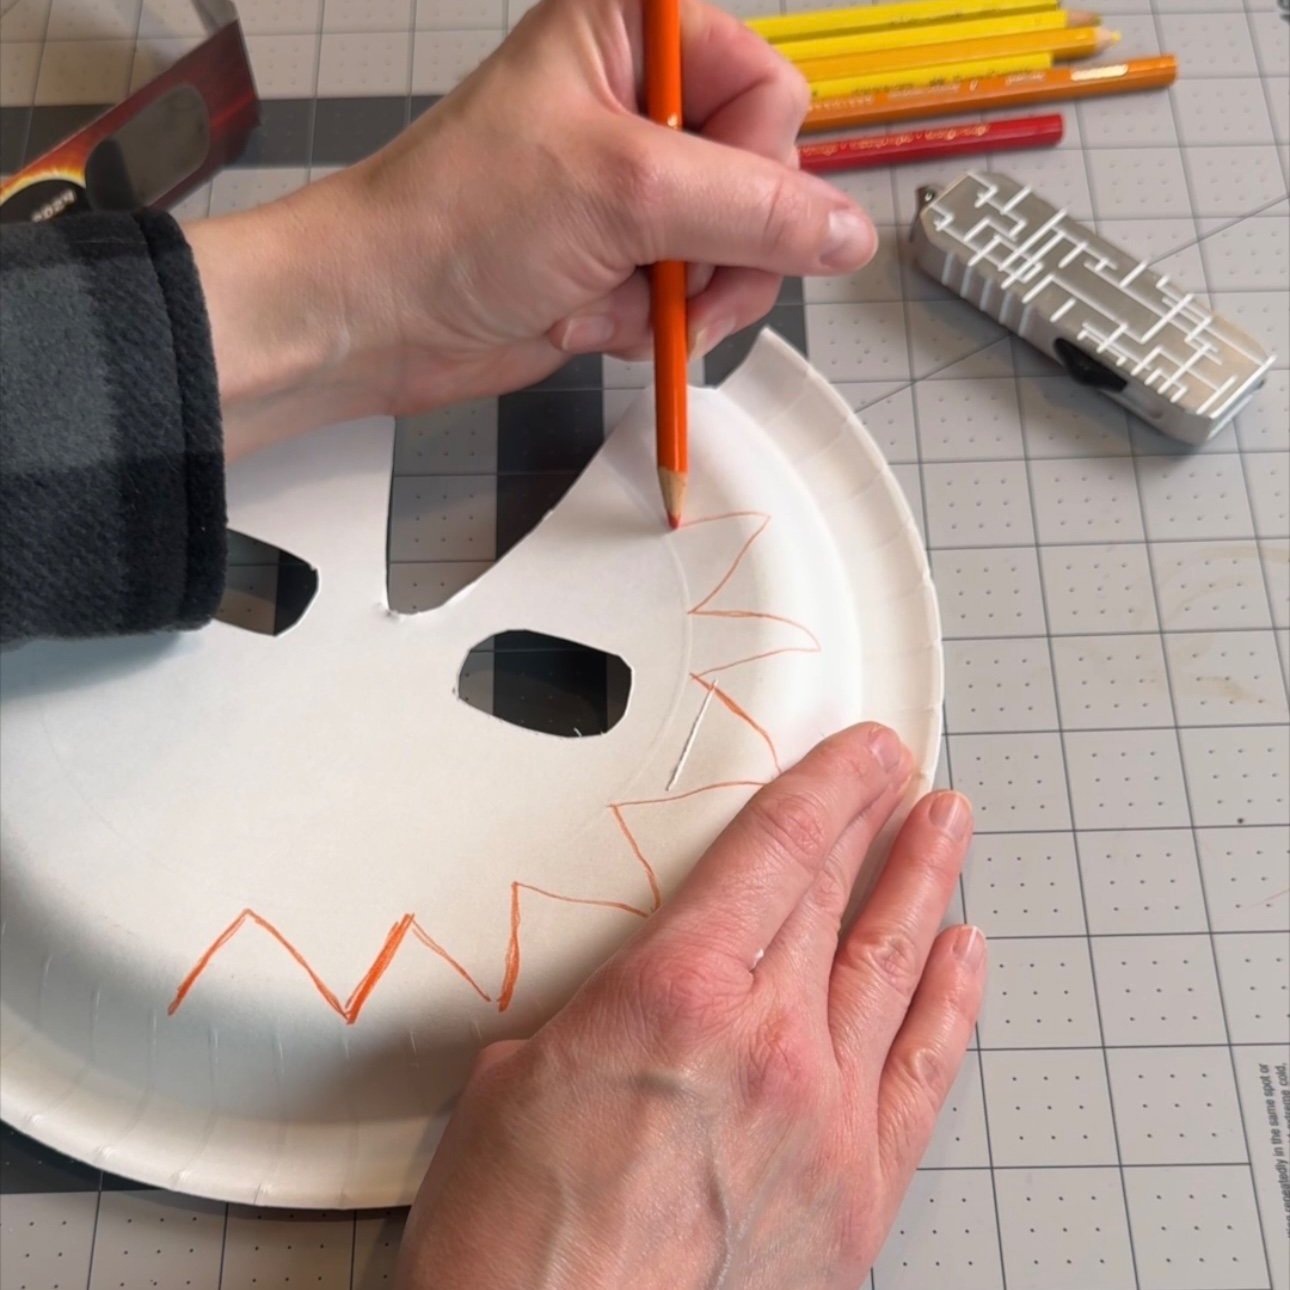
Decorating Your Shields
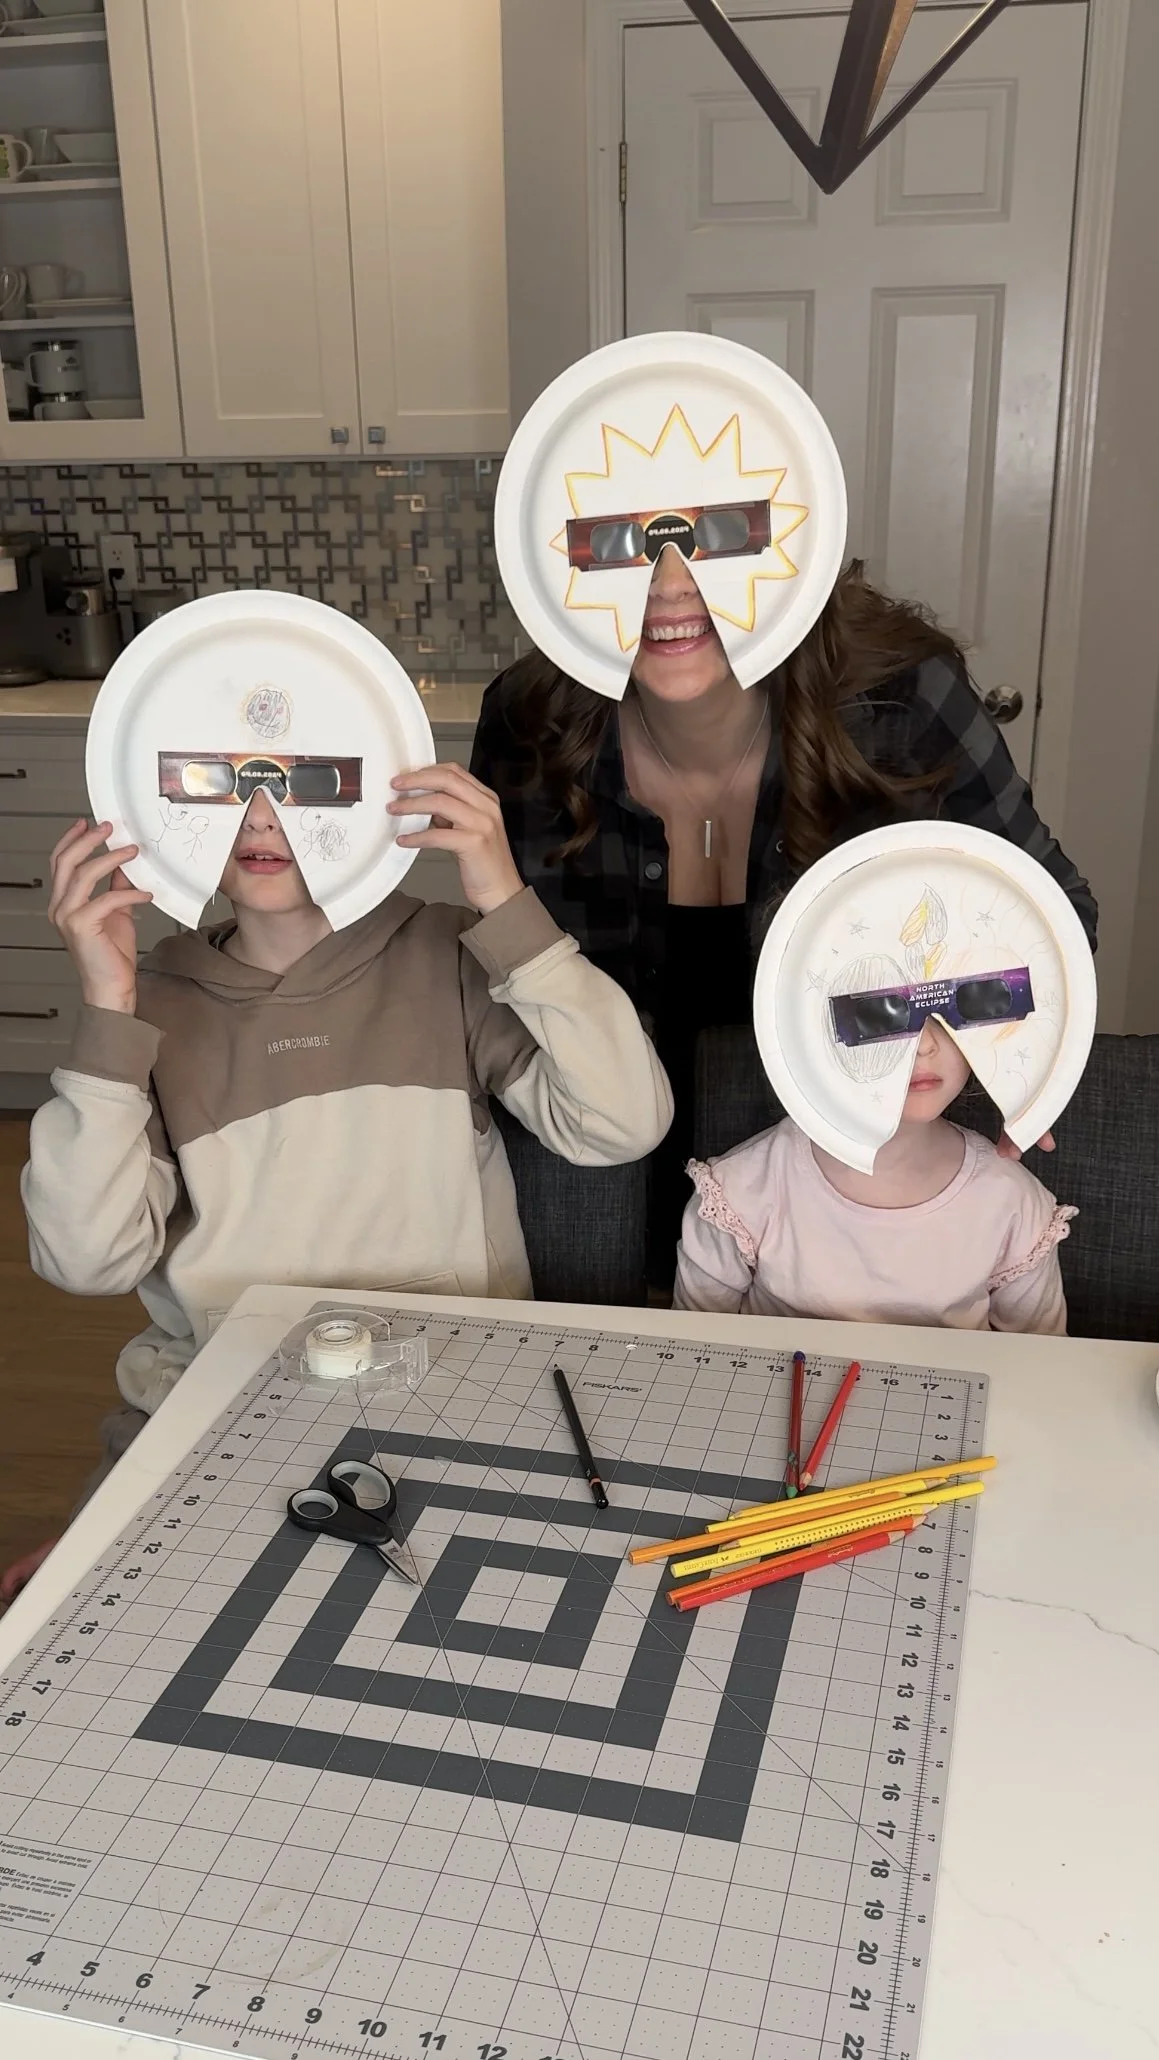
Flip over the paper plate shield to the plain side and decorate as desired. You can use colored pencils, markers, stickers, or any other decorative materials to personalize your shields.
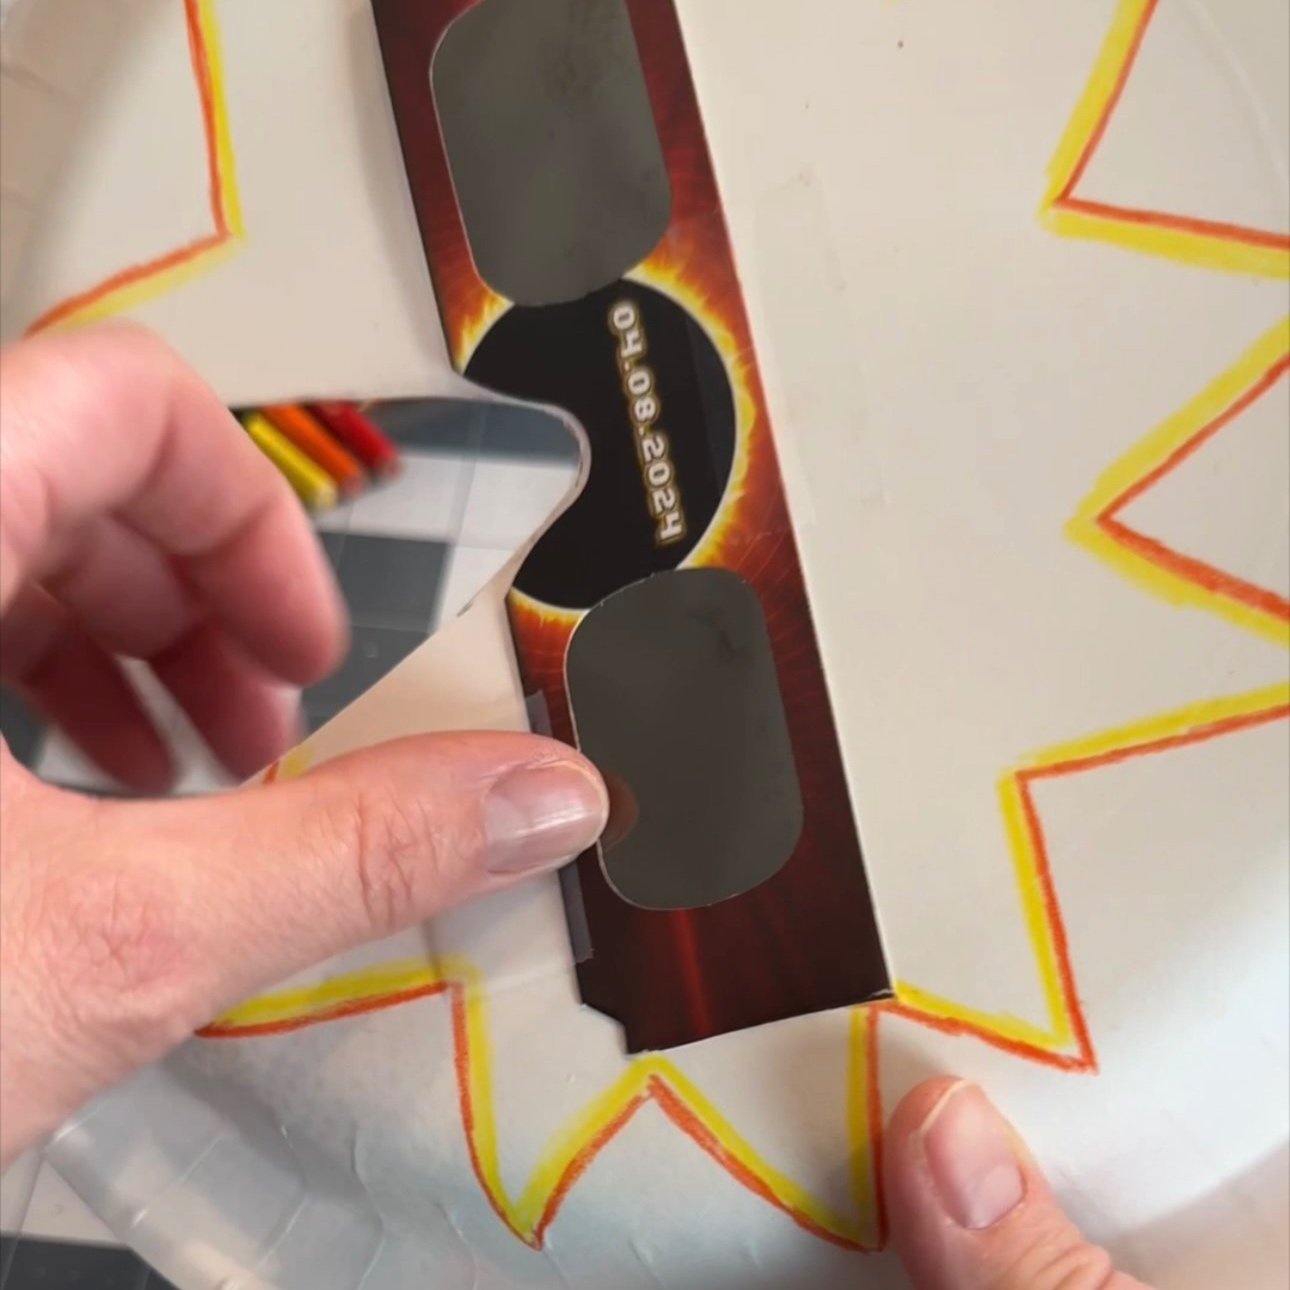
Once you're done decorating, insert your approved solar eclipse glasses into the openings on the shield.
Use clear tape to securely attach the glasses to the paper plate, ensuring they are held firmly in place. It is imperative that they lay completely flat so light does not get through.
Testing and Safety Precautions
It's crucial to ensure that absolutely no light can penetrate through the paper plate shield. Before using them during the eclipse, conduct a thorough test to verify their effectiveness.
Wear the DIY paper plate shields just like you would wear traditional eclipse glasses, ensuring they fit snugly and securely on your face. For little ones you may need to use something like ribbon or string to ensure a secure fit on smaller faces.
With the added protection of the paper plate shield, you can feel confident knowing that your eyes are shielded from direct and peripheral sunlight during the eclipse.
As the 2024 total eclipse approaches, take proactive steps to protect your eyes and enjoy this rare celestial event safely. Find out the best time to view the total solar eclipse in your area! With our DIY paper plate shields, you can enhance your eye protection and enjoy the eclipse with peace of mind. By following our simple step-by-step guide, you can create personalized shields that offer both safety and style. So gather your materials, get creative, and prepare to witness the magic of the total eclipse with confidence!
Once the eclipse is over, have more fun outside with magic bouncing bubbles and DIY puffy chalk paint. You’ll find step-by-step instructions for each activity in our blog posts!