
DIY Bunny Treat Bags: Easter Craft Filled with Sweet Surprises!

Spread some joy and cheer this Easter with these cute and creative DIY bunny treat bags! In this comprehensive guide, we'll show you step-by-step how to make these adorable bags that are perfect for gifting Easter treats to friends and family. With just a few simple materials and a touch of creativity, you can craft these charming bunny bags that will delight both children and adults alike.

- Paper lunch bags (I really like these Kraft bags with designs)
- Pencil
- Scissors
- Paper shred or tissue paper
- Easter eggs filled with surprises (small toys, candy, money)
- Ribbon
- Hot glue gun
- Fluffy pom-poms
Step 1: Prepare the Bags
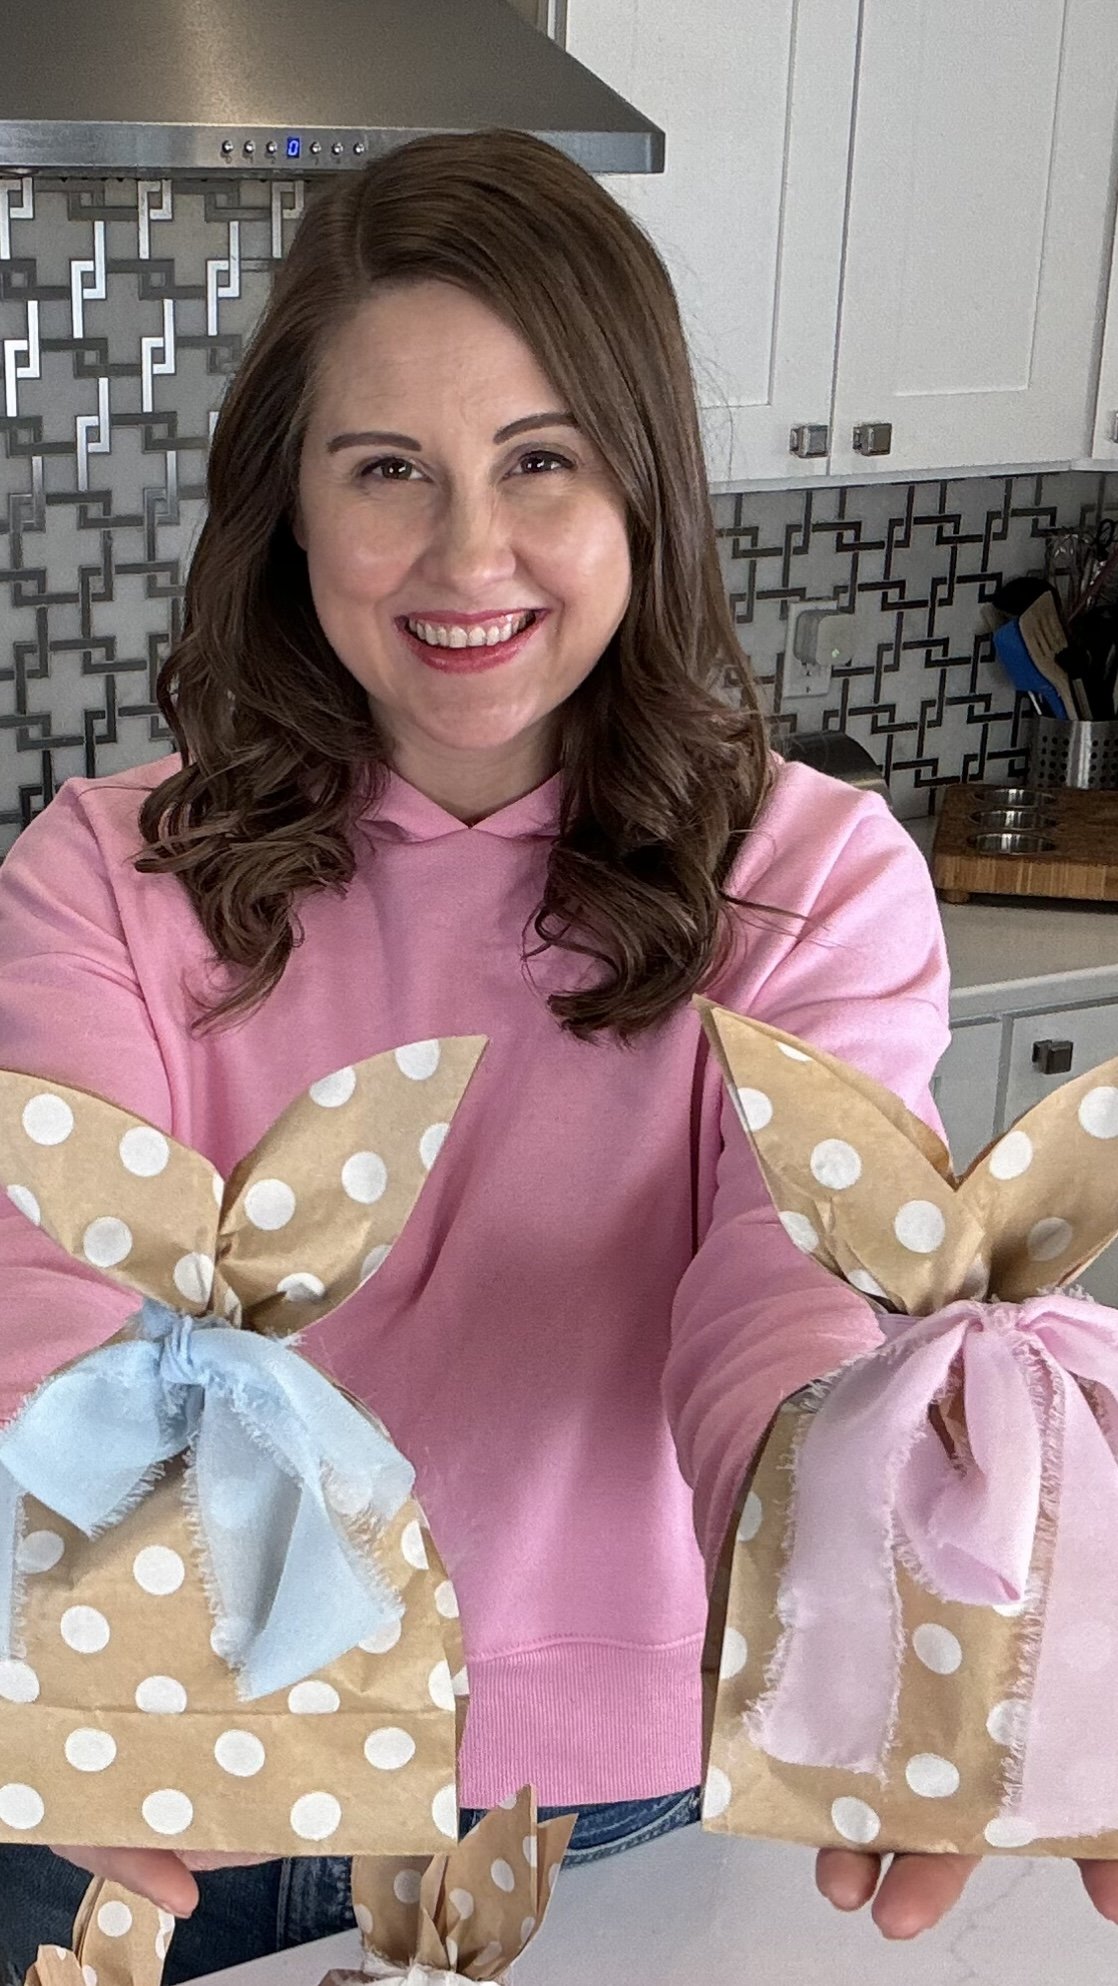
Start by selecting your paper lunch bags. Look for cute designs like fun polka dots or stripes to add extra charm to your bunny bags. Once you have your bags, sketch out bunny ears at the top using a pencil. Cut along the lines to create the ears, giving your bags a whimsical bunny shape.


Step 2: Fill the Bags:
Next, fill each bag with paper shred to create a nest-like base for your Easter goodies. Tissue paper works great too. Add Easter eggs filled with fun surprises like small toys, candy, or even money to delight the recipients. The combination of treats will add excitement and anticipation to your bunny bags.

Step 3: Tie the Bags:
I found pretty chiffon silk ribbon with a vintage look perfect for these bunny treat bags. Tie a bow around the bunny ears to cinch the bags closed. While this step is simple, it can get a bit tricky and may take a few toys to get the bags to lay as you want them to. With a bit of manipulations, you’ll get it though! The ribbon not only adds a decorative touch but also ensures that the treats stay securely inside the bags until they're ready to be opened.

Step 4: Add the Tail:
To complete the bunny look, you'll need to add a fluffy tail to each bag. Using soft fluffy pom-poms, select a size that complements the size of your bags. With a hot glue gun, carefully apply a small amount of glue to the back of the pom-pom and attach it to the back of the bag, just below the bunny ears. Press firmly and hold in place for a few seconds to ensure it adheres securely.

Step 5: Personalize and Decorate:
Once the tails are attached, take some time to personalize and decorate your bunny bags. You can add additional embellishments like stickers, glitter, or even handwritten messages to make each bag unique and special.

Step 6: Share:
Now that your bunny treat bags are complete, share them with loved ones. Whether you're hosting an Easter egg hunt or simply spreading holiday cheer, these adorable bags are sure to bring smiles to everyone's faces. These bags make the cutest party favors for a spring or Easter themed party.
Crafting DIY bunny treat bags is a fun and festive way to add a personal touch to your Easter celebrations. With just a few simple materials and a bit of creativity, you can create charming bags that will delight recipients of all ages. Whether you're making them for friends, family, or yourself, these bunny bags are sure to be a hit this Easter season. So gather your supplies and get crafting – hop to it!
We recently shared a few other fun Easter Crafts like decoupage eggs and a DIY bunny vase. Make sure to check those out too.
If you are looking for unique ways to color Easter eggs we shared some great step-by-step guides on how to make tie-dye eggs, shaving foam eggs, and even eggs colored with Cool Whip. I’d love to hear some of your favorite holiday traditions!
This post is featured in Twinkl’s Easter Celebration, find me in Fun Easter Activities for Kids!