
Crafting Easter Magic: A Step-by-Step Guide to Decoupage Easter Eggs with Printed Napkins

As Easter approaches, it's time to bring out your creativity and add some handmade charm to your holiday decor. One delightful way to do this is by crafting your own decoupage Easter eggs using printed napkins. Yes, you heard that right, printed napkins can make some really unique Easter eggs In this detailed guide, we'll walk you through the process step by step, from prepping the napkins to applying the decoupage technique and creating stunning Easter decorations that will impress everyone. I love that you can make them playful using napkins with sprinkles like we did or your kids favorite characters, yet you can easily make them more sophisticated using floral prints or pretty patterns.

- Printed napkins (I used cocktail sized)
- Craft eggs
- Mod Podge
- Scissors
- Paintbrush
- latex gloves (These help keep the adhesive off your hands)
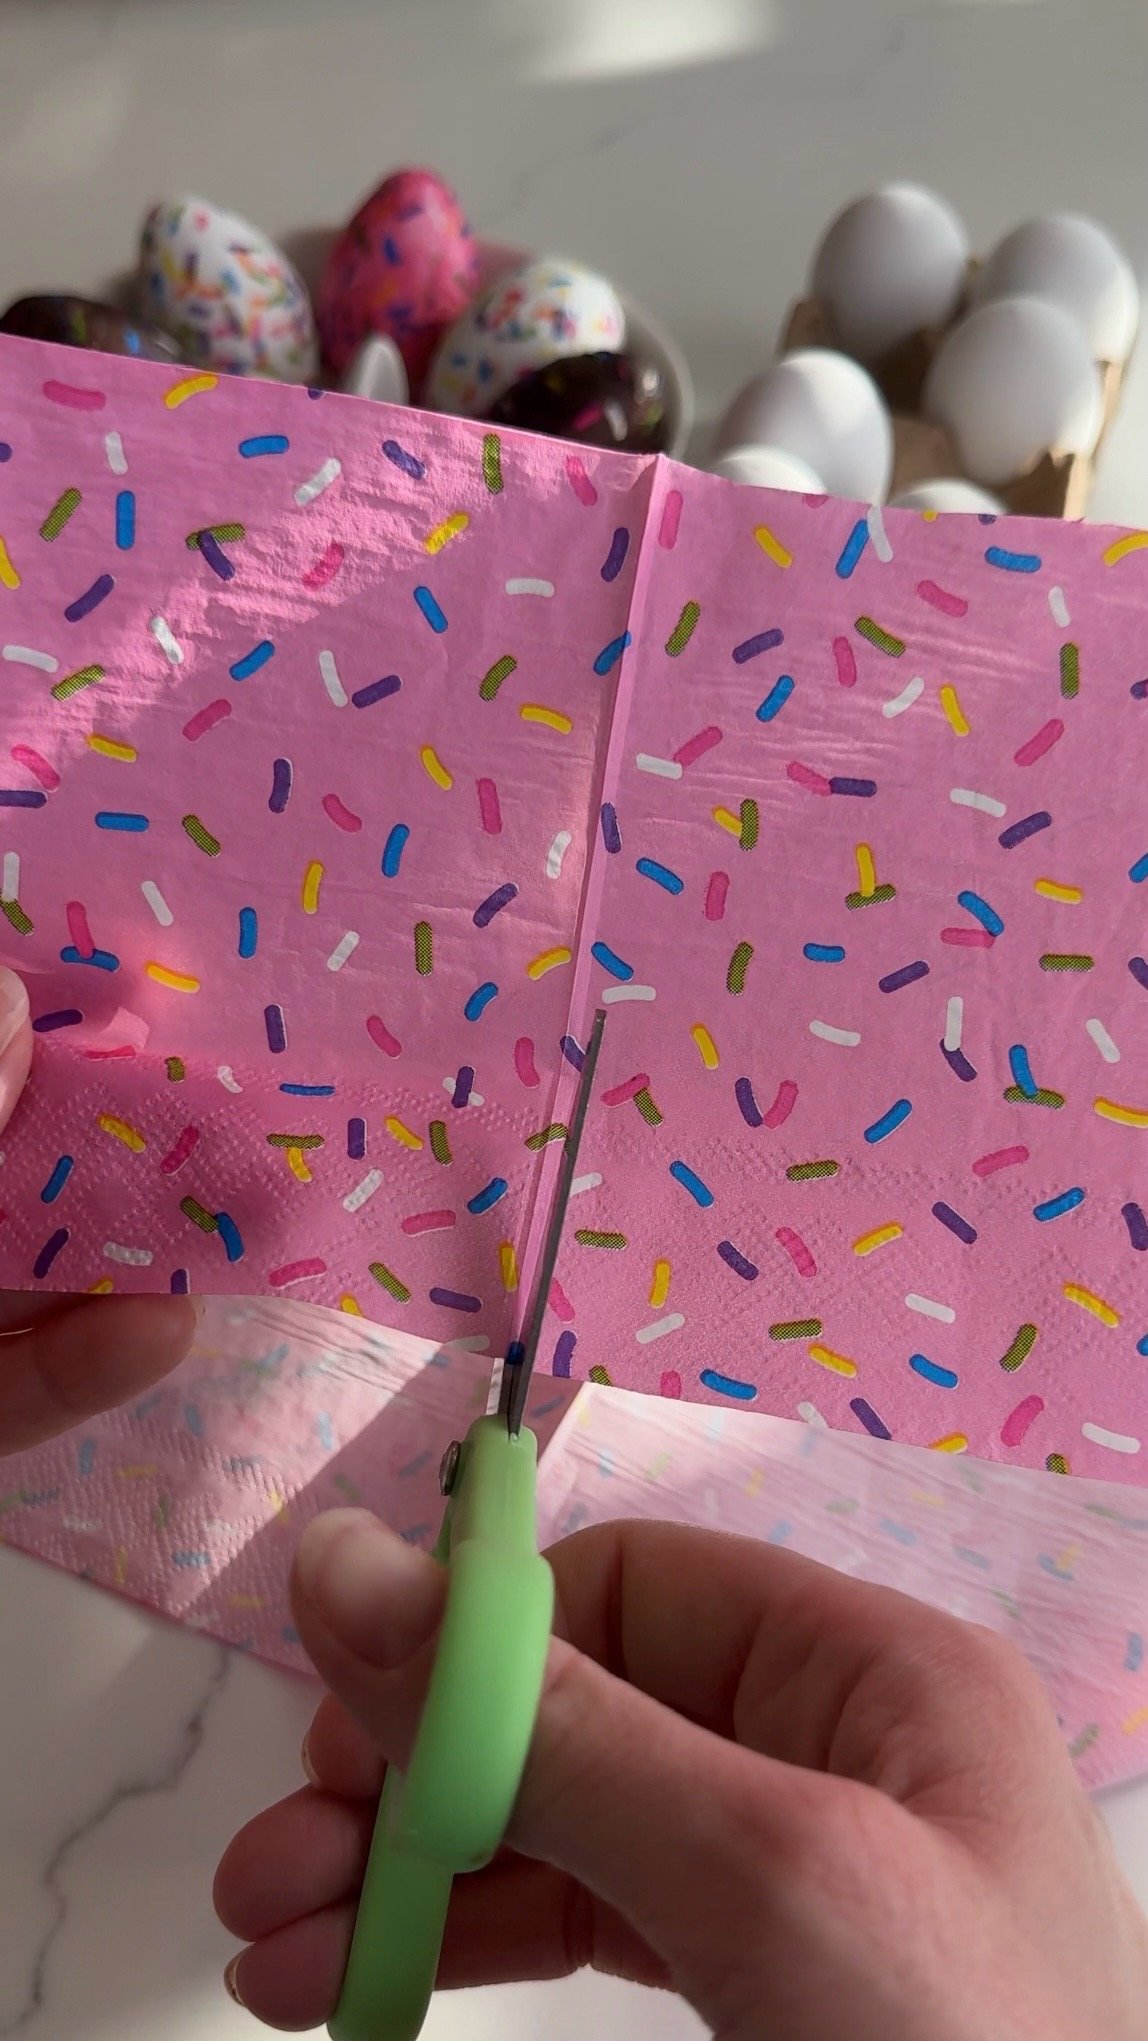
Step 1: Prepare the Napkins:
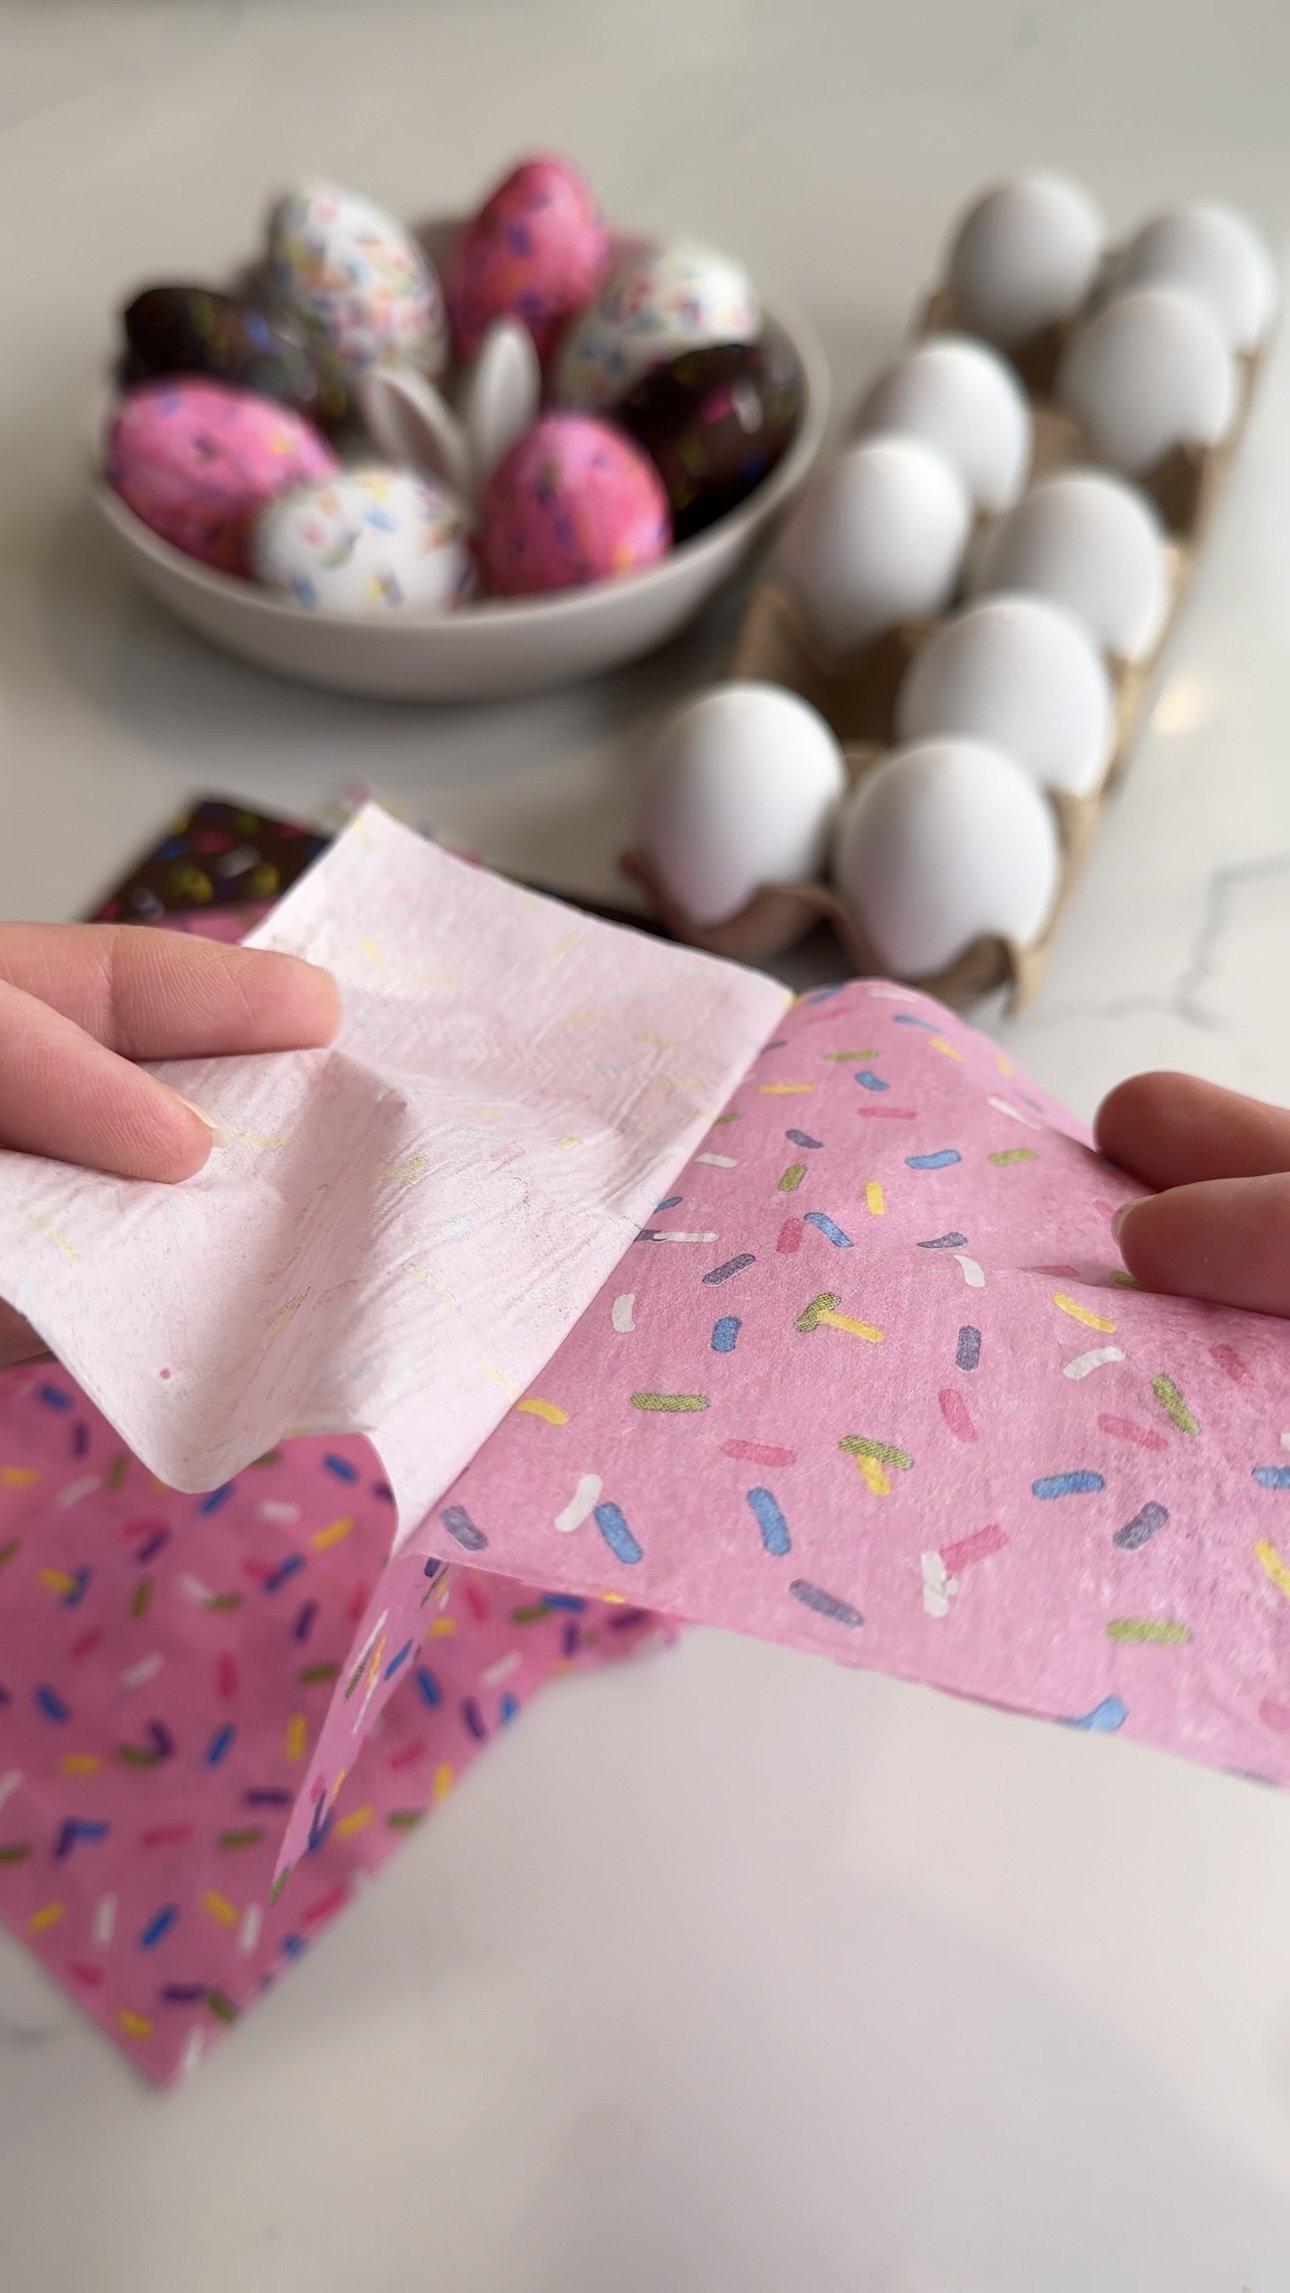
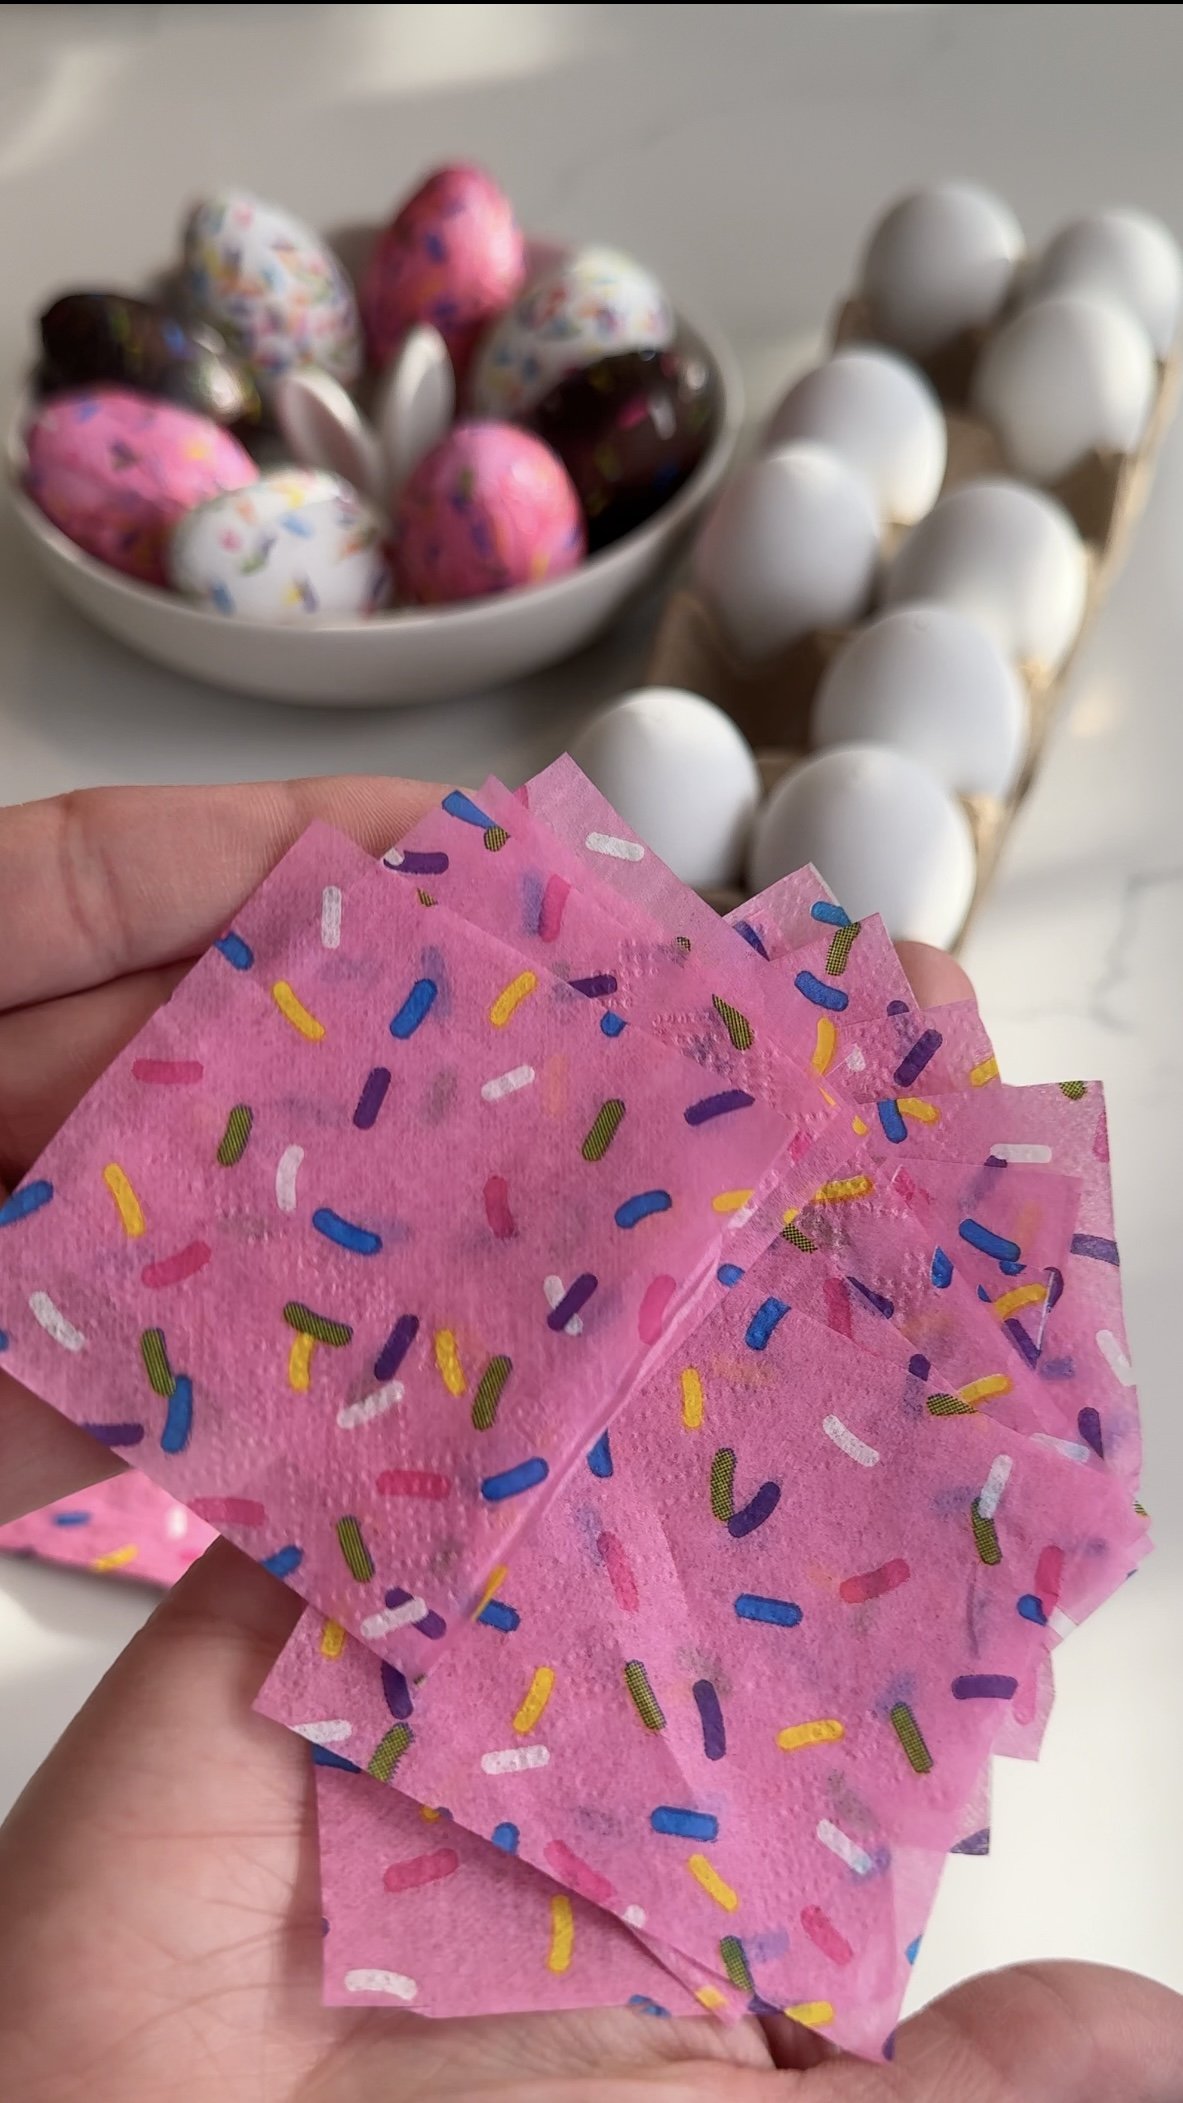
To begin, carefully unfold your printed napkins and cut them into squares. I find that it makes the next part easier! After cutting, peel away the back lining from each napkin piece to reveal the printed design. Then, cut the napkin squares into smaller pieces for easier handling and application to your eggs.
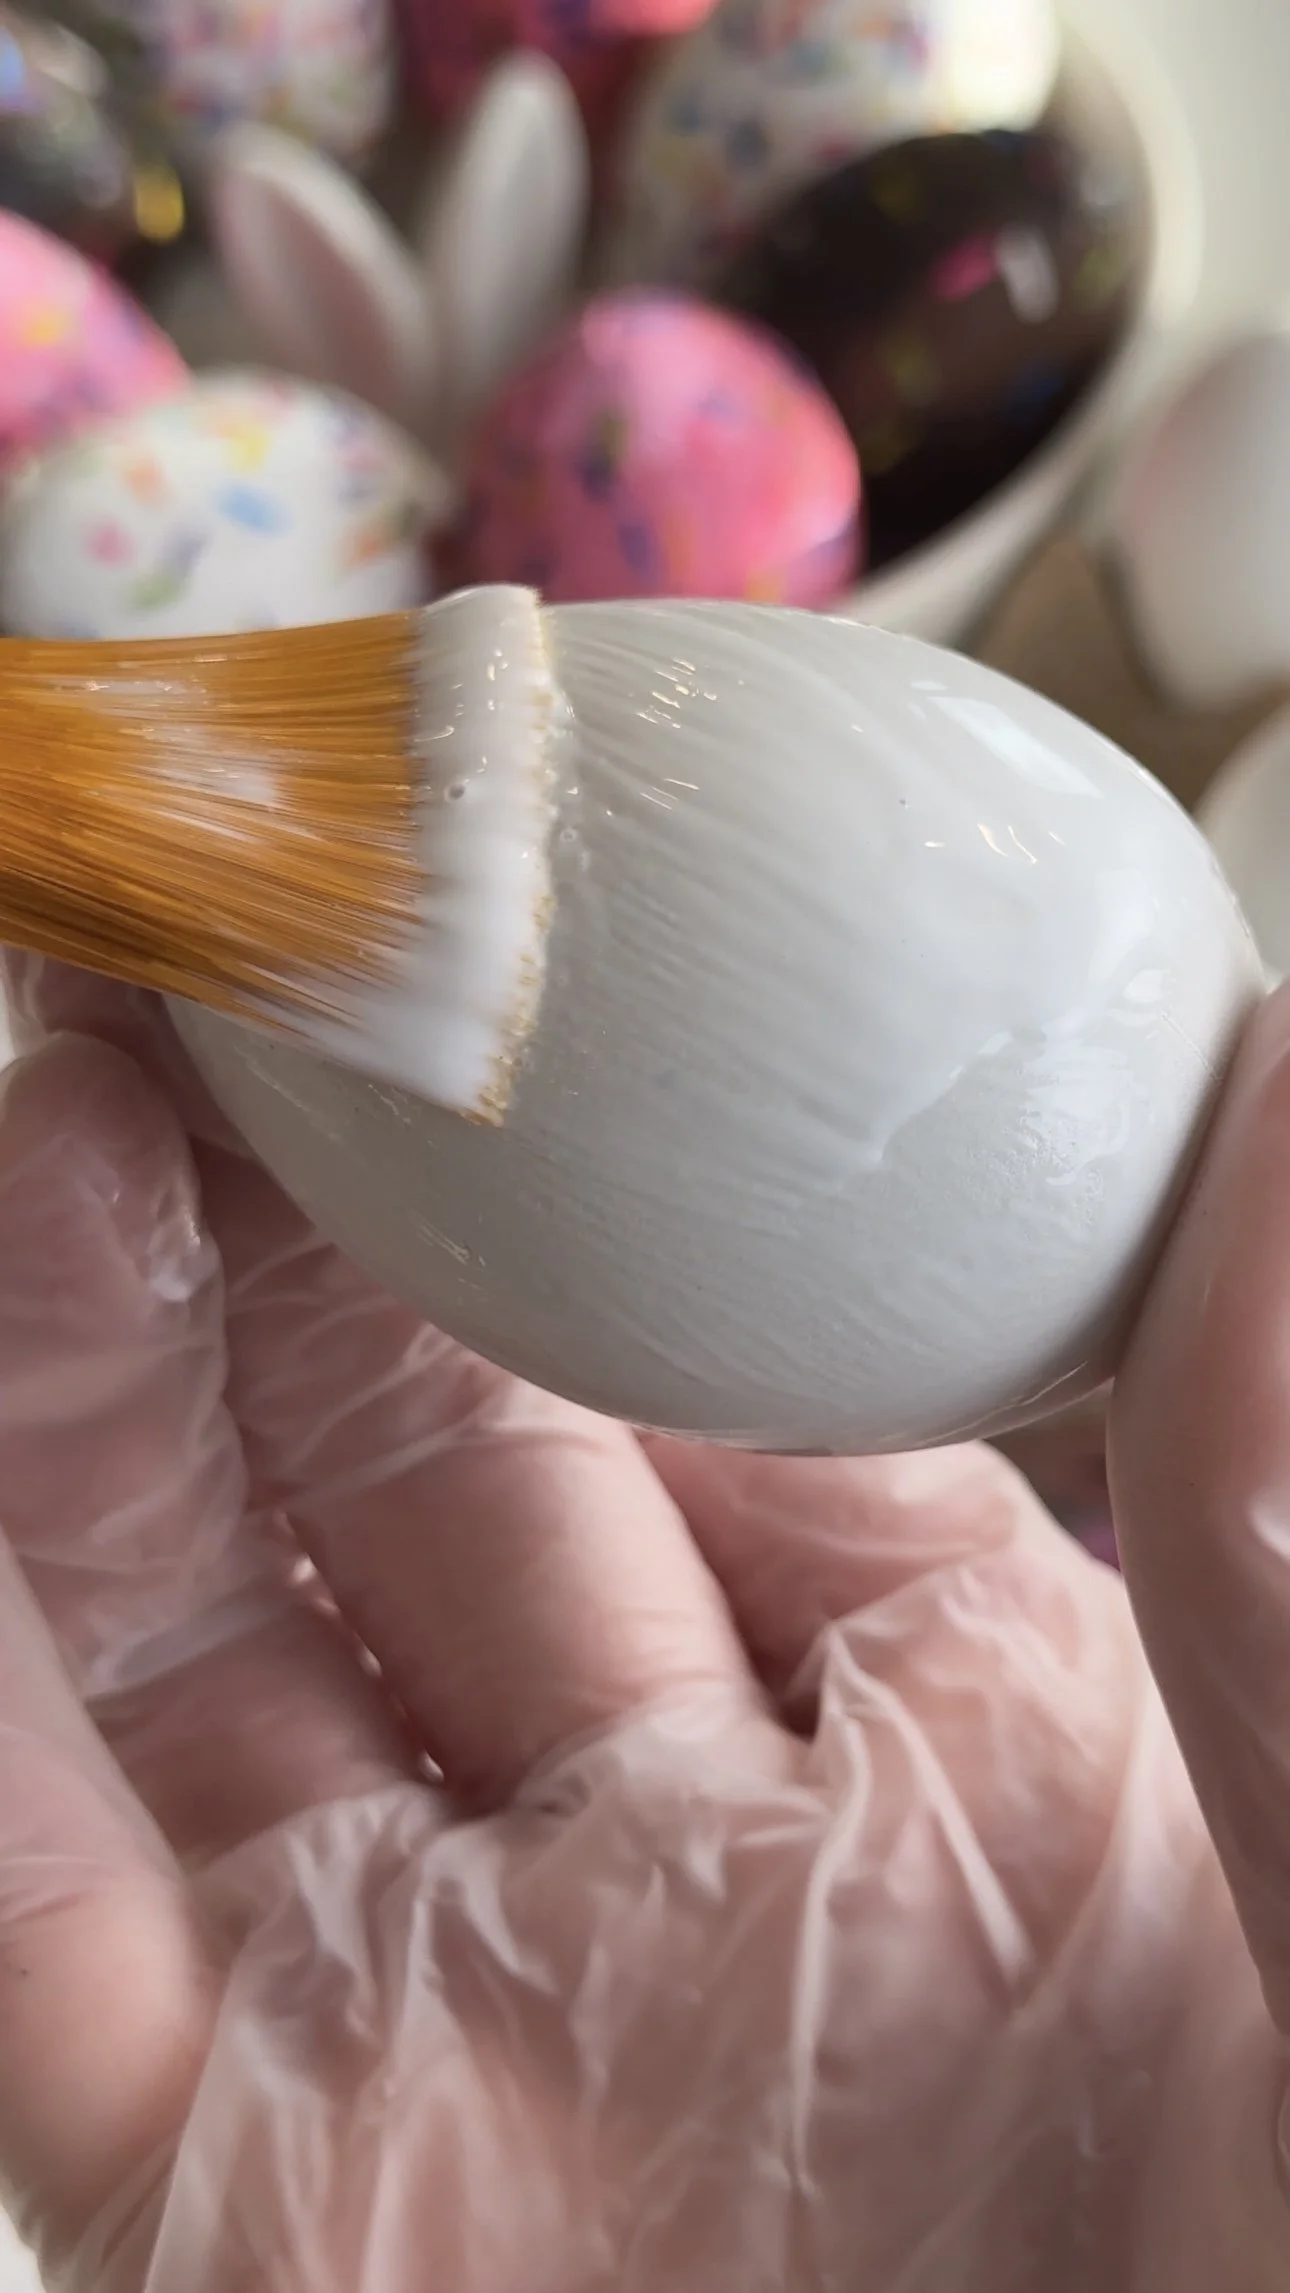
Step 2: Prep the Eggs
Prepare your craft eggs for decoupaging by applying a layer of Mod Podge to the surface of each egg using a paintbrush. This adhesive will allow the napkin pieces adhere smoothly to the egg surface.
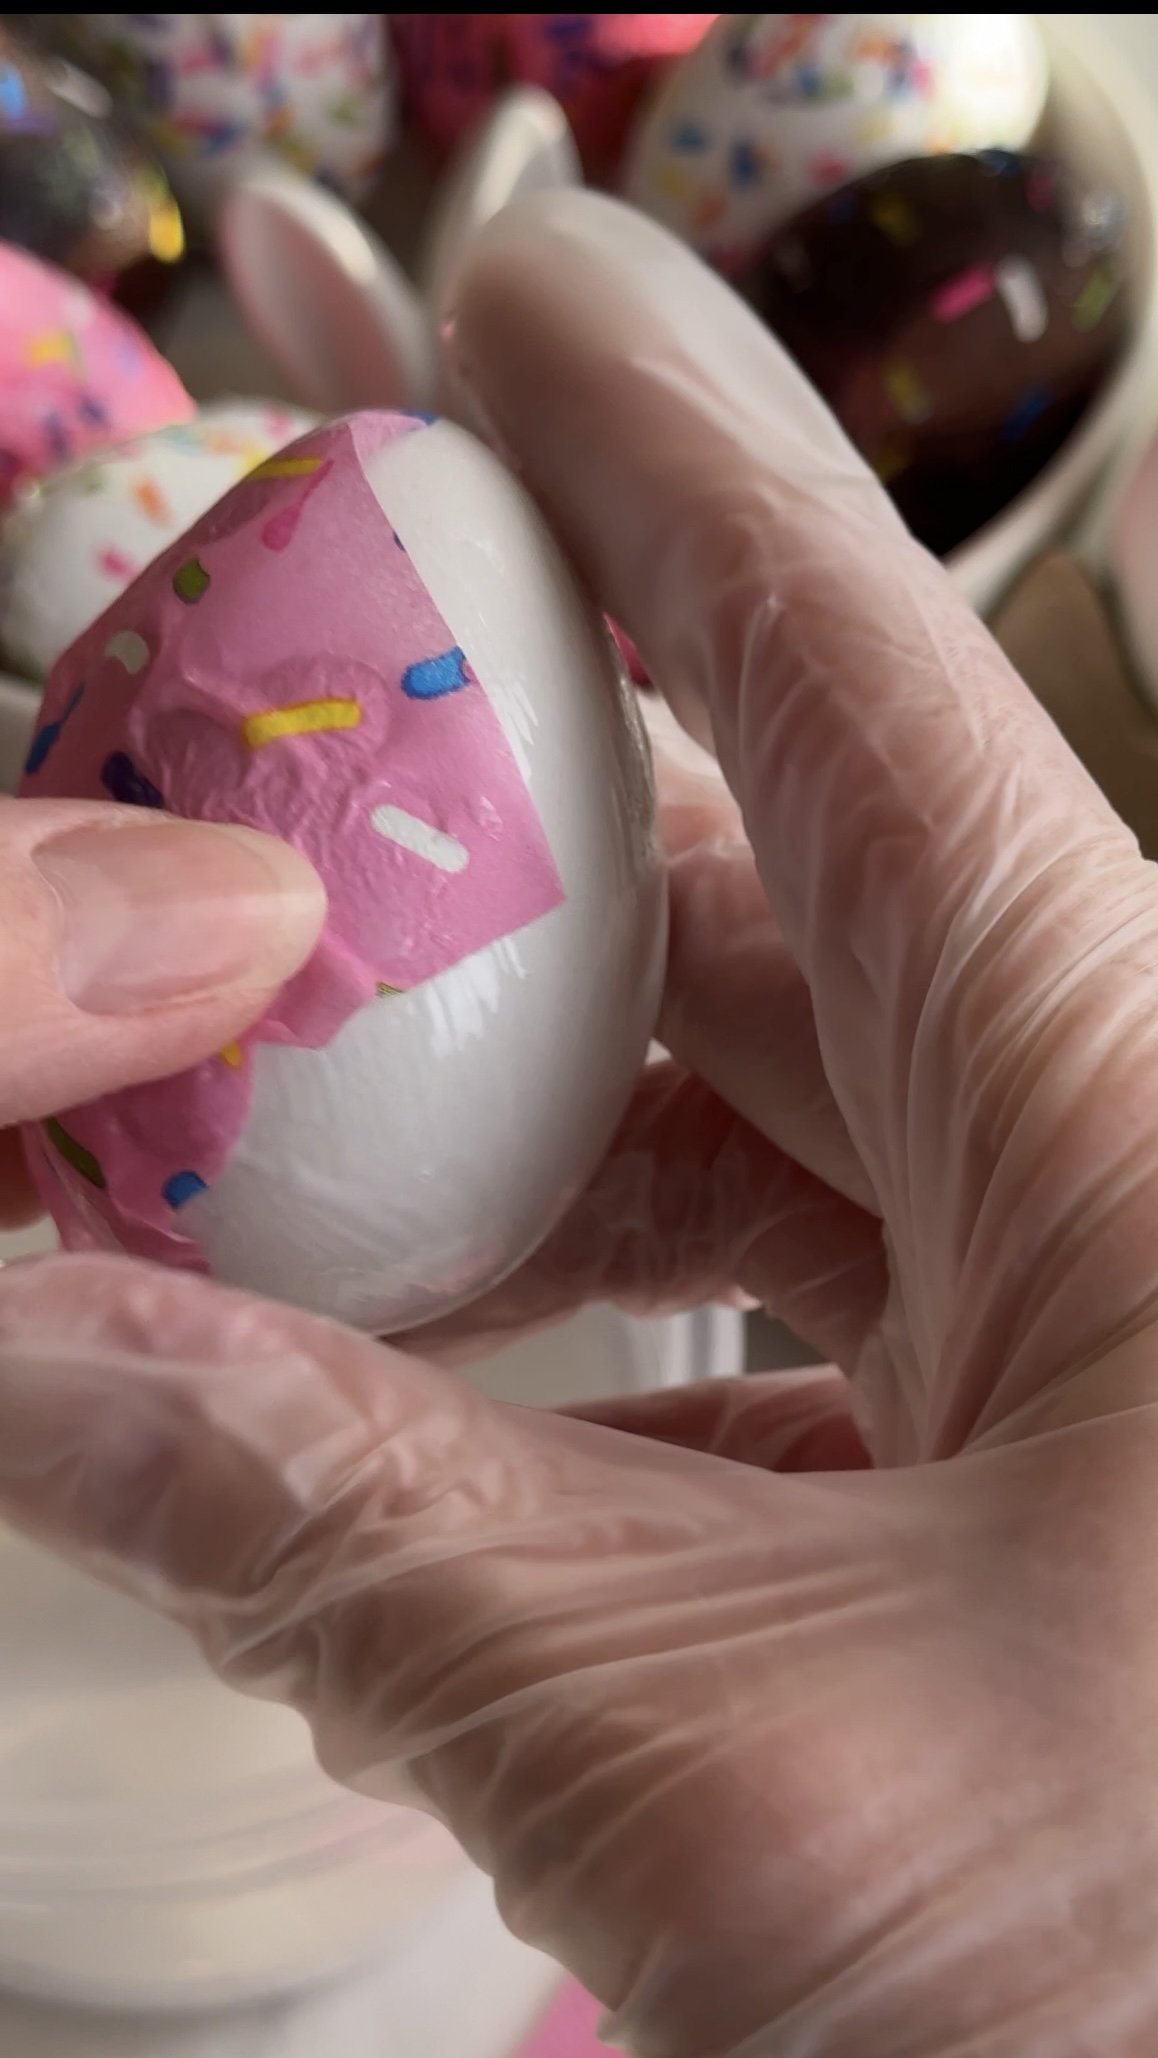
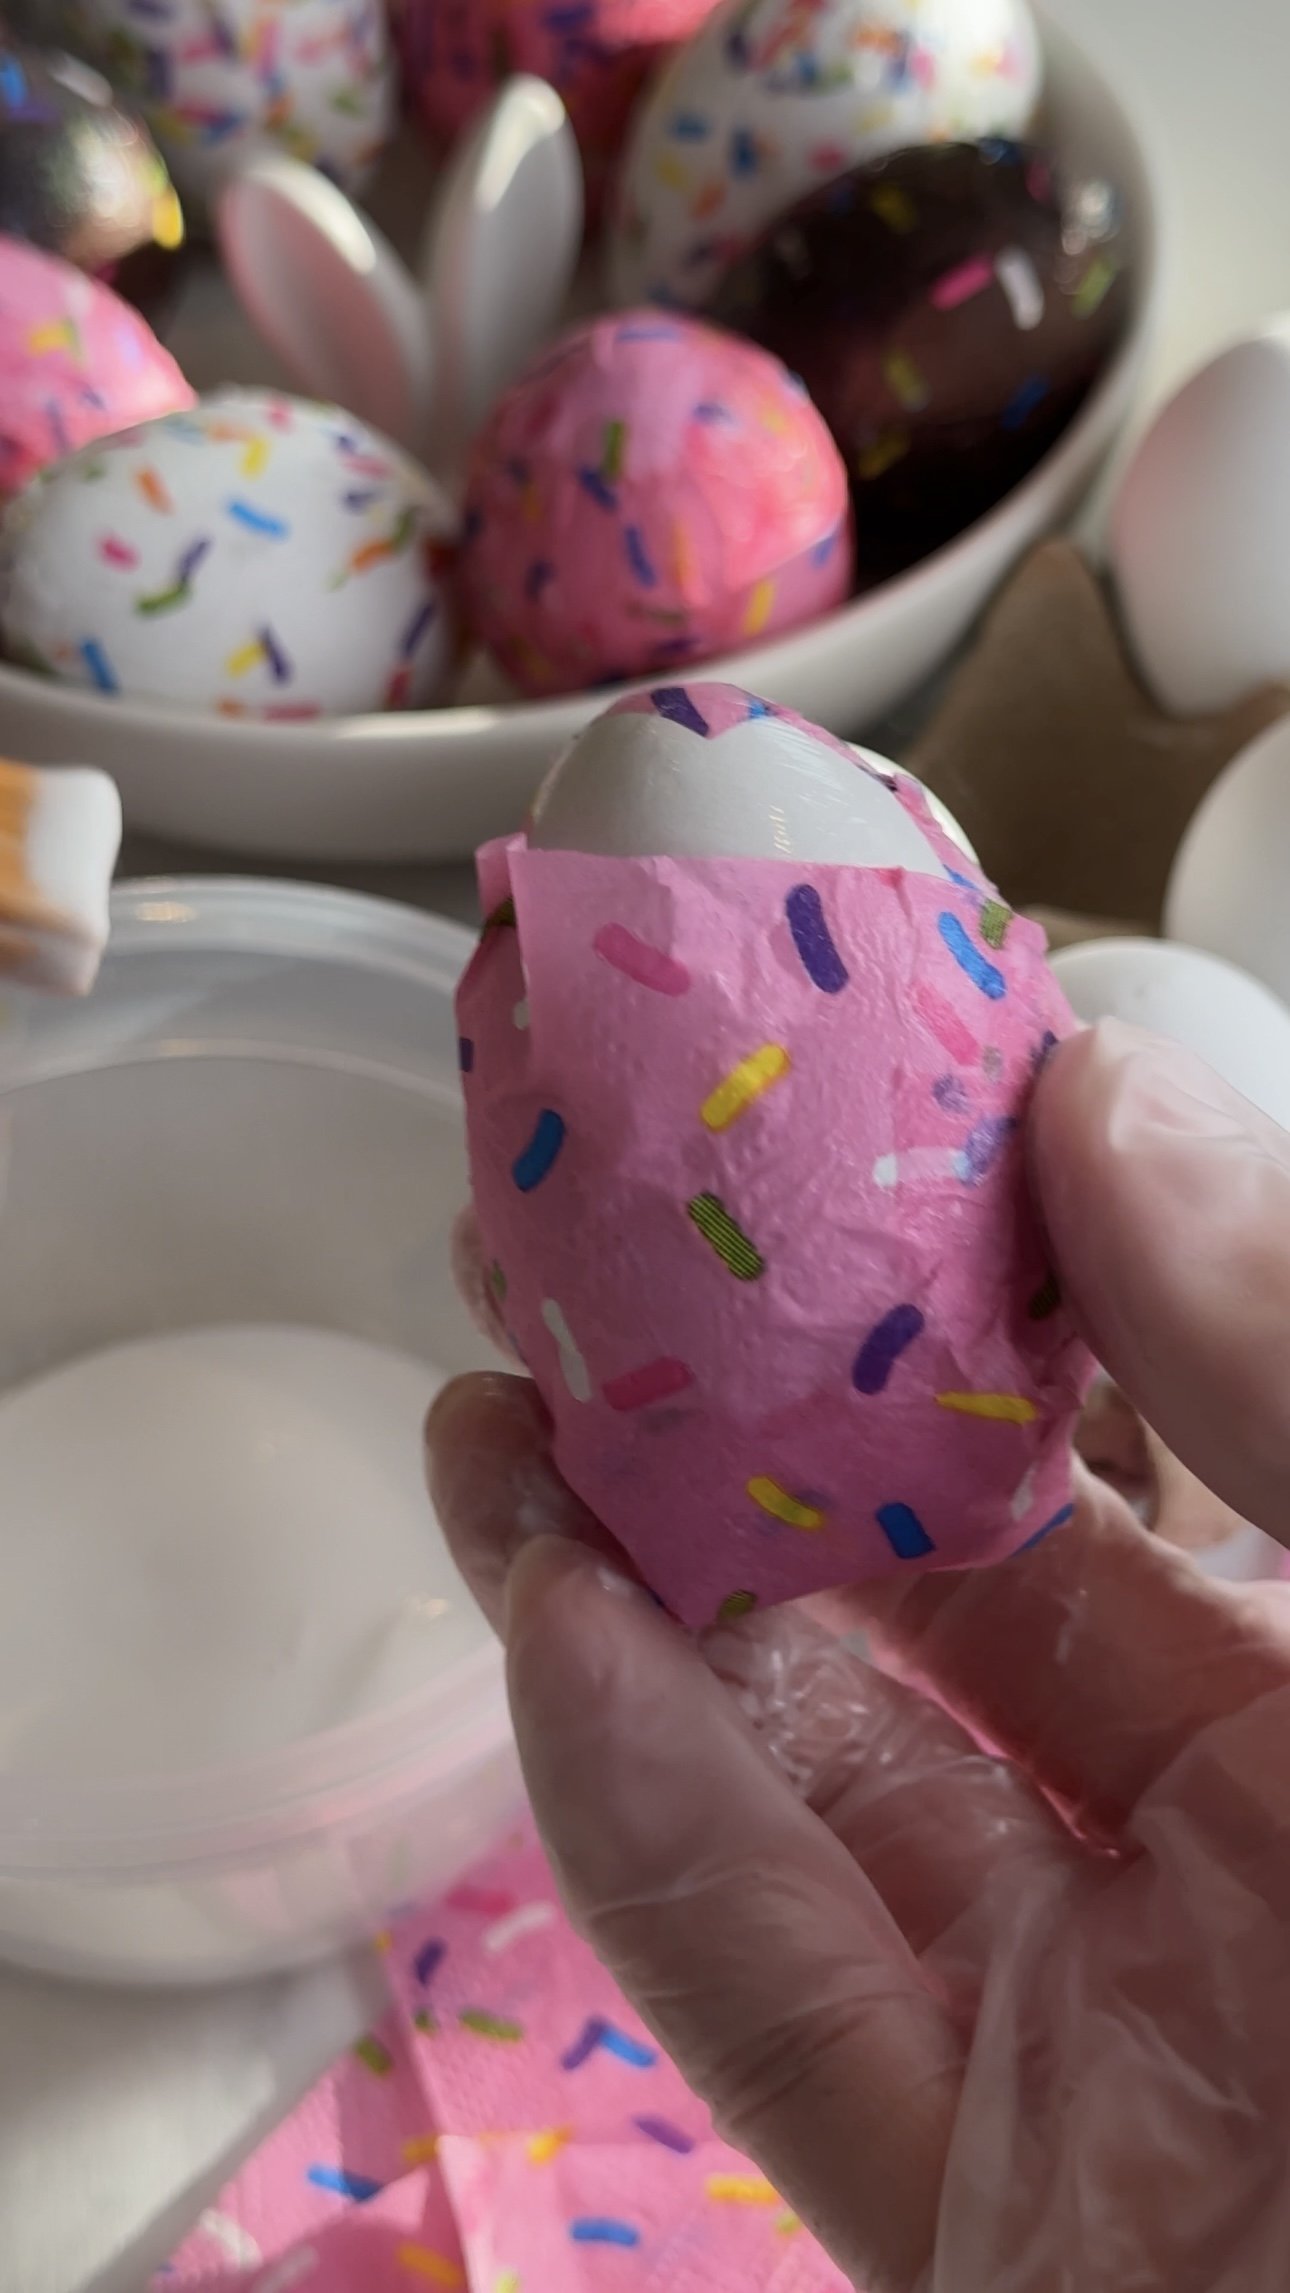
Step 3: Apply the Napkins:
Now comes the fun part! Carefully place a napkin piece onto the egg, smoothing it out with your fingers to remove any wrinkles or air bubbles. Continue layering the napkin pieces onto the egg, overlapping them slightly to create a cohesive design. As you apply each napkin piece, brush a thin layer of Mod Podge over the top to seal it in place. Repeat this process, layering napkin pieces and Mod Podge, until the entire egg is covered in your desired design.
Step 4: Let Dry:
Allow the eggs to dry completely, an empty egg carton works great. The drying process may take several hours, depending on the thickness of the Mod Podge layers and the humidity of your environment. Be patient and avoid handling the eggs until they are fully dry.

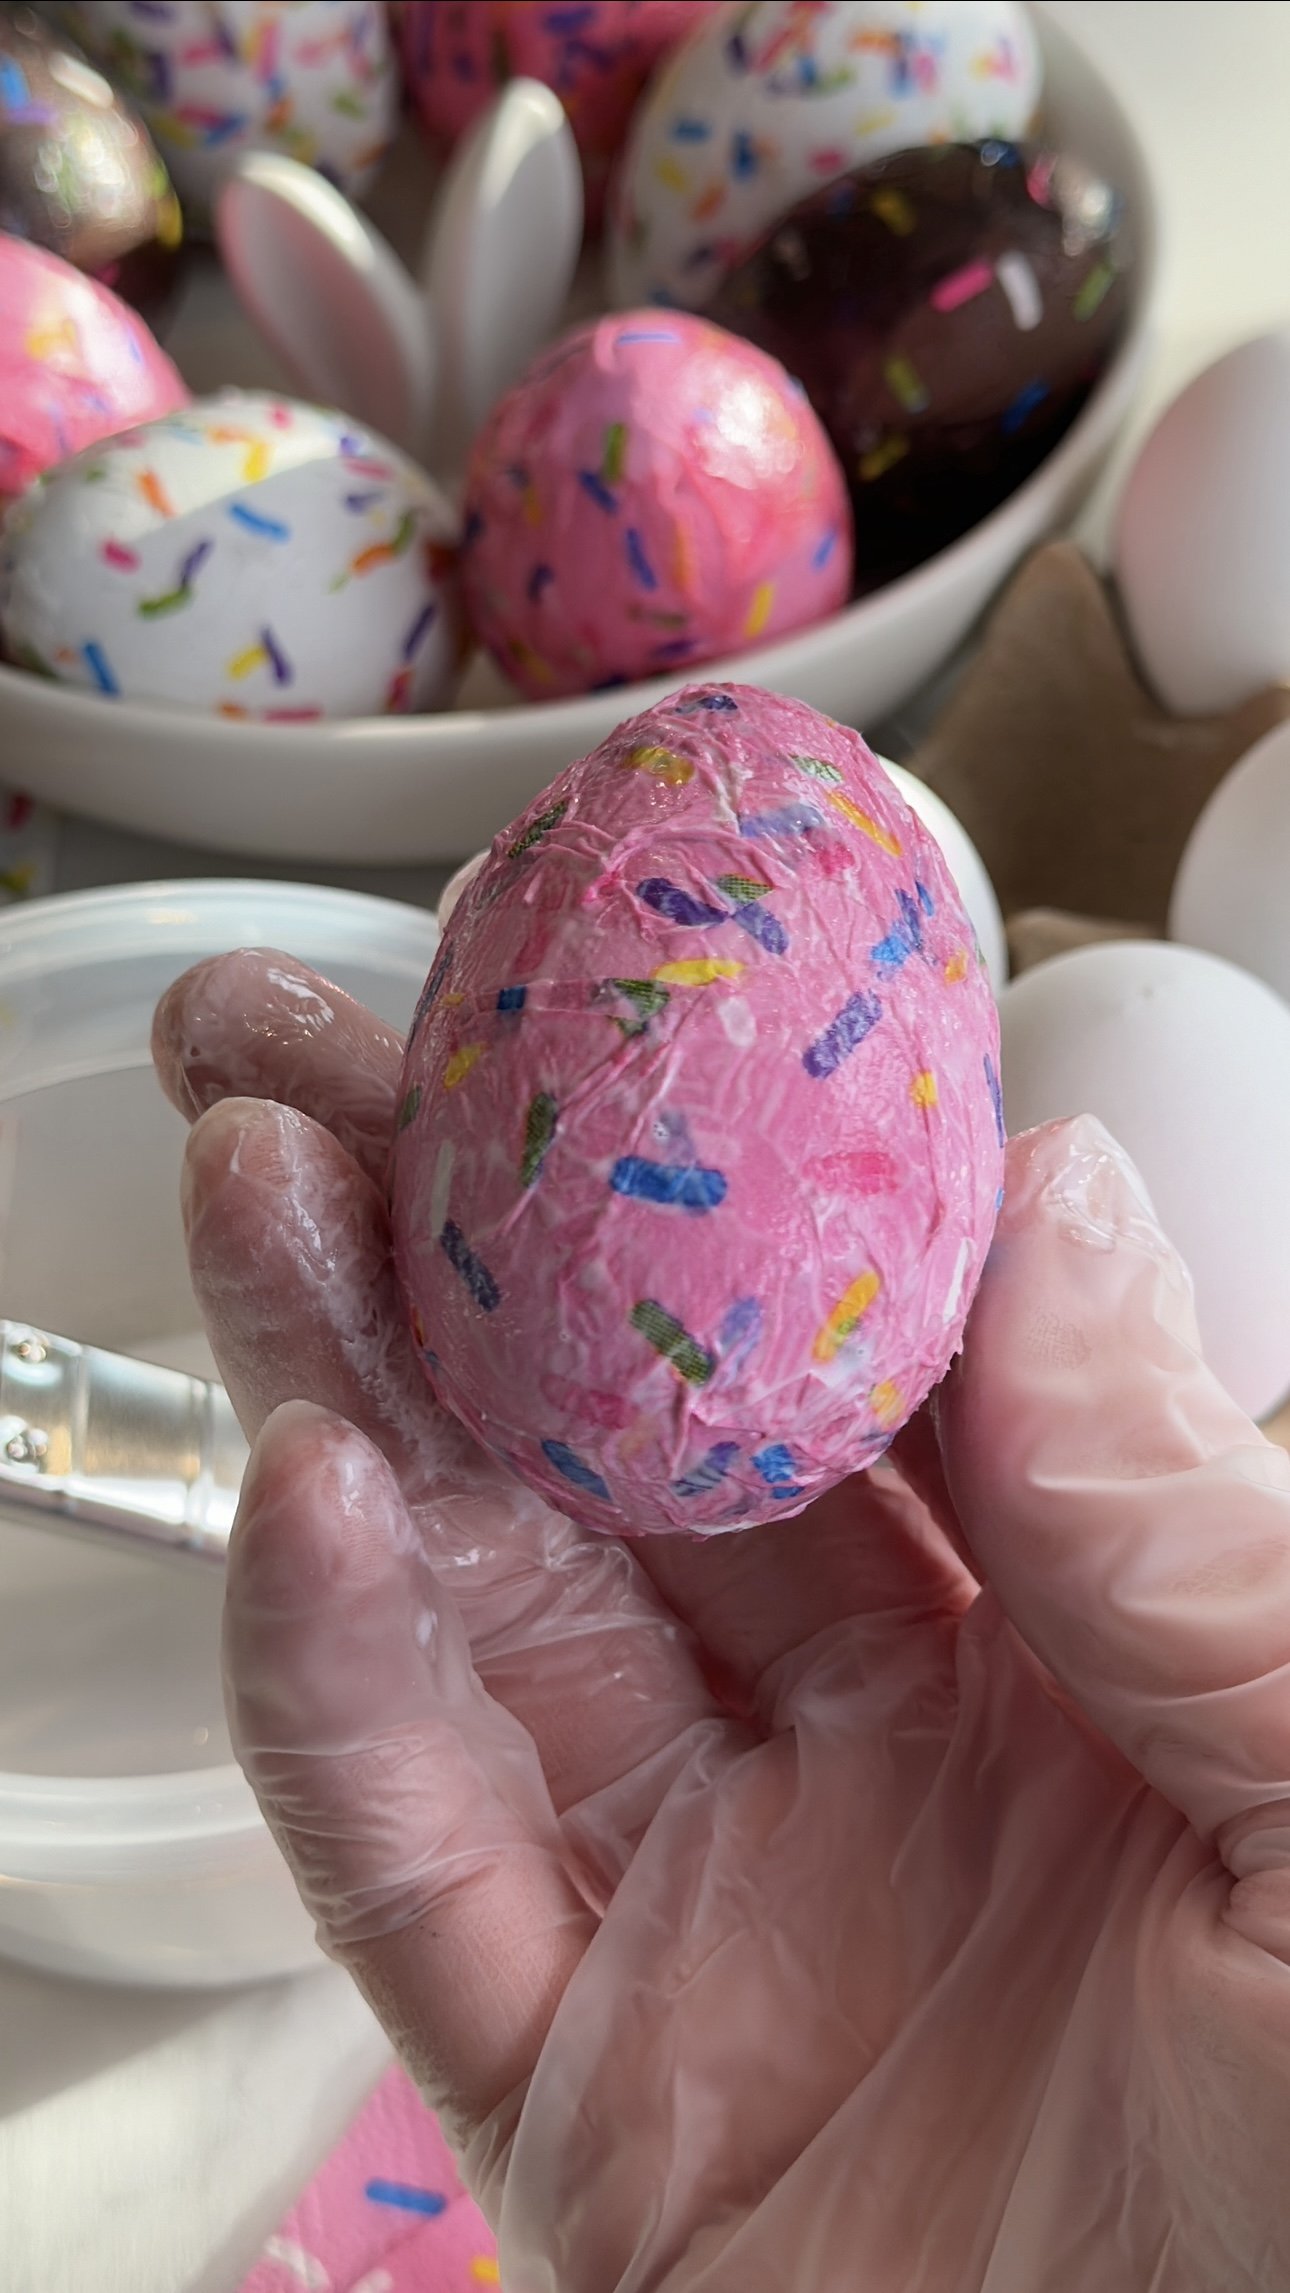
Step 5: Display and Enjoy:
Once dry, your decoupage Easter eggs are ready to be displayed! Arrange them in a decorative basket or bowl, use them as table centerpieces, or showcase them on a mantle. These beautiful, handmade eggs will add a touch of charm and whimsy to your Easter decorations.

Creating decoupage Easter eggs with printed napkins is a delightful way to infuse your holiday decor with creativity and personality. With just a few simple materials and some imagination, you can craft beautiful Easter decorations that will be cherished for years to come. So gather your supplies, unleash your creativity, and let the Easter crafting begin!
Looking for more Easter crafting ideas? Check out our DIY Bunny Vase tutorial! If you want recipe ideas for yummy treats our Easter Egg Fudge, Peeps Duck Pond, or Layered Peeps Rice Krispies Eggs may be just what you are looking for. I just shared some fun Easter egg coloring techniques too like Tie-Dye Eggs, Shaving Foaming Eggs, and even Cool Whip ones!