
Egg-citing Creations: How to Make Tie-Dye Easter Eggs

Easter is synonymous with colorful festivities such as Easter egg hunts, and tie-dye Easter eggs are a fantastic way to elevate your holiday traditions. Growing up we blessed Easter baskets every Saturday before Easter. One of our favorite parts of this was decorating the eggs to include in our Easter baskets. Now I do this same tradition with my own kids. Whether you have a similar tradition or are just looking for some fun Easter activities, this is a great way to unleash your creativity. In this guide, we'll delve into the step-by-step process of creating vibrant tie-dye eggs that will dazzle your guests and bring a splash of creativity to your celebrations. From prepping the eggs to unveiling your stunning creations, we'll cover everything you need to know to master this fun and unique Easter tradition.
Step-by-Step Guide:
1. Prepare the Eggs:
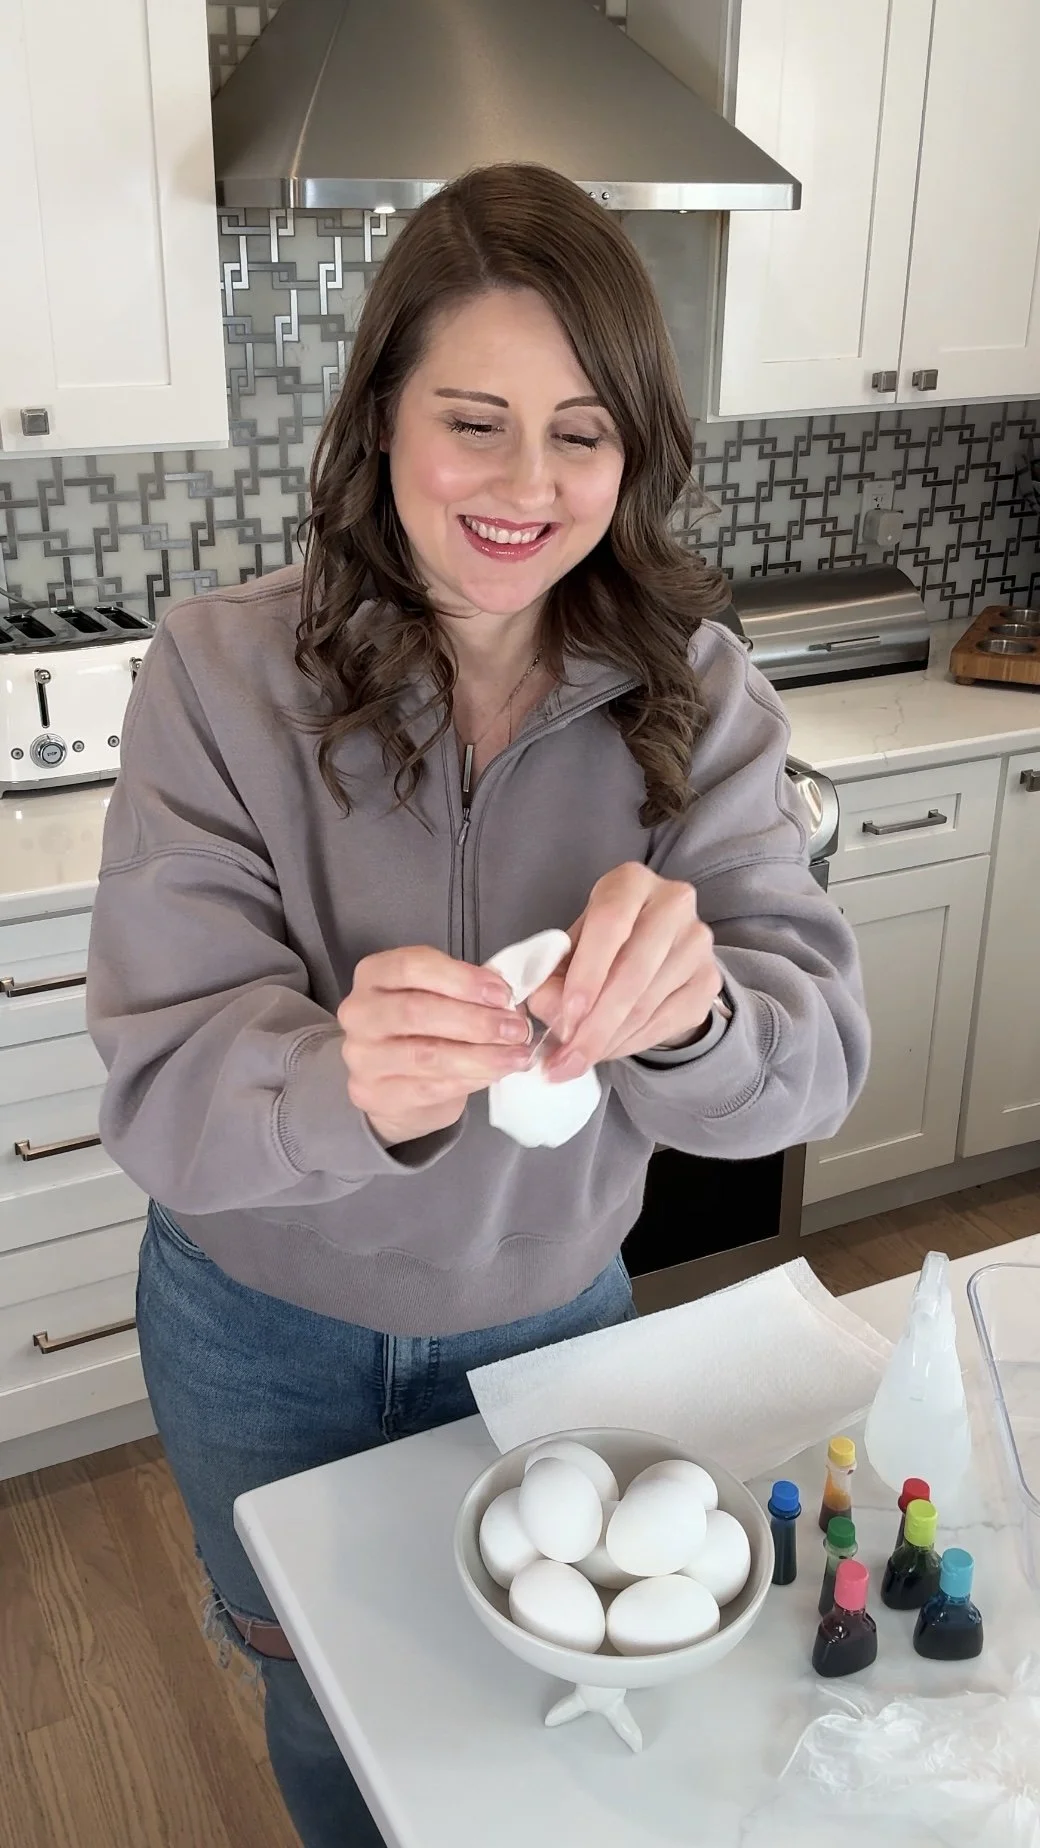
Start by hard-boiling your eggs until they're fully cooked. Once prepared, soak the eggs in distilled white vinegar for five minutes. This step helps brighten the colors and ensures better adherence of the dye to the eggshells.

2. Wrap the Eggs:
Next, take a paper towel and wrap it around each egg, securing it in place with a rubber band at the top. This creates a barrier between the eggshell and the dye, allowing for vibrant and intricate tie-dye patterns.
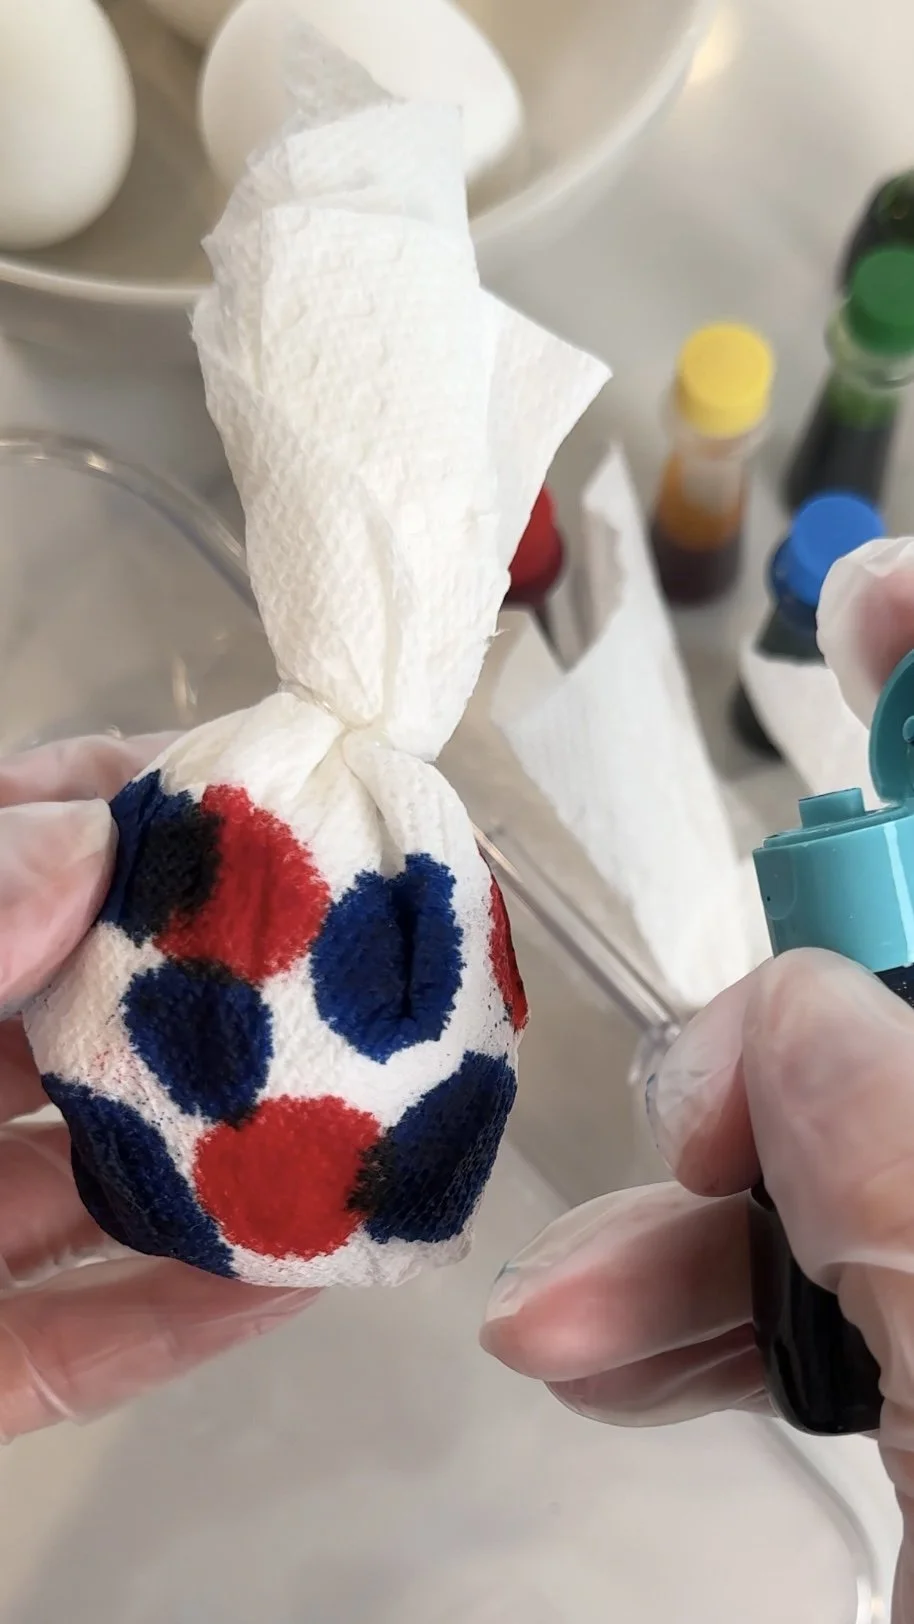
3. Add Food Coloring:
Set up a workspace over a plastic food container to catch any drips. Choose your desired food coloring colors and add drops directly onto the paper towels wrapped around the eggs. Experiment with different color combinations and placement for unique designs. I used both traditional and neon colors.
4. Wet the Paper Towels:
Using a spray bottle filled with water, thoroughly saturate the paper towels covering the eggs. The water helps the food coloring spread and blend, creating the tie-dye effect. Be generous with the water to ensure the colors penetrate the eggshells evenly.
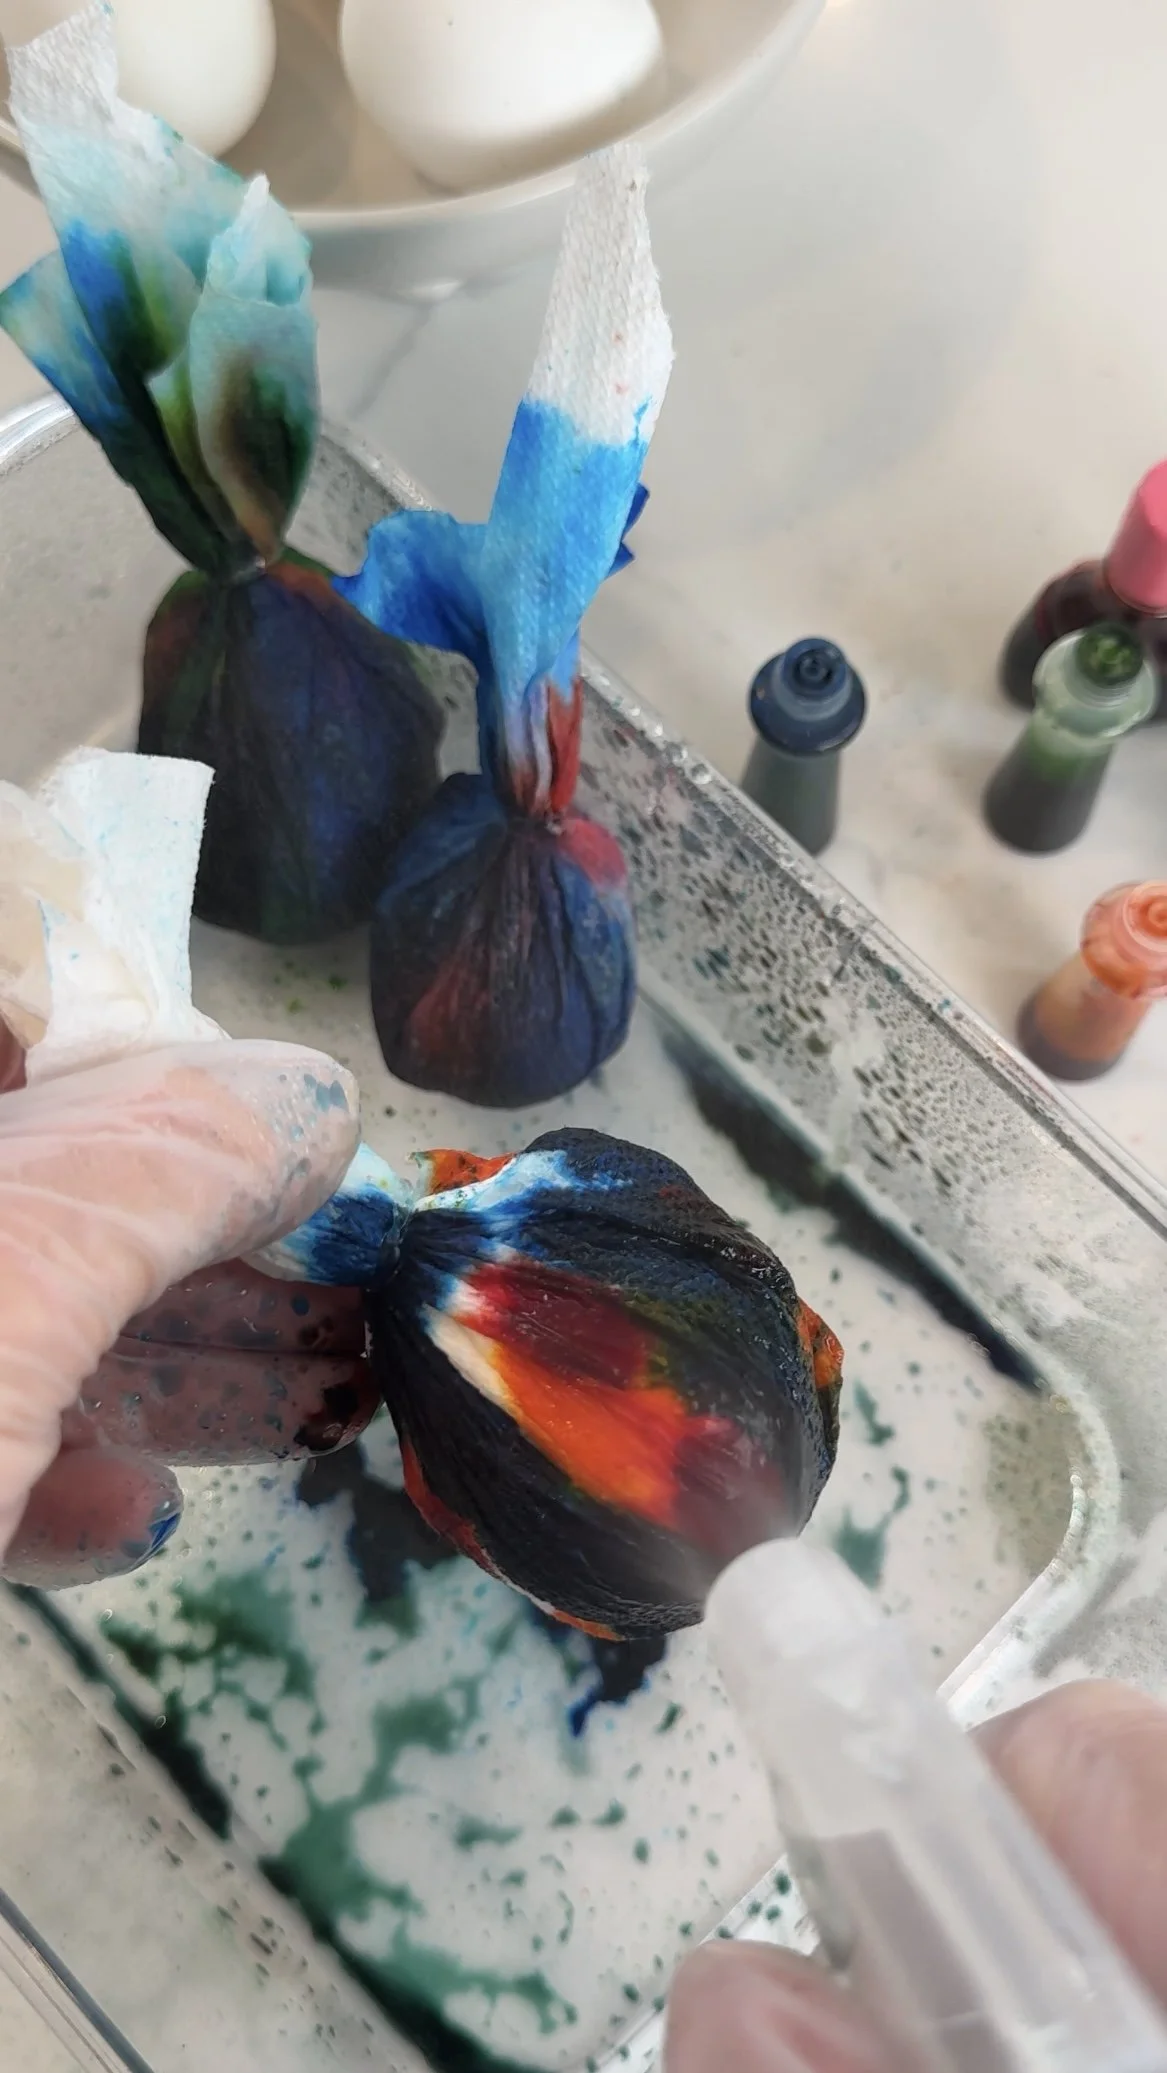
5. Let the Eggs Soak:
Transfer the eggs to a plastic container and let them sit for approximately 20 minutes. During this time, the dye will seep into the eggshells, creating vibrant tie-dye patterns. You can adjust the soaking time based on your desired color intensity.

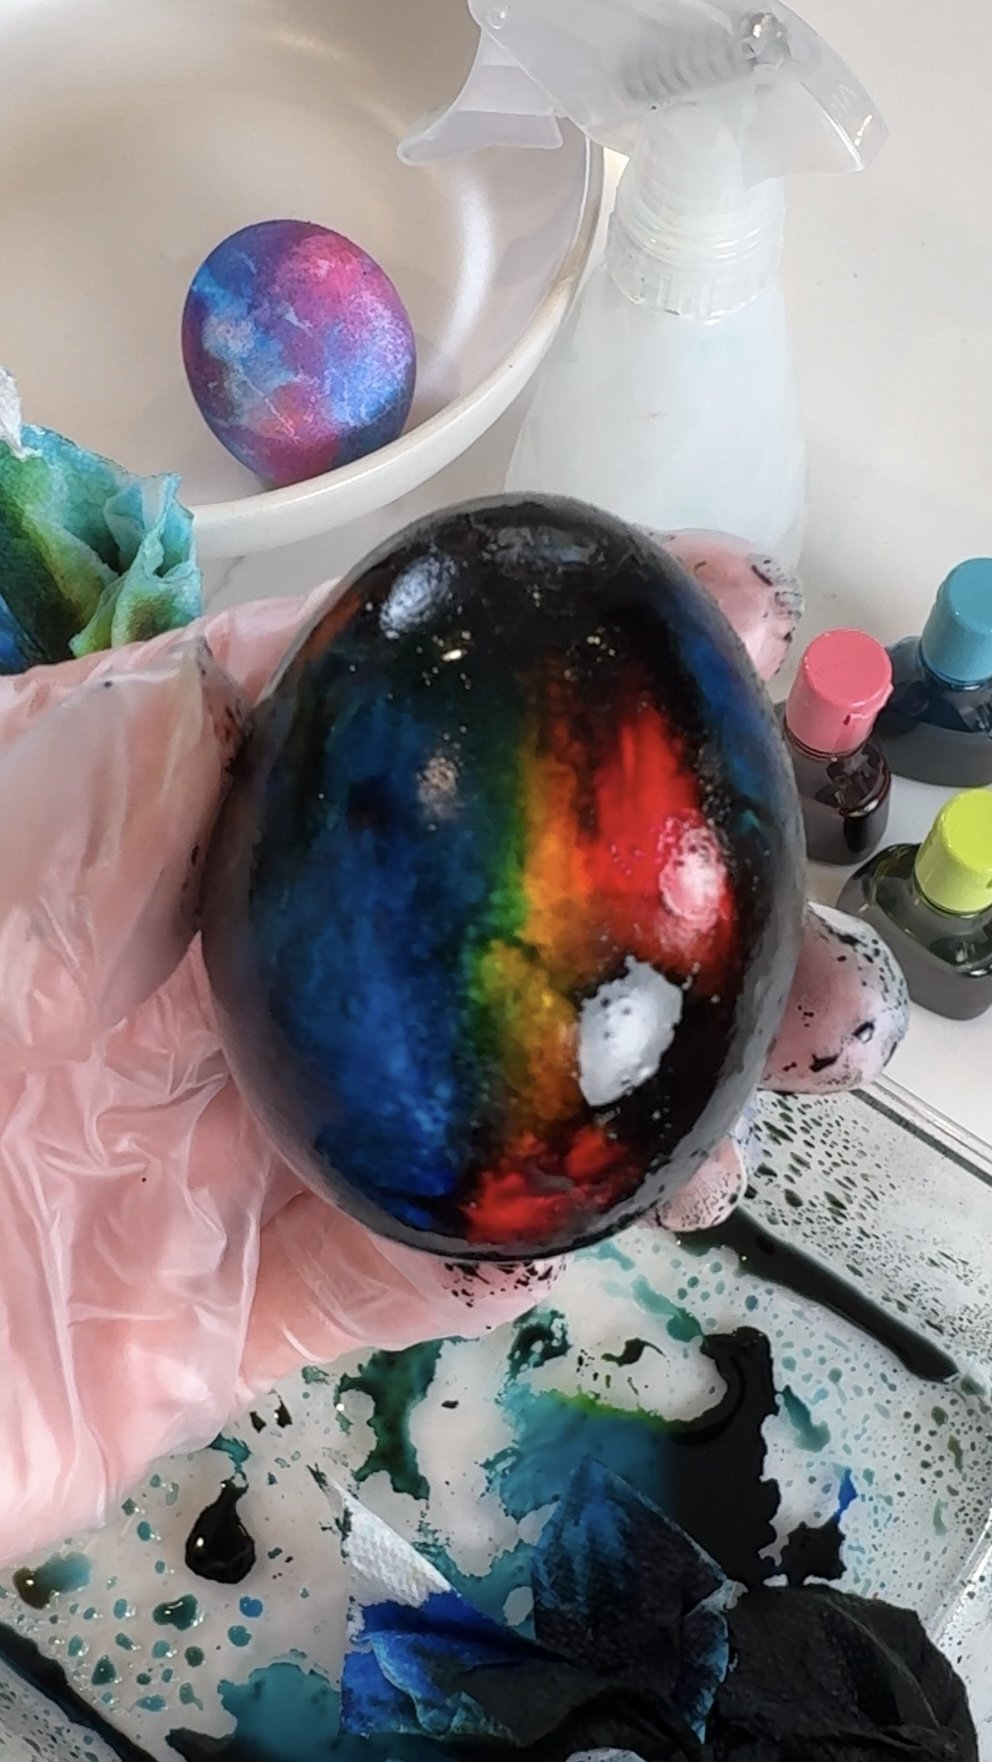
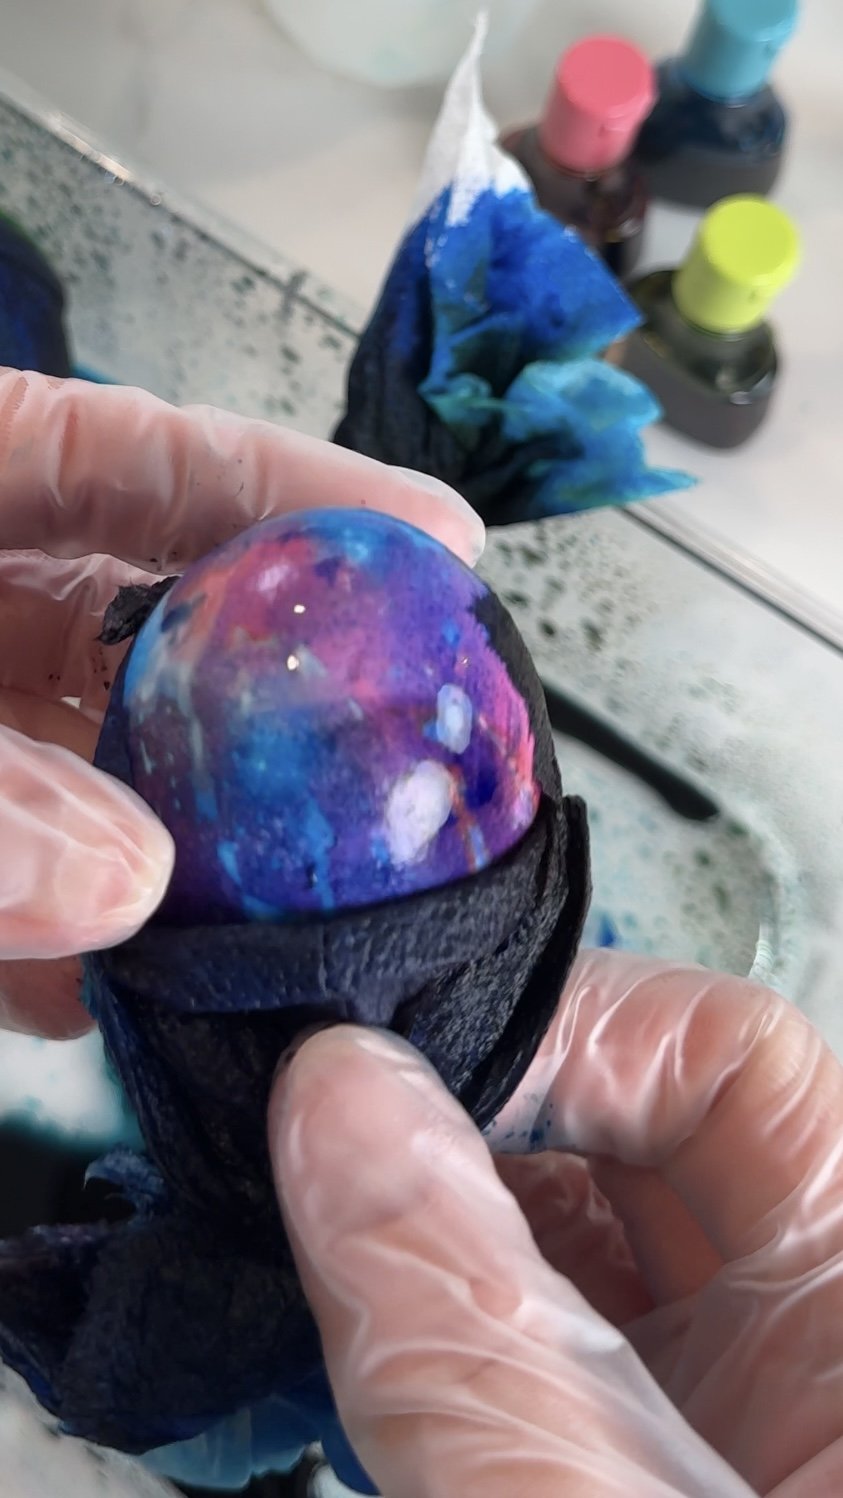
6. Unveil Your Creations:
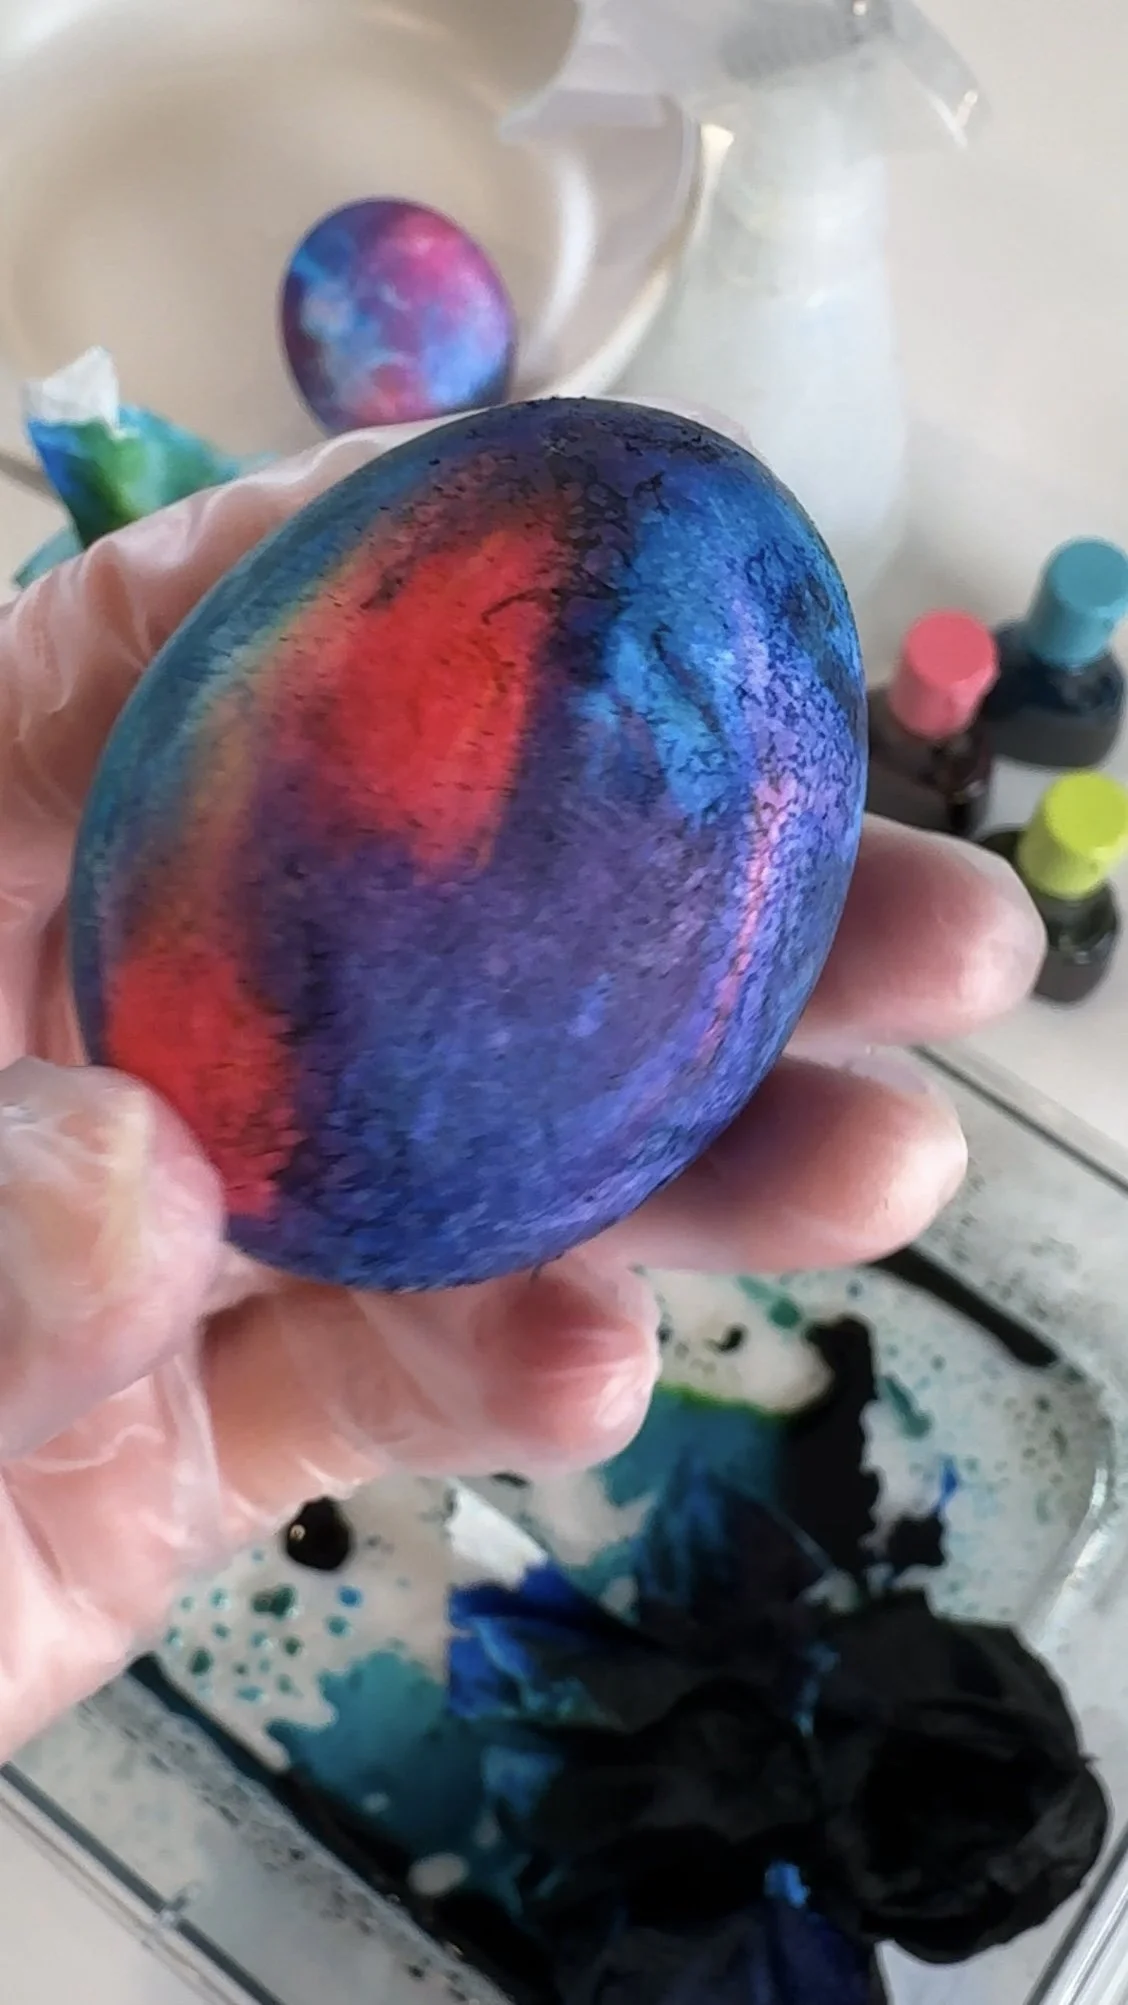
After the soaking time is complete, carefully remove the paper towels from each egg to reveal the vibrant tie-dye designs underneath. Rinse each egg under cold water to remove any excess dye, gently rubbing the shells to ensure thorough rinsing.
7. Dry and Display:
Once rinsed, pat the eggs dry with a paper towel to remove any remaining water and dye residue. Your tie-dye Easter eggs are now ready to be displayed or used in Easter egg hunts. Place them in a decorative basket or arrange them on a serving platter or bowl for a festive touch to your holiday table.
With these detailed step-by-step instructions, you're ready to embark on a colorful Easter egg decorating adventure! Whether you're crafting with kids or showcasing your artistic skills, tie-dye Easter eggs are sure to be a hit. So gather your supplies, gather your loved ones, and let the creativity flow as you create stunning and unique tie-dye Easter eggs that will delight everyone this holiday season.
If you want to try out more egg coloring methods check out our Cool Whip eggs and ones we made using the Shaving Foam Method. Have you tried any of these? You can also find video instructions on how to tie-dye your Easter eggs.
We’ve been busy creating some fun Easter treats to like our Peeps Duck Pond, DIY Bunny Pretzel Treats, Layered Peeps Rice Krispies Eggs, and Easter Egg Fudge!