Layered Peeps Rice Krispies Eggs: A Colorful Easter Treat
Easter is a time for vibrant colors and sweet treats, and what better way to celebrate than with layered Peeps Rice Krispies Eggs? This delightful treat features a little twist on a classic recipe and combines the iconic flavors of Peeps marshmallows with the beloved crunch of Rice Krispies cereal. With layers of pink, yellow, blue, and purple, these treats are not only delicious but also visually stunning. In this blog post, we'll walk you through step-by-step instructions on how to make these adorable Easter treats that are sure to impress your family and friends.
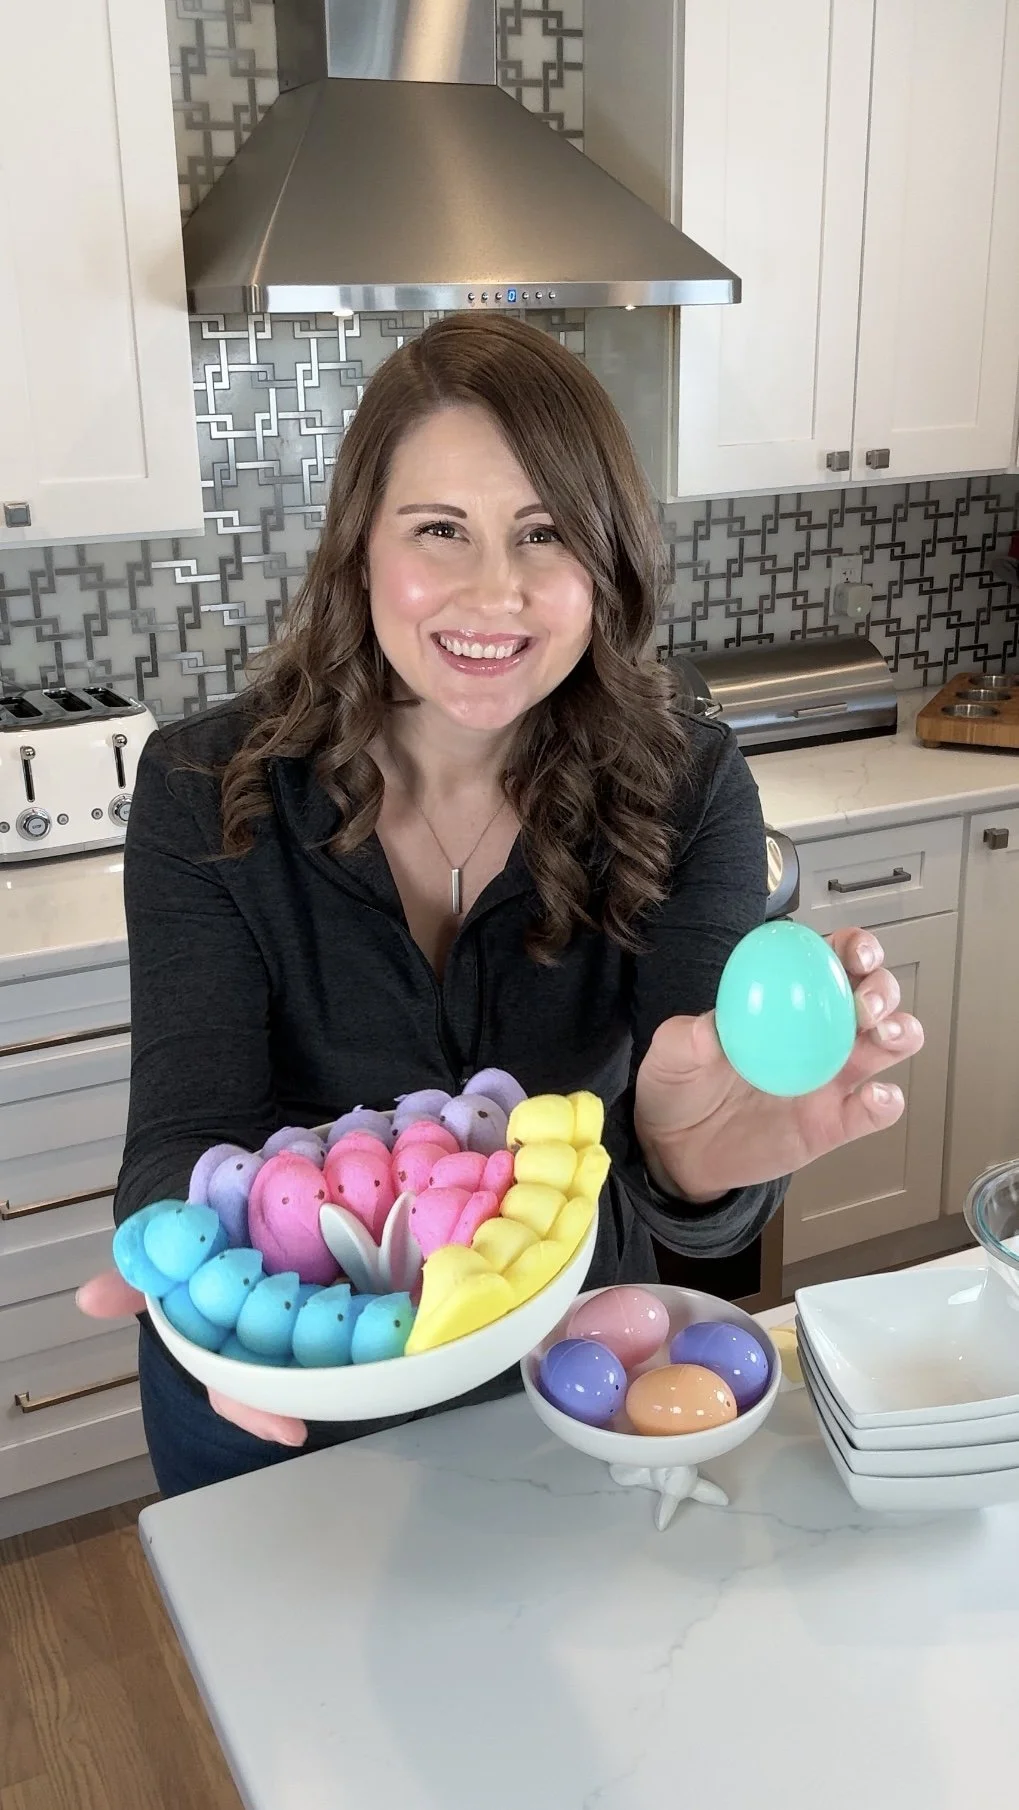
- Peeps marshmallows in four different colors: pink, yellow, blue, and purple
- 4 cups of Rice Krispies cereal
- 6 tablespoons of butter (1 1/2 tablespoons for each color)
- Medium-sized plastic Easter eggs (thoroughly washed and dryed)
- Cooking spray
- Sprinkles in various shapes and colors (optional)
Step 1: Prepare the Ingredients
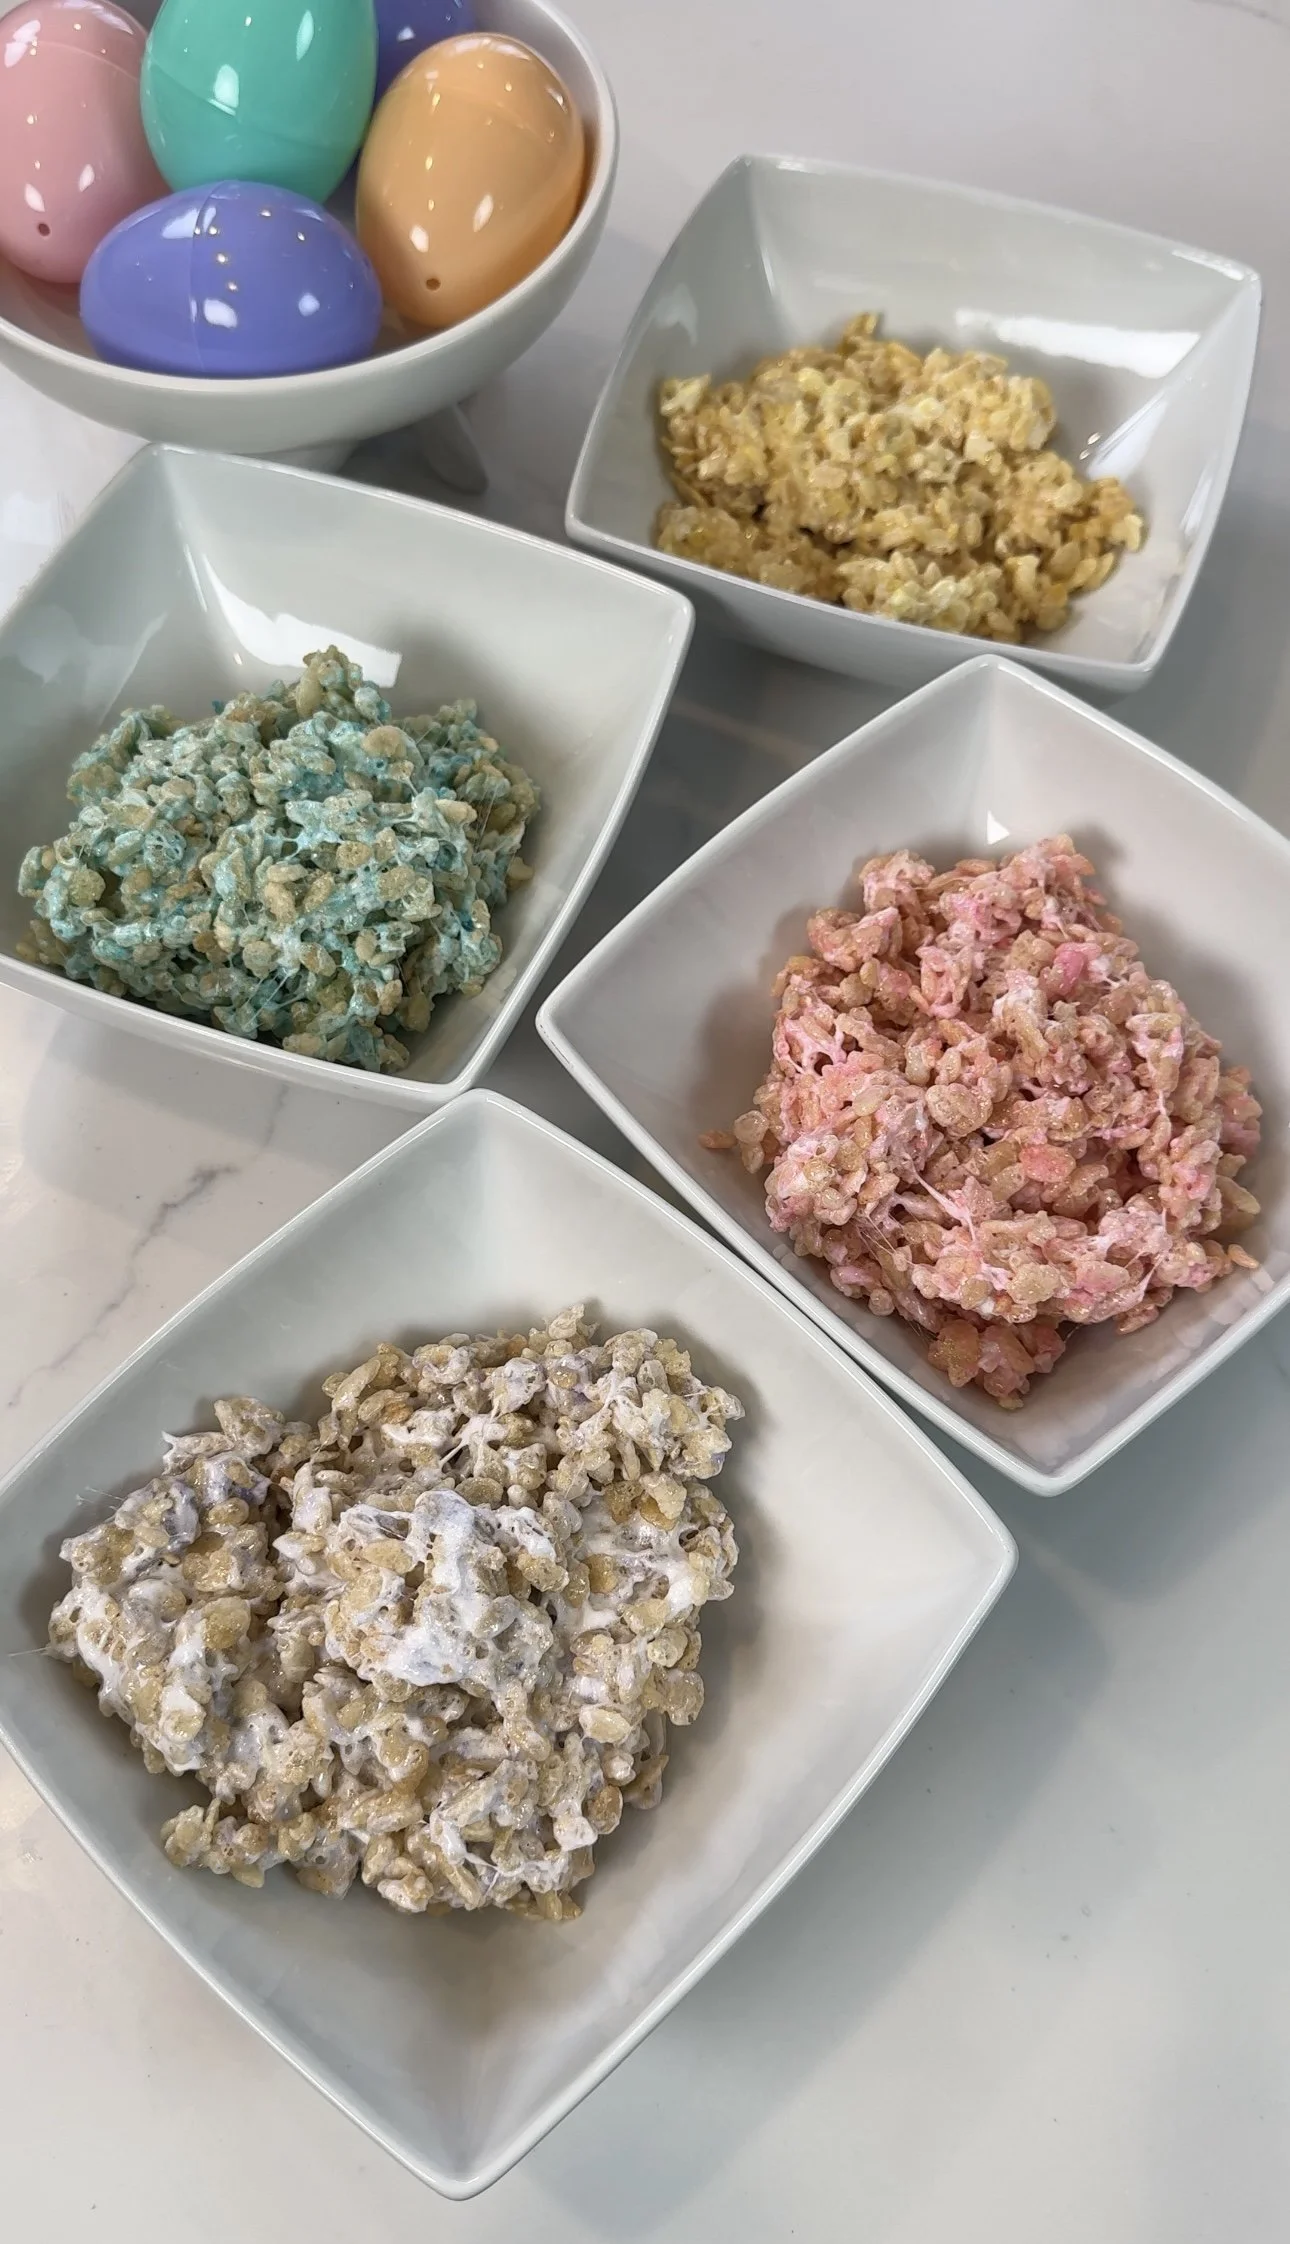
Gather all the necessary ingredients and equipment before starting. Ensure that the plastic Easter eggs are thoroughly washed and dried to prevent any contamination. Additionally, prepare four separate bowls, one for each color of Peeps marshmallows, and measure out 1 cup of Rice Krispies cereal for each bowl. Make sure the bowls are large enough to contain all of the contents as the Peeps expand in the microwave!

Step 2: Melt the Marshmallows + Mix
In each of the four bowls, place 1 cup of Rice Krispies, 1 1/2 tablespoons of butter and five Peeps marshmallows of the corresponding color. Microwave each bowl for approximately 30 seconds or until the marshmallows are melted. Stir the mixture thoroughly to combine the melted marshmallows, butter, and cereal. You want to make sure the cereal is evenly coated. Repeat this process for each color of marshmallows, resultng in four separate bowls of colored Peeps Rice Krispies treats!
Step 3: Prepare the Plastic Eggs
To create the layered effect, spray the inside of the medium-sized plastic Easter eggs with cooking spray to prevent sticking. This step is crucial to ensure that the treats easily release from the molds once set.
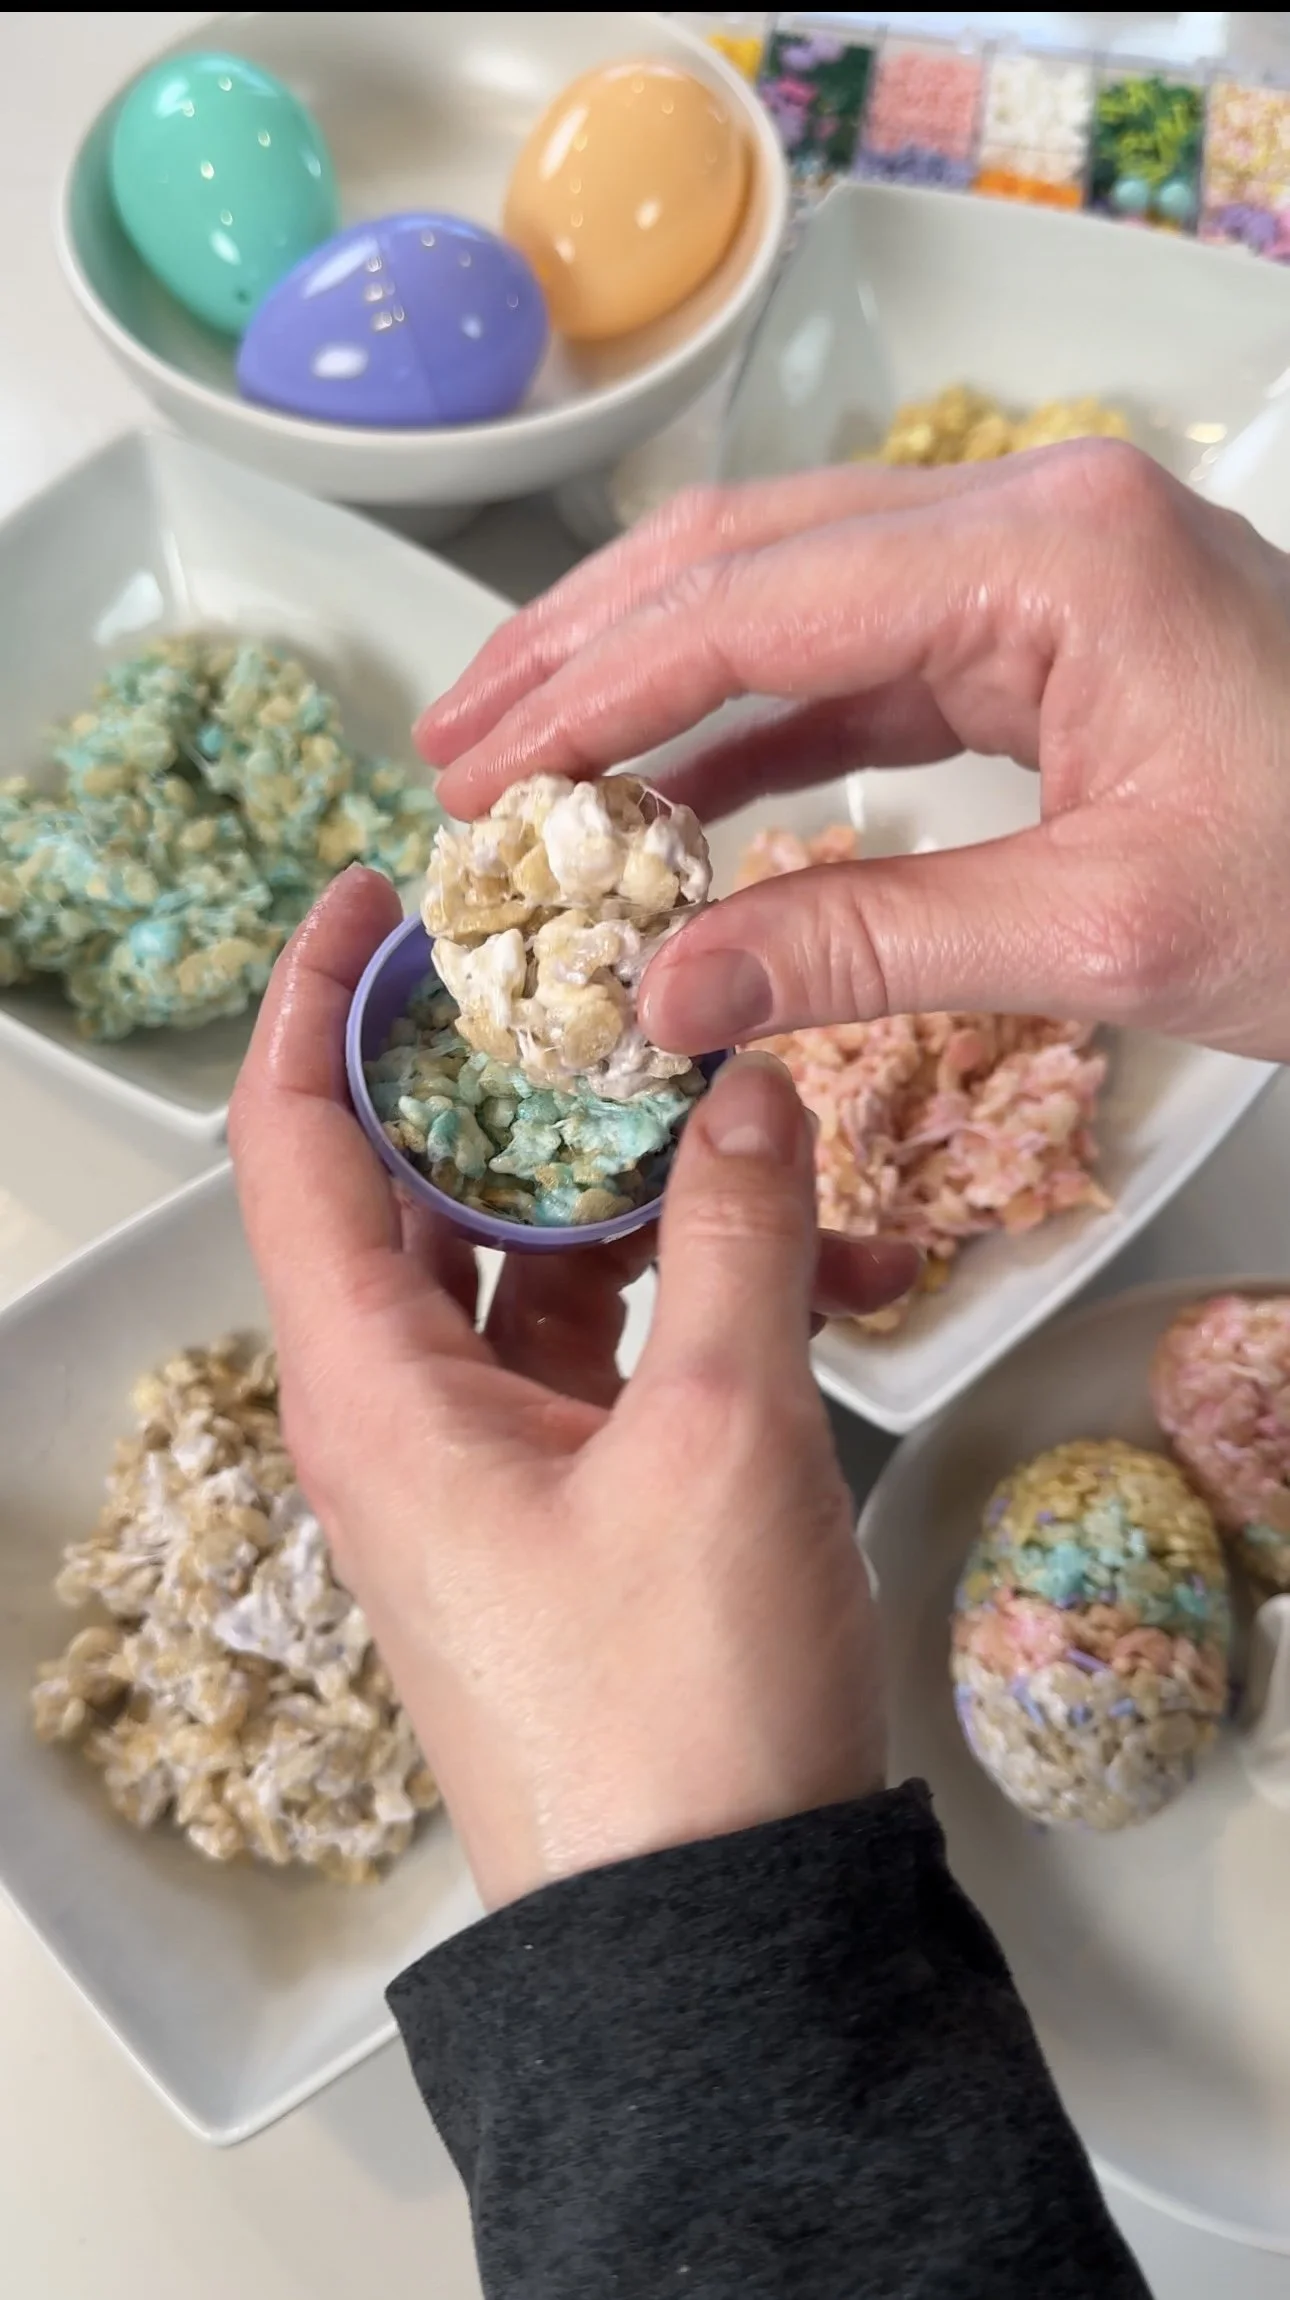
Step 4: Layer the Treats
With greased hands, take a spoonful of the colored Rice Krispies treat mixture and press it into one half of the plastic Easter egg mold. Repeat this process with another color, pressing it into the same half of the mold alongside the first color. Ensure that the layers are firmly packed to create distinct boundaries between colors. Repeat this process with the remaining two colors in the other half of the mold, resulting in four layers of colorful treats.
Step 5: Seal the Eggs
Once both halves of the plastic Easter egg mold are filled with the layered Rice Krispies treats, gently press the two halves together to seal the egg. Ensure that the edges are firmly pressed to create a cohesive egg shape.
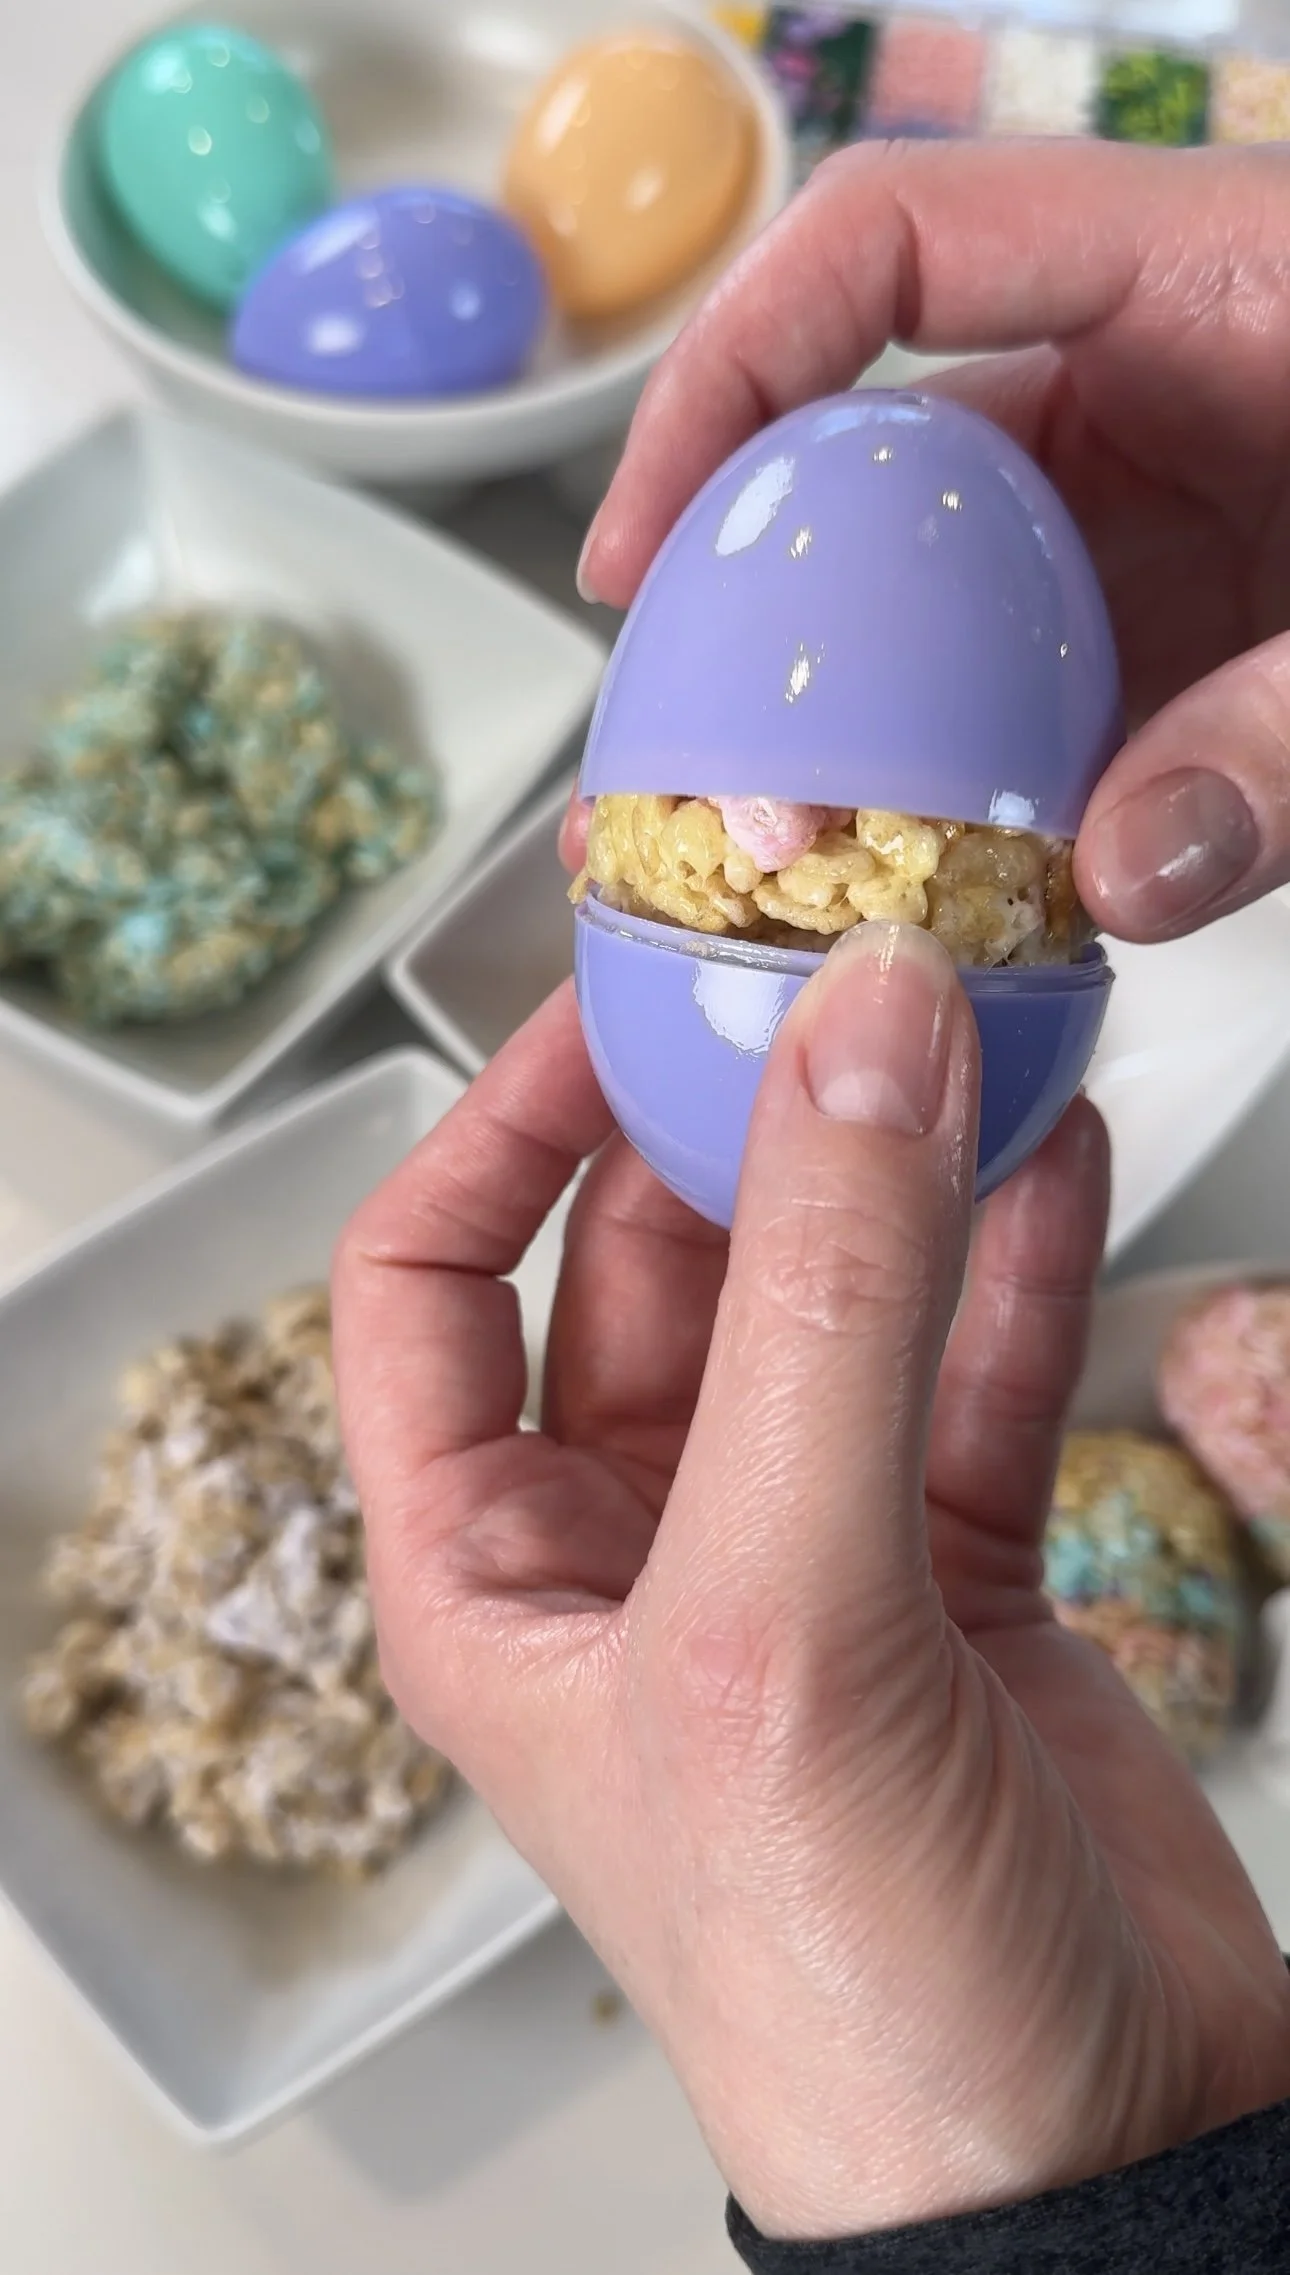
Step 6: Remove from the Mold
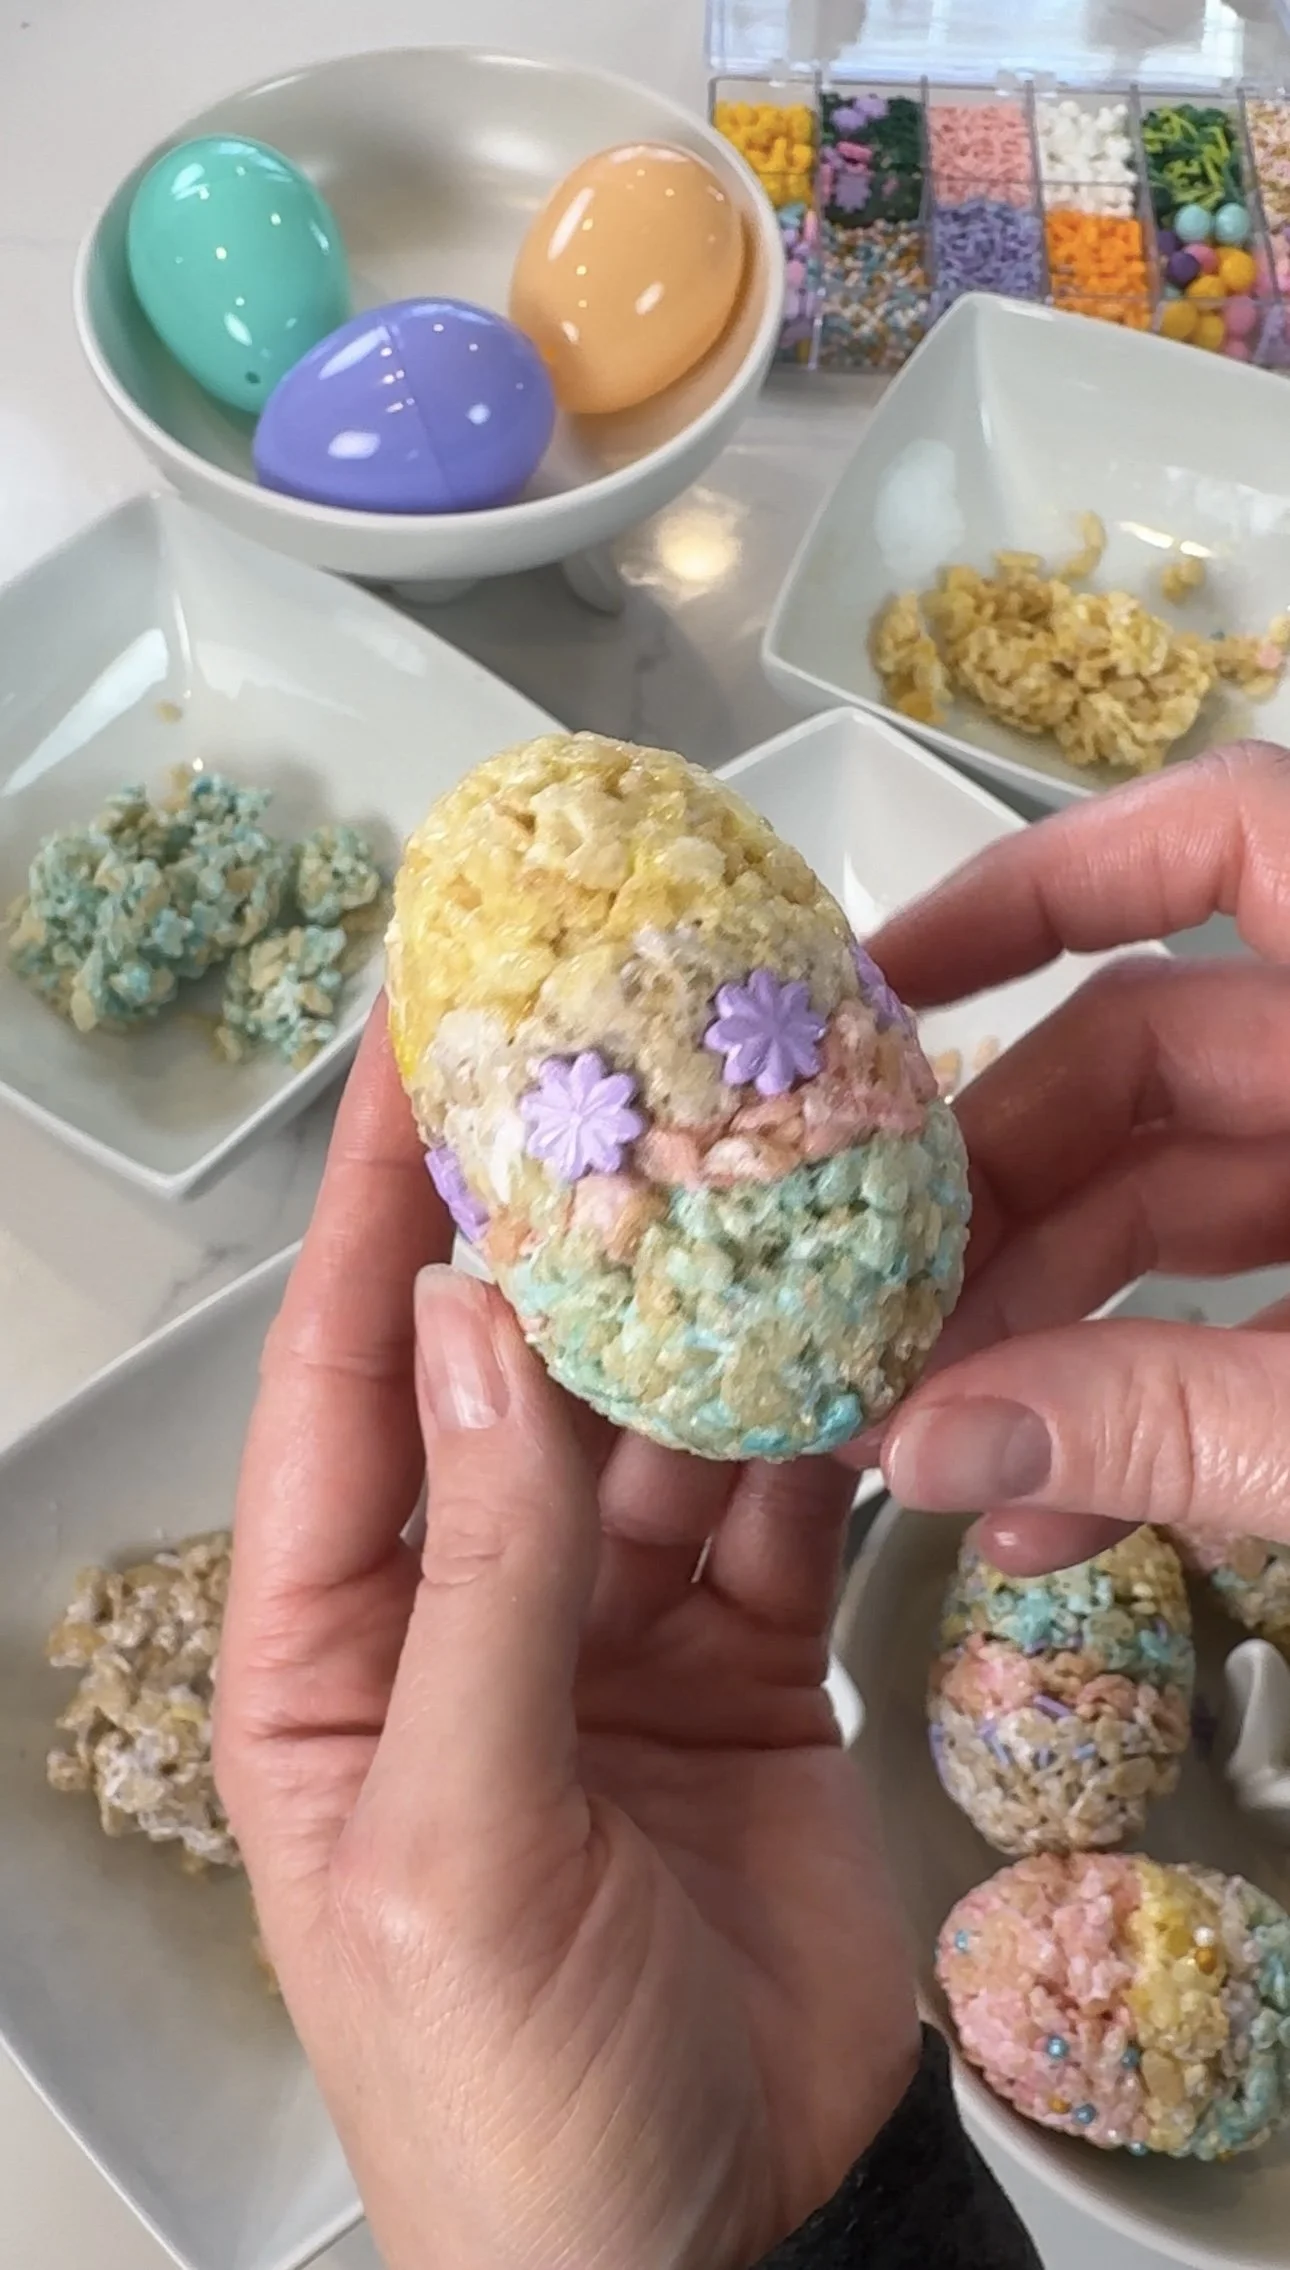
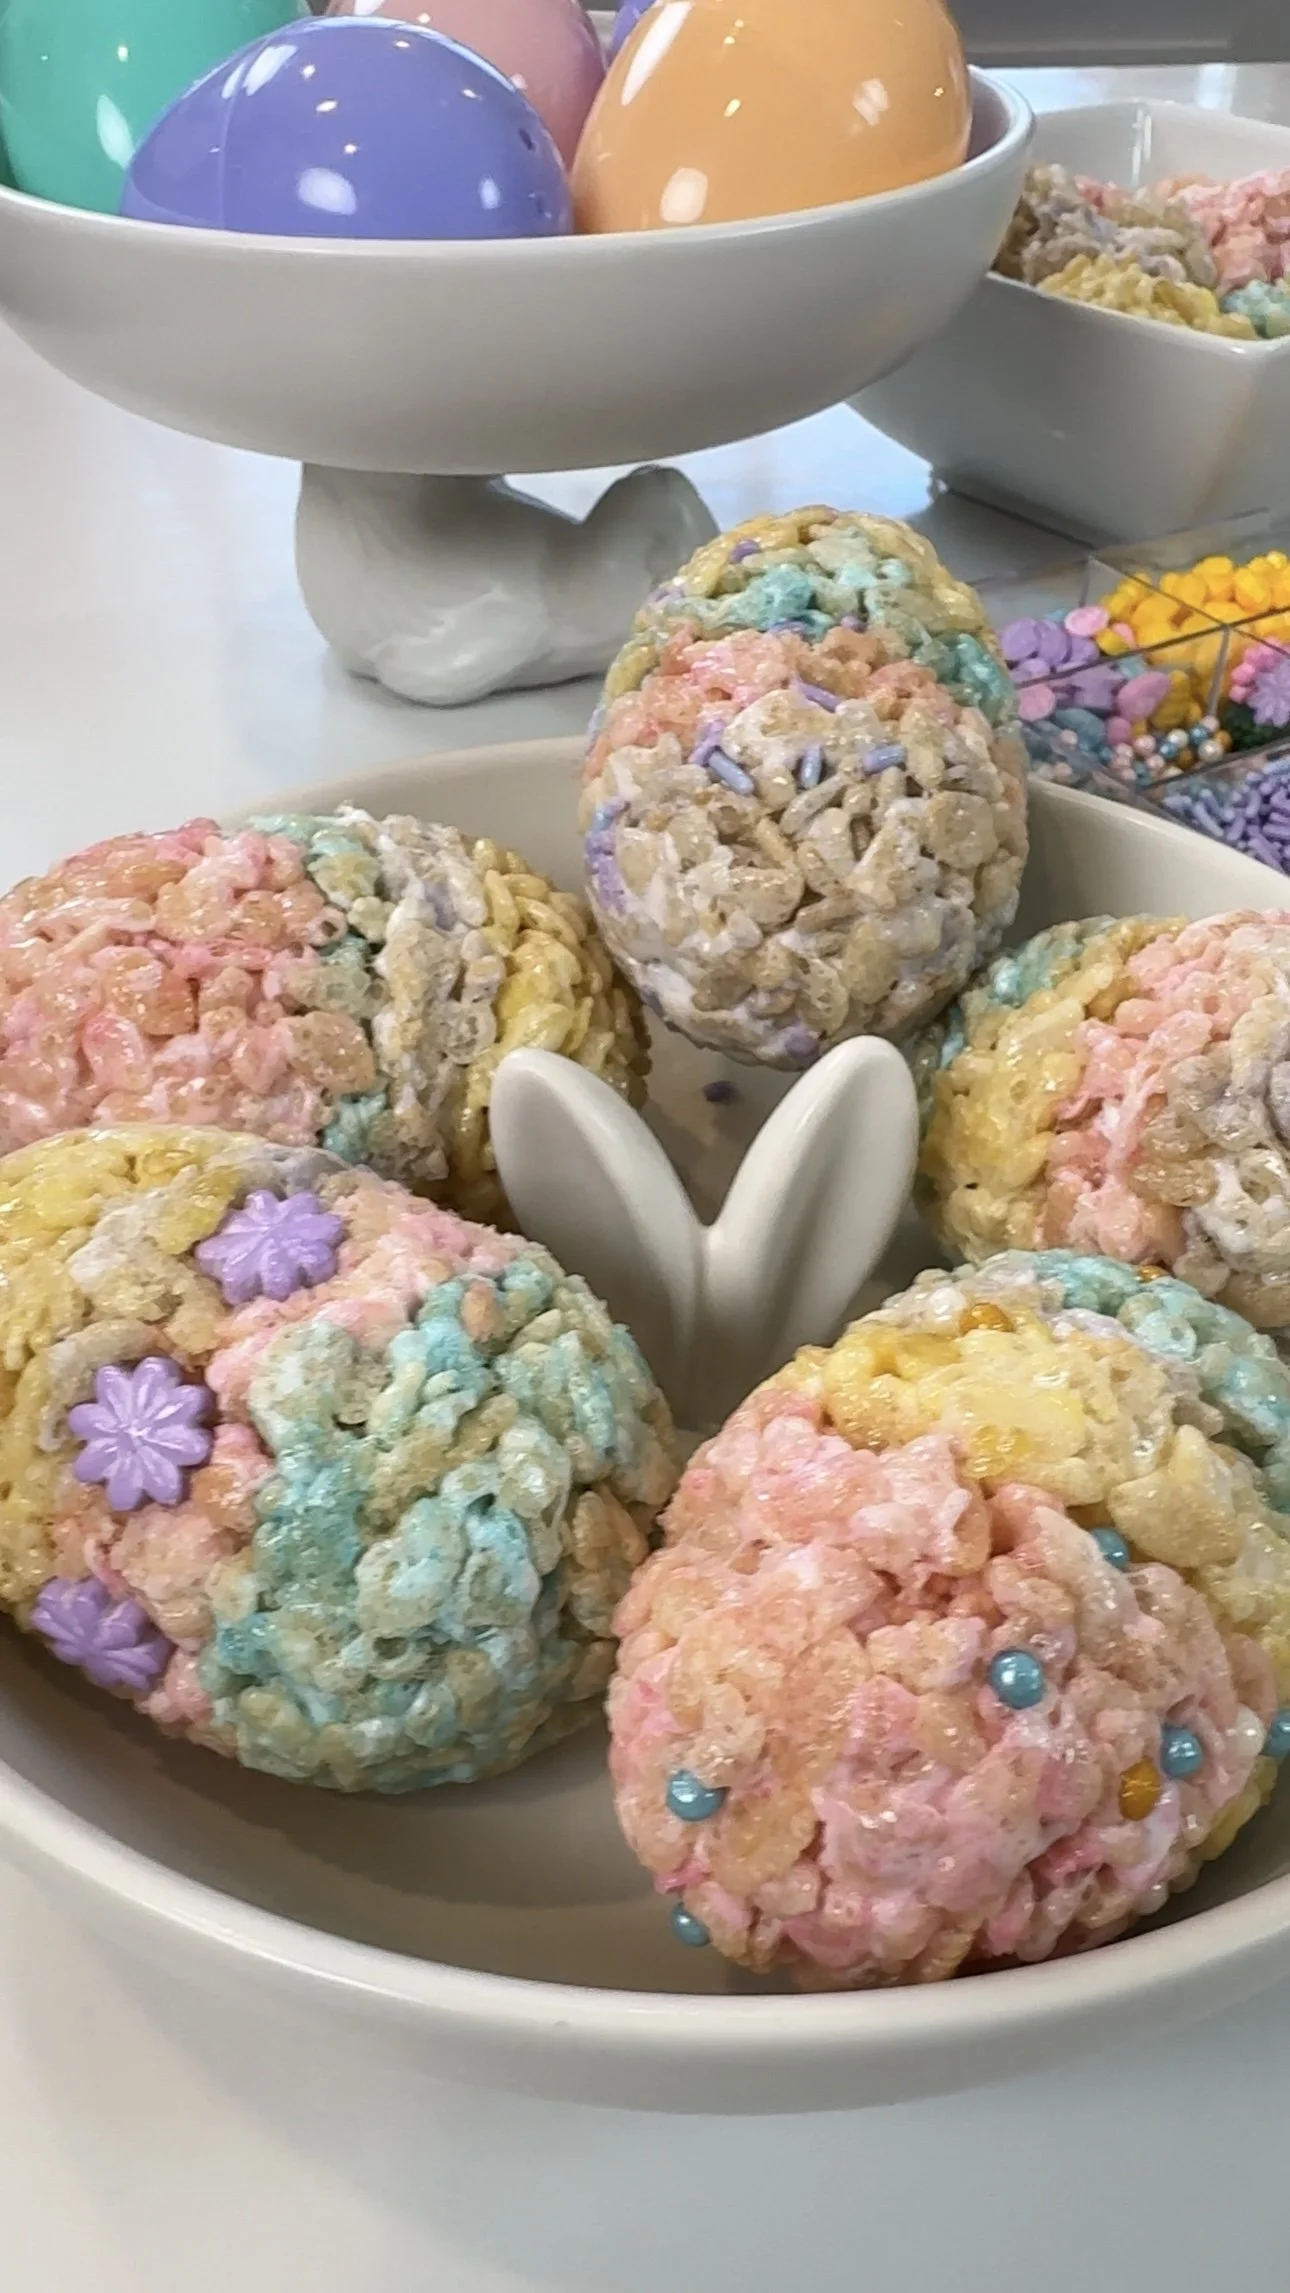
Carefully open the plastic Easter egg mold to reveal the layered Peeps Rice Krispies treat inside. If necessary, use a butter knife to gently loosen the edges of the treat from the mold. Once released, admire the colorful layers. At this point you may be ready to dig in and indulge in the sweet and crunchy goodness of these Easter delights or you could be a little extra like me, and add some colorful fun!

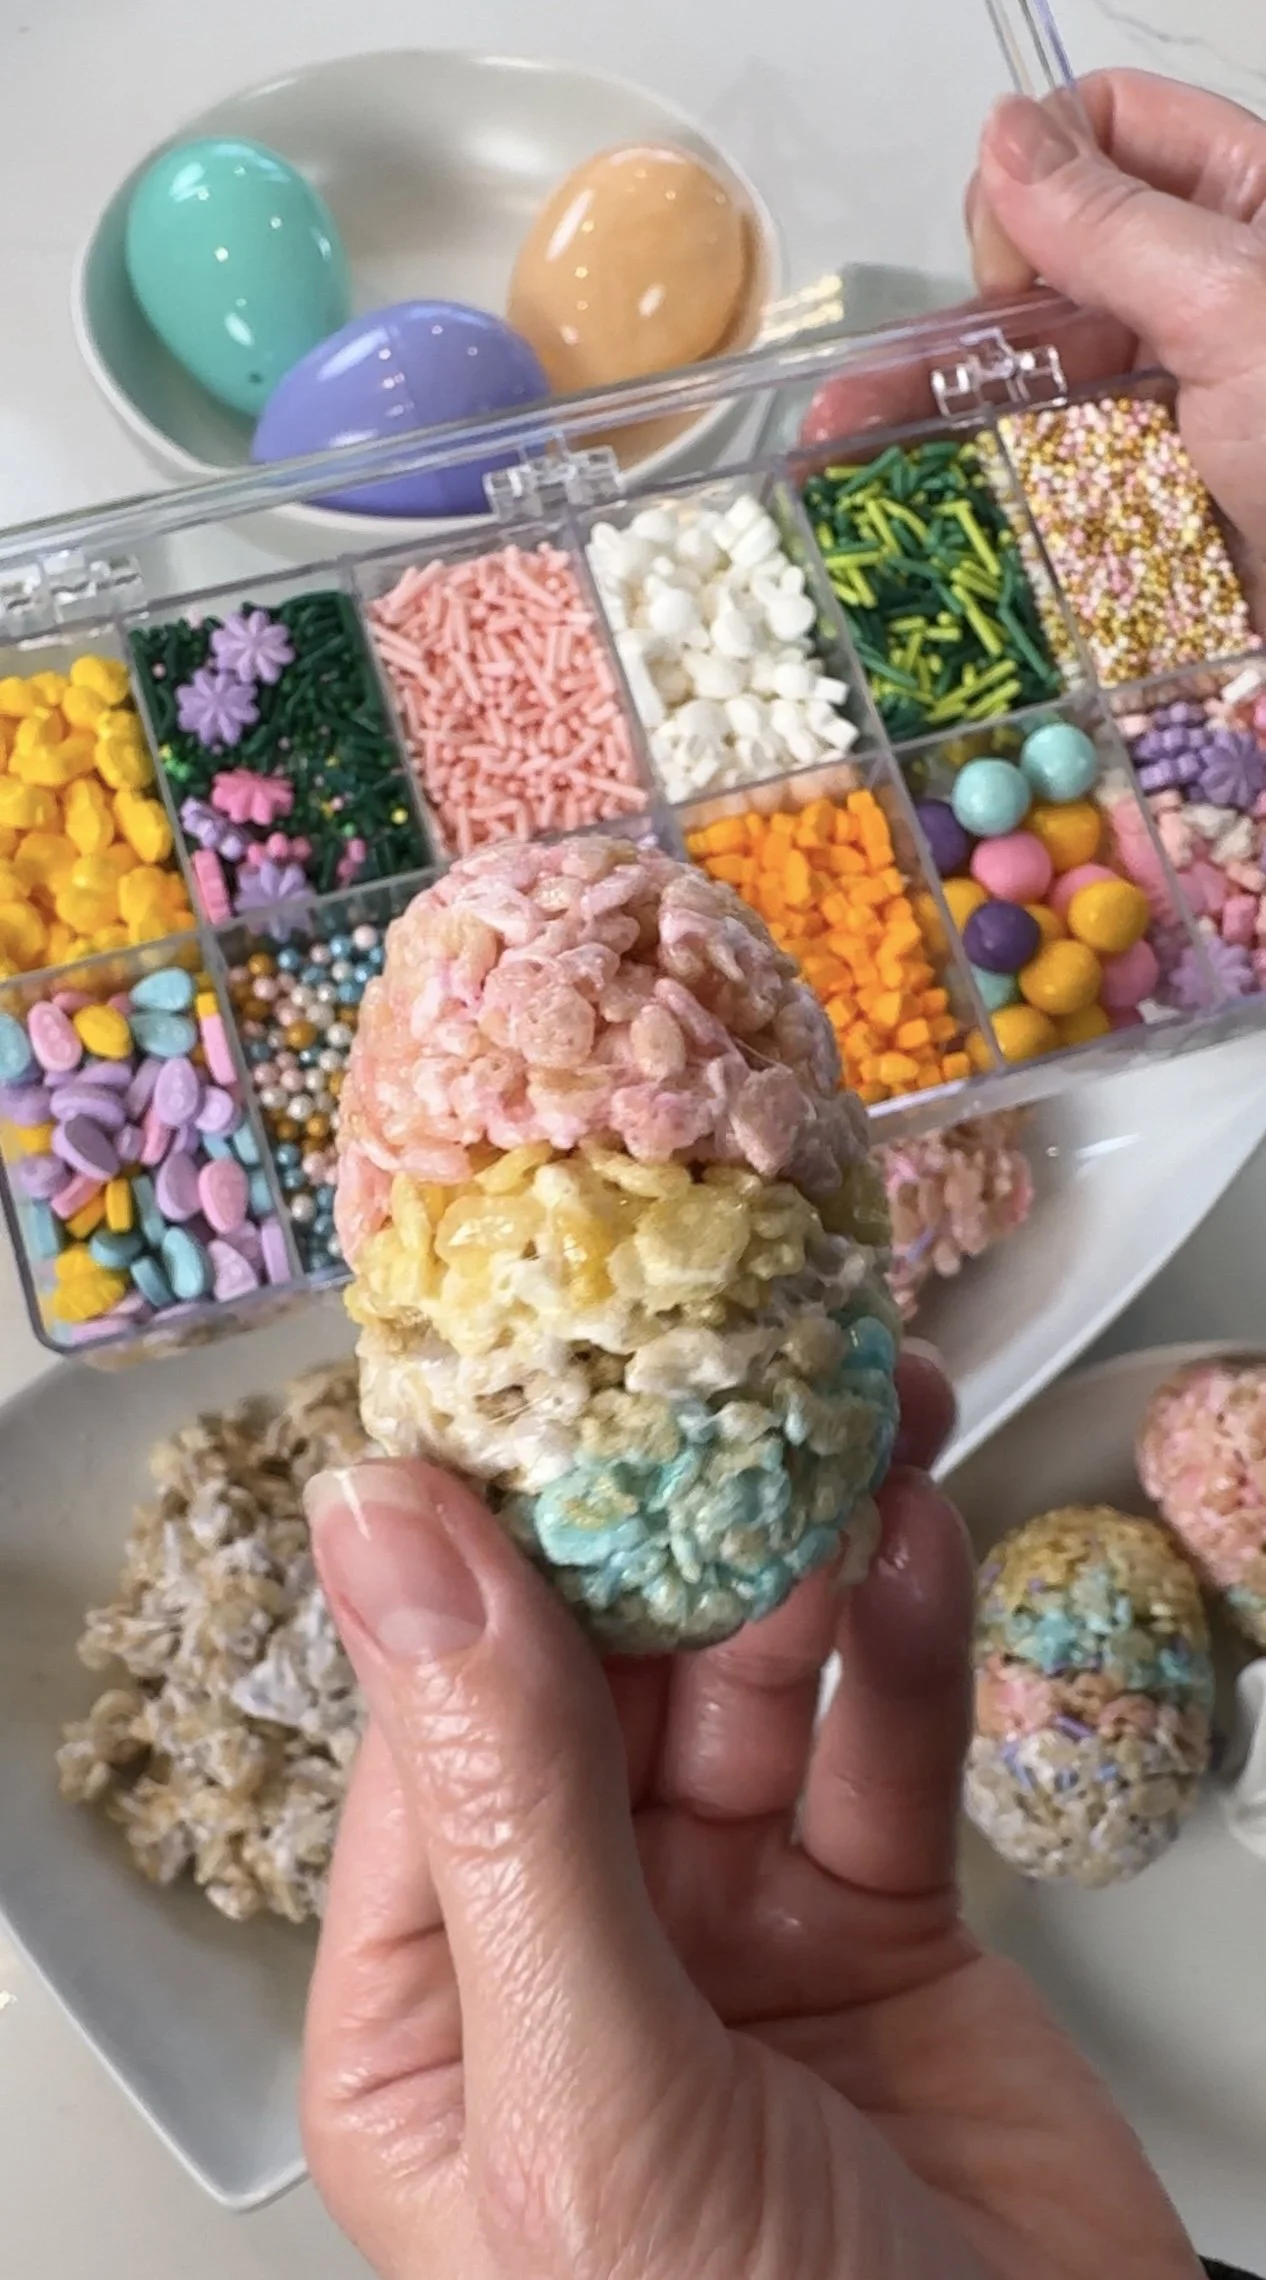
Step 7: Add Sprinkles (Optional)
Can you ever really have too many sprinkles? For an extra festive touch, sprinkle various shapes and colors of sprinkles and press into the Layered Peeps Rice Krispies Eggs. This step adds texture and visual appeal to the finished treats, making them even more irresistible. I like to place them back in the plastic eggs at this point to reshape as they may lose their shape a bit as you press the sprinkles in.
Step 8: Time to Enjoy!
These Layered Peeps Rice Krispies eggs are a fun and festive addition to any Easter celebration. With their vibrant colors and irresistible flavors, these treats are sure to delight both children and adults alike. By following these simple steps, you can create your own batch of colorful Easter eggs that are as fun to make as they are to eat. These are the perfect treat for little helpers to assist with too! So gather your ingredients and get ready to impress your loved ones with these adorable and delicious treats this Easter season!
As usual, video instructions are available. Looking for more fun treats this Easter? Check out our DIY Bunny Pretzel Treats, Peeps Duck Pond, or Easter Egg Fudge! I also shared some great ways to dye Easter eggs this year using the Shaving Foam Method and using Cool Whip! I’ll be sharing tie-dyed Easter eggs soon!